Do you have a question about the Britax King and is the answer not in the manual?
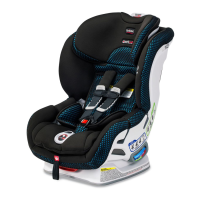
| Harness Positions | Multiple |
|---|---|
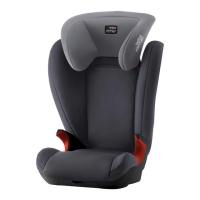
| Side Impact Protection | Yes |
| Warranty | 2 years |
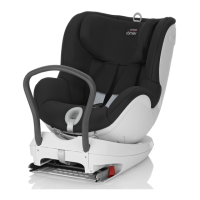
| Installation | Forward Facing |
| Installation Method | Seat Belt |
| Harness | 5-point |
Details the official approval and standards the child safety seat meets.
Explains how the child safety seat can be used in different vehicle configurations and directions.
Step-by-step guide for securely installing the seat using the vehicle's 3-point belt.
Instructions on how to safely uninstall the child safety seat from the vehicle.
A checklist to verify the child safety seat is properly and securely installed.
Guide to adjust shoulder strap height for optimal child protection and fit.
Instructions on how to loosen the harness straps for fitting the child.
Step-by-step process for buckling the child into the seat correctly.
How to properly tighten the harness straps to ensure child safety.
Verification points to ensure the child is correctly and safely secured in the seat.
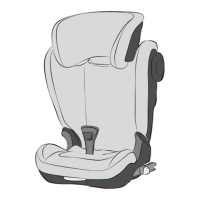
Instructions on how to adjust the seat shell to a reclining position for the child.
Maintenance and cleaning instructions for the harness buckle to ensure proper function.
Detailed guide on how to clean the seat cover, plastic parts, and harness.
Steps to remove the seat cover for cleaning or replacement.
Instructions for detaching the harness straps from the seat for maintenance.
Step-by-step guide for reattaching the harness straps after removal.
Instructions on how to put the seat cover back on the child safety seat.
Guidance on how to properly dispose of the child safety seat and its components according to local regulations.
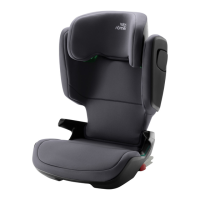
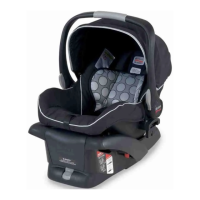
Information about other Britax RÖMER child safety seat models and their specifications.
Details the terms and conditions of the 2-year manufacturer's warranty for the product.
Forms for recording purchase details, inspection, and transfer of ownership.