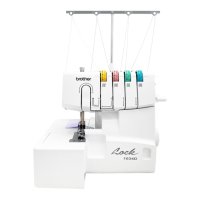
Serger Badge: Brother 1034D
Age: Grade 9-Adult
• • • • • • • • • • • • • • • • • • • • • • • • • • • • • • • • • • • • • • • • • • • • • • • • • • • • • • • • • • • • • • • • • • • • • • • • • • • • • • • • • • • • • • • • • • • •
1. Install - place trim trap against front cover until it sits flush against
machine
2. Remove - slightly lift serger and pull out trim trap away from machine
5. Troubleshooting
F. Does not feed - Presser foot pressure too loose - turn pressure adjustment screw
on top of machine clockwise to increase pressure
G. Needles break
1. Bent or blunt needles - replace needles
2. Needles incorrectly installed - remove and reinstall
3. Material pulled forcibly - gently guide material and let machine pull
material through
H. Threads break
1. Improper threading - Rethread machine correctly
2. Thread tangled - Check spool pin, thread holders, and remove tangled
thread.
3. Thread tension too tight - Adjust tension dials to match fabric (see pp.
27-32 in manual)
4. Needles incorrectly installed - remove and reinstall
5. Wrong needle used - Use correct size needle
I. Skipped stitches
1. Needle bent or blunt - replace needle
2. Needles incorrectly installed - remove and reinstall
3. Wrong needle used - Use correct size needle
4. Improper threading - Rethread machine correctly
5. Presser foot pressure too loose - Turn pressure adjustment screw
clockwise to increase pressure
J. Stitches are not uniform - Thread tensions are not adjusted properly - See
Thread Tension charts on pp. 27-32 in manual
K. Fabric is puckered
1. Thread tension is too tight - Decrease thread tension when sewing
light-weight or fine material. Adjust differential feed setting when sewing
stretchy knits.
2. Improper threading or tangled thread - Rethread machine correctly and
remove tangles.
3. Check to make sure cutting knives are still sharp.
L. When thread breaks

 Loading...