Setting Up the Machine
10
STEP 1
4 The LCD shows:
Is Quality OK?
q
1.Yes 2.No
If all lines are clear and visible, press
1 (Yes) on the dial pad to finish the quality
check.
If you can see missing short lines, press
2 (No) on the dial pad and go to step 5.
5 The LCD asks you if the print quality is OK for
black and colour. Press 1 (Yes) or 2 (No) on the
dial pad.
Black OK?
q
1.Yes 2.No
Color OK?
q
1.Yes 2.No
After pressing 1 (Yes) or 2 (No) for both black
and colour, the LCD shows:
Start Cleaning?
q
1.Yes 2.No
6 Press 1 (Yes), the machine will then start
cleaning the colours.
7 After cleaning is finished, press Colour Start.
The machine starts printing the Print Quality
Check Sheet again and goes back to step 3.
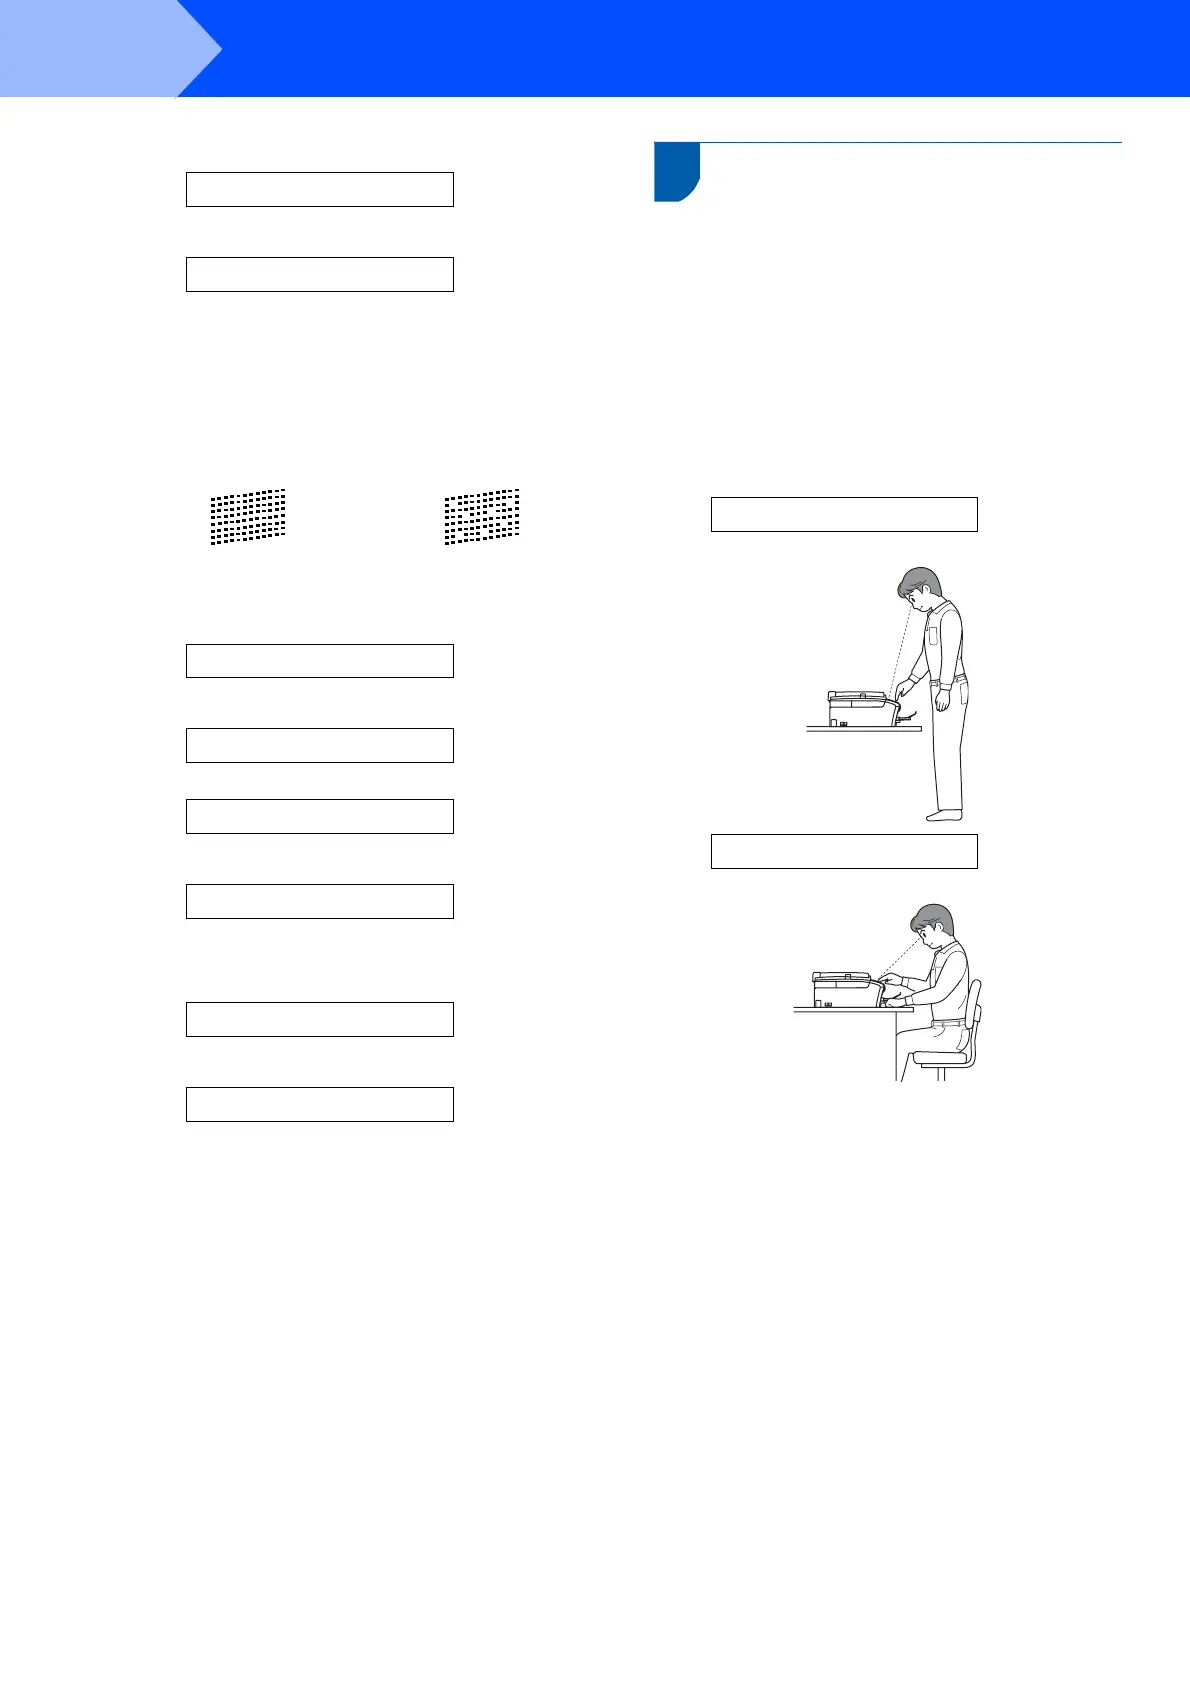
6 Setting the LCD contrast
You can adjust the LCD contrast for a sharper and
more vivid display. If you are having difficulty seeing
the LCD from your position, we recommend changing
the contrast setting for improved viewing.
1 Press Menu.
2 Press 1.
3 Press 7.
4 Press a or b to choose Dark or Light.
Contrast:Dark
Contrast:Light
5 Press OK.
6 Press Stop/Exit.
OK Poor
 Loading...