7
5
Check the print quality
a When the preparation process has finished, the
LCD shows Load Paper and Press
Colour Start.
Press Colour Start.
b Check the quality of the four colour blocks on
the sheet. (black/yellow/cyan/magenta)
c If all lines are clear and visible, press 1 (Yes) to
finish the quality check and go to the next step.
If lines are missing, press 2 (No) and follow the
steps on the LCD.
6
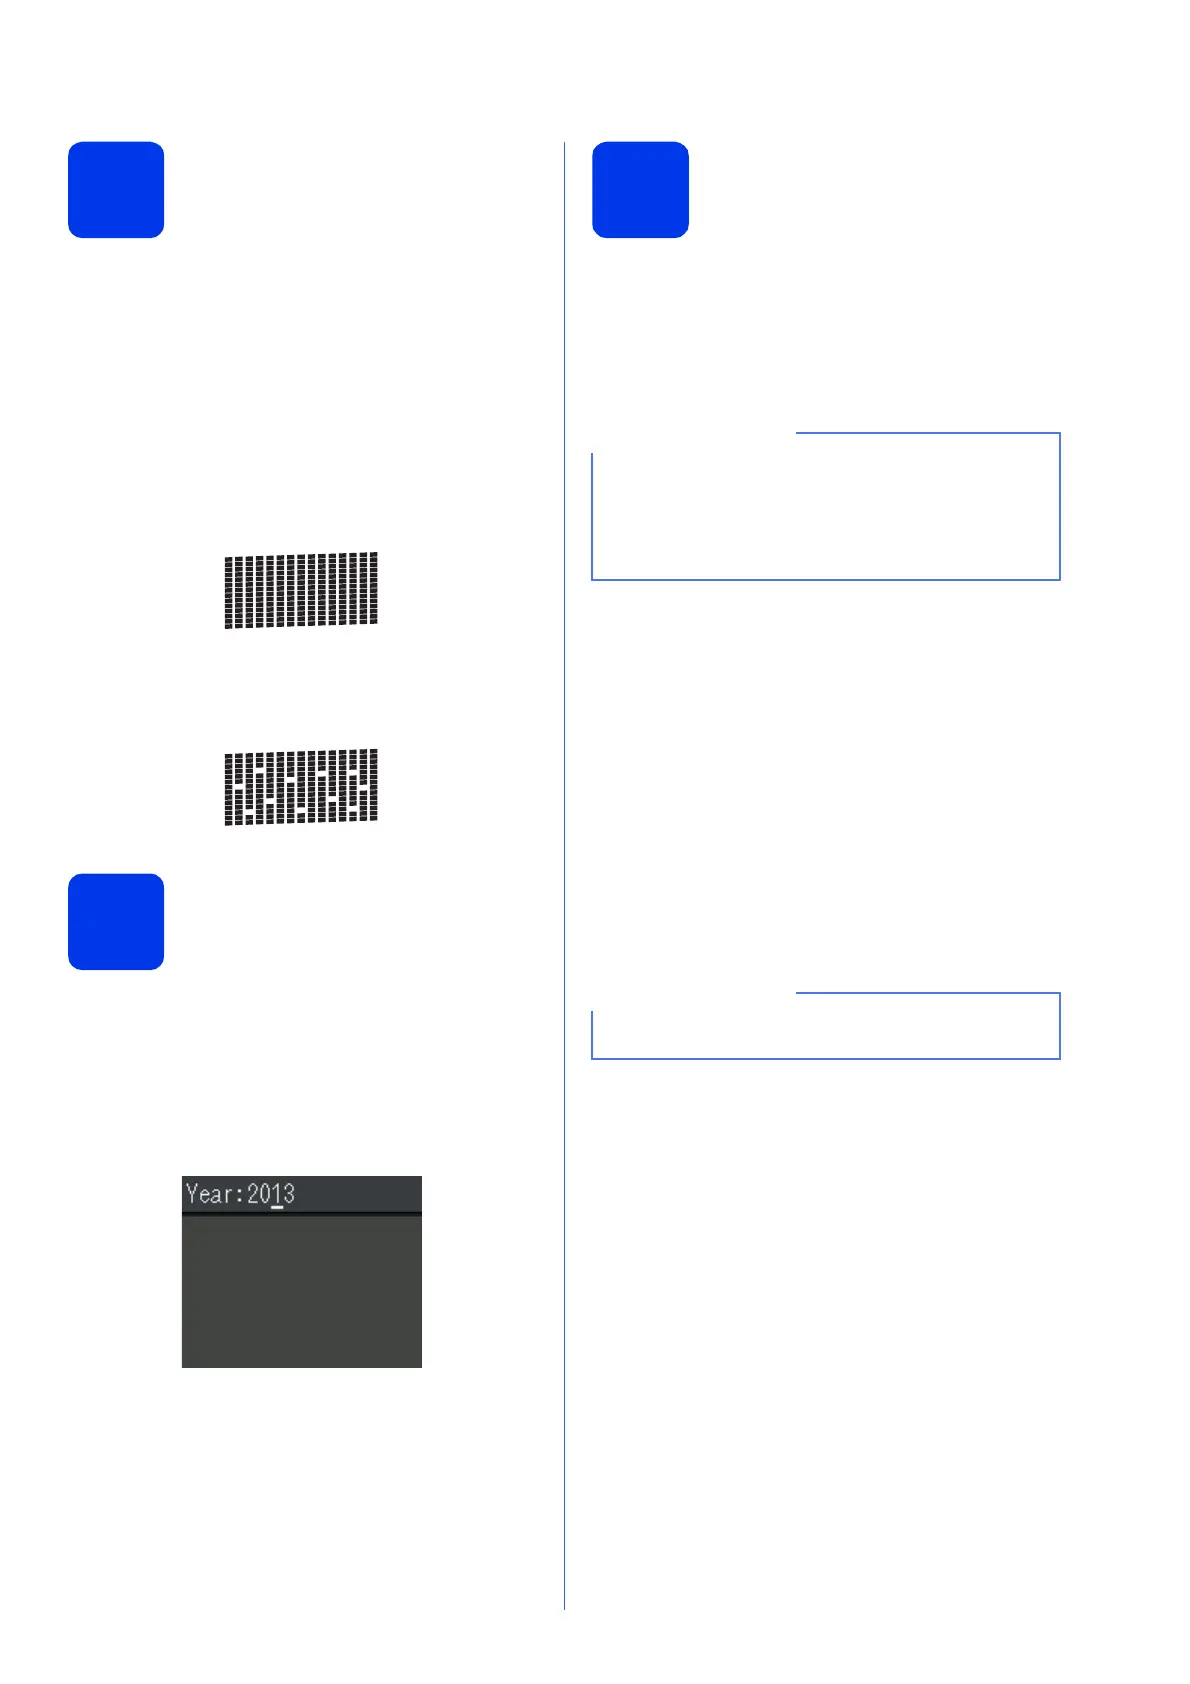
Set the date and time
The LCD displays the date and time. You can also
add the current date and time to each fax you send by
setting your Station ID (see step 9).
a Enter the last two digits of the year on the dial
pad, and then press OK.
b Repeat for month/day/time in 24-hour format.
7
Wireless setup
(if needed)
When the Wi-Fi setup will start. message
appears on the LCD, read the message, and then
press OK to continue.
For wireless setup using a mobile device, go to a.
For Windows
®
and Macintosh users, go to b.
a Press a or b to choose Yes.
Press OK.
Go to step 15 on page 18 to continue with the
wireless setup.
After finishing the wireless setup, return to
step 8 to finish the machine setup.
b Press a or b to choose No.
Press OK.
Go to step 8 and continue with the machine
setup.
Wireless setup instructions for Windows
®
and
Macintosh users will be covered later, starting
on page 18.
OK
Poor
(e.g. Enter 1 3 for 2013.)
If you want to configure any of the options in
steps 8-13, you can choose No in step a, and
then go to step 8.
You will be able to configure the wireless settings
later.
If a prompt message appears on the LCD, read it
and press OK to continue.
 Loading...