J
James FrostSep 6, 2025
What does “GREASEUP” flashing on the operation panel of my Brother Sewing Machine mean?
- AAmber MillerSep 6, 2025
Apply grease.
What does “GREASEUP” flashing on the operation panel of my Brother Sewing Machine mean?
Apply grease.
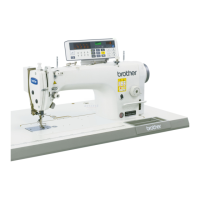
What to do if my Brother S-7200A Sewing Machine does not operate at high speed?
If the machine does not operate at high speed, the sewing speed setting or backtack speed setting may be incorrect. Use the sewing speed control keys to set the high speed.
What to do if my Brother S-7200A is producing correct thread trimming, but the upper thread or lower thread is not being trimmed?
If the upper thread or lower thread is not being trimmed, ensure the needle is correctly installed. If it is incorrect, install the needle correctly. Also, the fixed knife or movable knife might be blunt, so replace them.
What to do if my Brother S-7200A Sewing Machine is producing correct thread trimming, but the upper and lower threads are not being trimmed?
If the upper and lower threads are not being trimmed, the fixed knife or movable knife may be damaged or worn. Replace the fixed knife or the movable knife.
What causes a large degree of puckering on my Brother S-7200A and how to resolve it?
Excessive puckering can be caused by several factors: the upper thread tension being too strong (make it as weak as possible), the lower thread tension being too strong (weaken it), the thread take-up spring tensions being too strong (weaken them), the thread take-up spring operating range being too large (lower its position), the presser foot pressure being too strong (adjust it), or the sewing speed being too fast (reduce it using the sewing speed control keys).
What causes loops to appear in the seam of my Brother S-7200A and how to fix it?
Loops in the seam can appear if the thread path isn't smooth enough; polish it with a fine grain file or sandpaper. Also, check if the bobbin isn't turning smoothly; pull out the lower thread to check for slackness, or replace the bobbin or bobbin case.
How to fix skipped stitches at sewing start on my Brother S-7200A?
To fix skipped stitches at the sewing start, reduce the tension of the thread take-up spring and lower its position. Adjust the pretension if the trailing lengths of the upper threads are too short after trimming. Sharpen the fixed knives or replace them if the threads aren't being trimmed cleanly. Use a needle with a count one lower if the current needle is too wide. Replace the anti-spin spring in the bobbin case if the bobbin is spinning loosely. Finally, use the slow start feature if the sewing speed is too fast.
What to do if my Brother Sewing Machine is making an uneven seam?
An uneven seam can occur if the presser foot pressure is too weak, so adjust the presser foot pressure. It could also be that the feed dog is too low, in which case you should adjust the feed dog height. Finally, check if the bobbin is scratched; if it is damaged, smooth it or replace it.
What to do if the oil gauge is not visible in oil gauge window of my Brother Sewing Machine?
If the oil gauge is not visible in the oil gauge window of your Brother Sewing Machine, the oil tank may be empty. Fill the oil tank with oil.
What to do if loops appear in seam on my Brother Sewing Machine?
If you find loops appearing in the seam of your Brother Sewing Machine, first check if the thread path is not smooth enough. If so, polish the thread path with a fine-grain file or sandpaper. Also, check if the bobbin isn't turning smoothly. Pull out the lower thread to ensure there's no slackness in the thread tension, and consider replacing the bobbin or bobbin case.
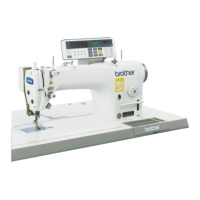
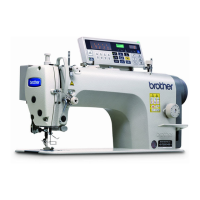
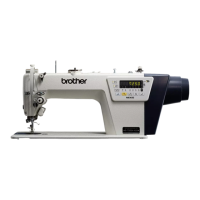
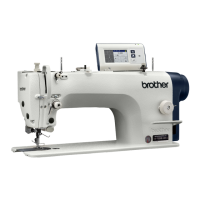
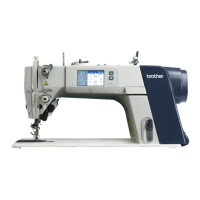
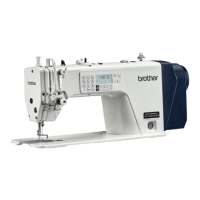
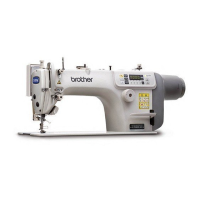
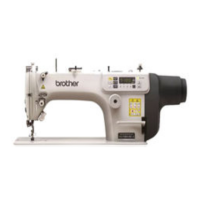
| Type | Industrial Sewing Machine |
|---|---|
| Model | S-7200A |
| Stitch Type | Lockstitch |
| Max. Sewing Speed | 5, 000 stitches per minute |
| Max Stitch Length | 4.5 mm |
| Needle Bar Stroke | 30.7 mm |
| Needle Type | DB×1 (#11) #9~#18 |
| Motor | Direct Drive Motor |
| Foot Lift | By hand: 5.5mm, By knee: 13mm |
| Lubrication | Automatic oiling system |
Explains the meaning of safety indications and symbols used in the manual.
Outlines safety precautions and general guidelines for sewing operations.
Details the lubrication procedure for specific machine specifications.
Details the lubrication process for the machine's gearbox.
Specific instructions on connecting the sewing machine cords.
Explains the procedure for connecting the ground wire for safety.
Guides on how to perform a test operation of the machine using the treadle.
Step-by-step instructions for correctly installing the sewing machine needle.
Provides instructions for winding thread onto the bobbin.
Explains the correct method for inserting the bobbin case into the machine.
Step-by-step guide on how to thread the upper thread through the machine.
Instructions on how to adjust the stitch length setting on the machine.
Identifies the keys and displays on the operation panel and their basic functions.
Guides on setting and performing start and end backtack stitches.
Explains how to sew a fixed number of stitches using the operation panel.
Details how to sew name labels using repeating stitch patterns.
Explains the procedure for sewing pleat presser stitches.
Identifies advanced operation panel keys and their functions.
Details how to adjust the needle stop position using the operation panel.
Basic steps to start and perform sewing operations.
Explains how to perform backtacking during sewing.
Details how to sew condensed stitches and the necessary settings.
Provides instructions for adjusting both upper and lower thread tensions for optimal stitches.
Explains how to adjust the presser foot pressure for different materials.
Outlines the daily cleaning tasks to maintain machine performance and longevity.
Guides on applying grease when the machine indicates it is needed.