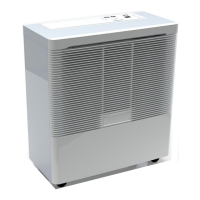
2.
Insert the 1.5 V AA batteries as shown (fig.
3.4.2). The plus
and minus poles are
marked
on both the circuit board
and the
battery. The batteries are correctly inserted when these
markings match.
Fig. 3.4.2: Insert batteries
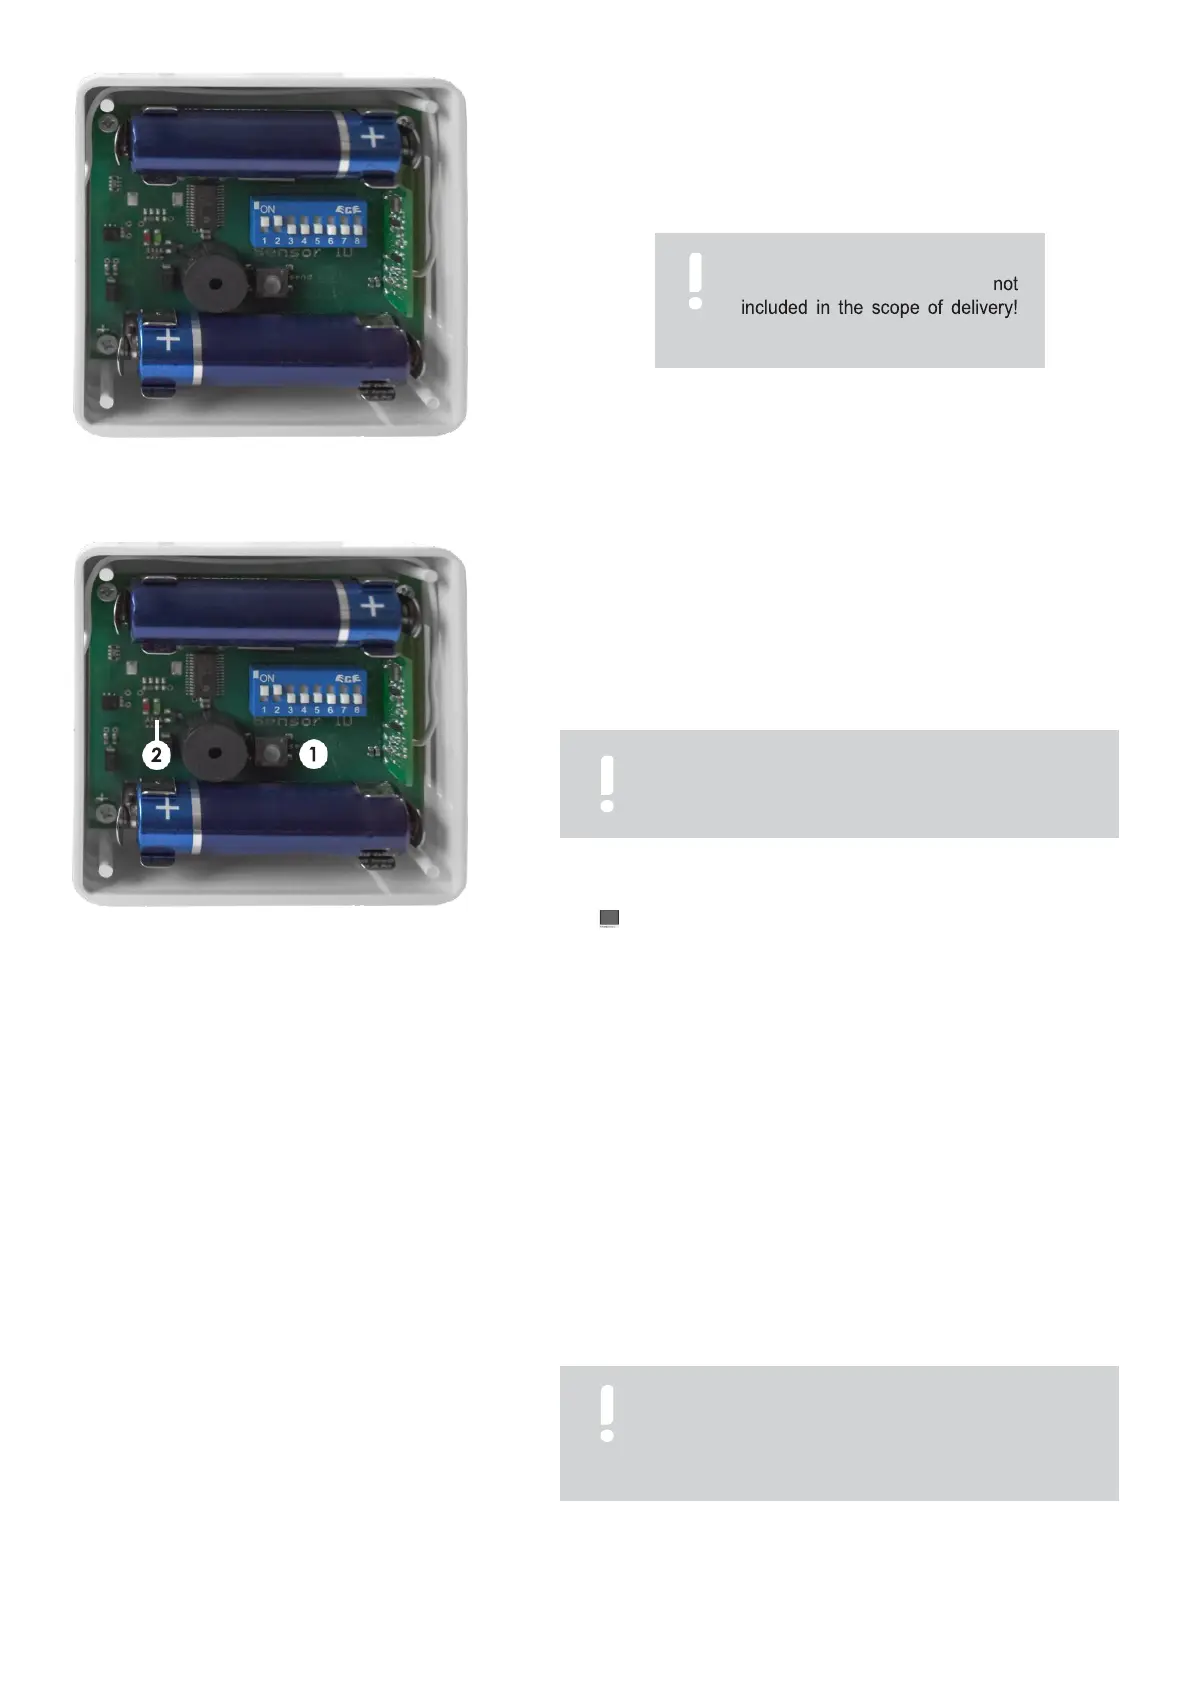
3.
Check the radio humidity transmitter for functionality. To do this,
press the button (fig. 3.4.3/1).
+ When the LED (fig. 3.4.3/2) lights up briefly, the radio damp-
transmitter is ready for operation. If the radio transmitter emits a
short signal tone at regular intervals during operation, replace
the batteries.
Fig. 3.4.3: Check functionality
+ The units are delivered from the factory with the coding "00".
+ The actual value of the relative humidity of the AIR HUMIDITY
% display changes as soon as you breathe into the sensor.
If the relative humidity value does not change, check batteries and
coding.
Coding options
The humidifier and the radio humidity transmitter are matched to each other via a code. The units are
delivered
from the
factory
pre-coded.
However,
if two or more units are used in close proximity to each other
(0 - 20 m), different coding may be necessary.
If several units are operated in one room, the following possibilities exist:
Several units are operated with one radio humidity transmitter. For this purpose, all units must have the same coding.
Each unit is controlled via a separate radio humidity transmitter. For this purpose, all units must be coded differently.
Encode
radio humidity transmitter
The coding switch for coding is located on the
circuit board of the radio humidity transmitter. There
are only the positions "ON = up" and "OFF = down"
per slider. The coding you have set can be read out
on the unit.
The coding of the B 260 humidifier and the
associated radio humidity transmitter must match
exactly. Otherwise the function is not guaranteed.
ATTENTION
The required batteries are
Batteries required: 2 x AA 1.5 V
It can take up to three minutes before the unit has
received a signal from the radio humidity transmitter.
The display shows "05" during this time.