© 2014 ITW Renovation & Remodeling, a Division of Illinois Tool Works Inc.10
Changing the Pre-Filter
The air scrubber should be turned OFF at the Main
Power Switch before unplugging the unit.
Risk of dust dispersion – Use personal safety
equipment. Unhealthy dust can be spread when
removing the pre-lter. Wear protective glasses and
a breathing mask.
Removing the Pre-Filter
1. Turn the air scrubber OFF at the Main Power
Switch.
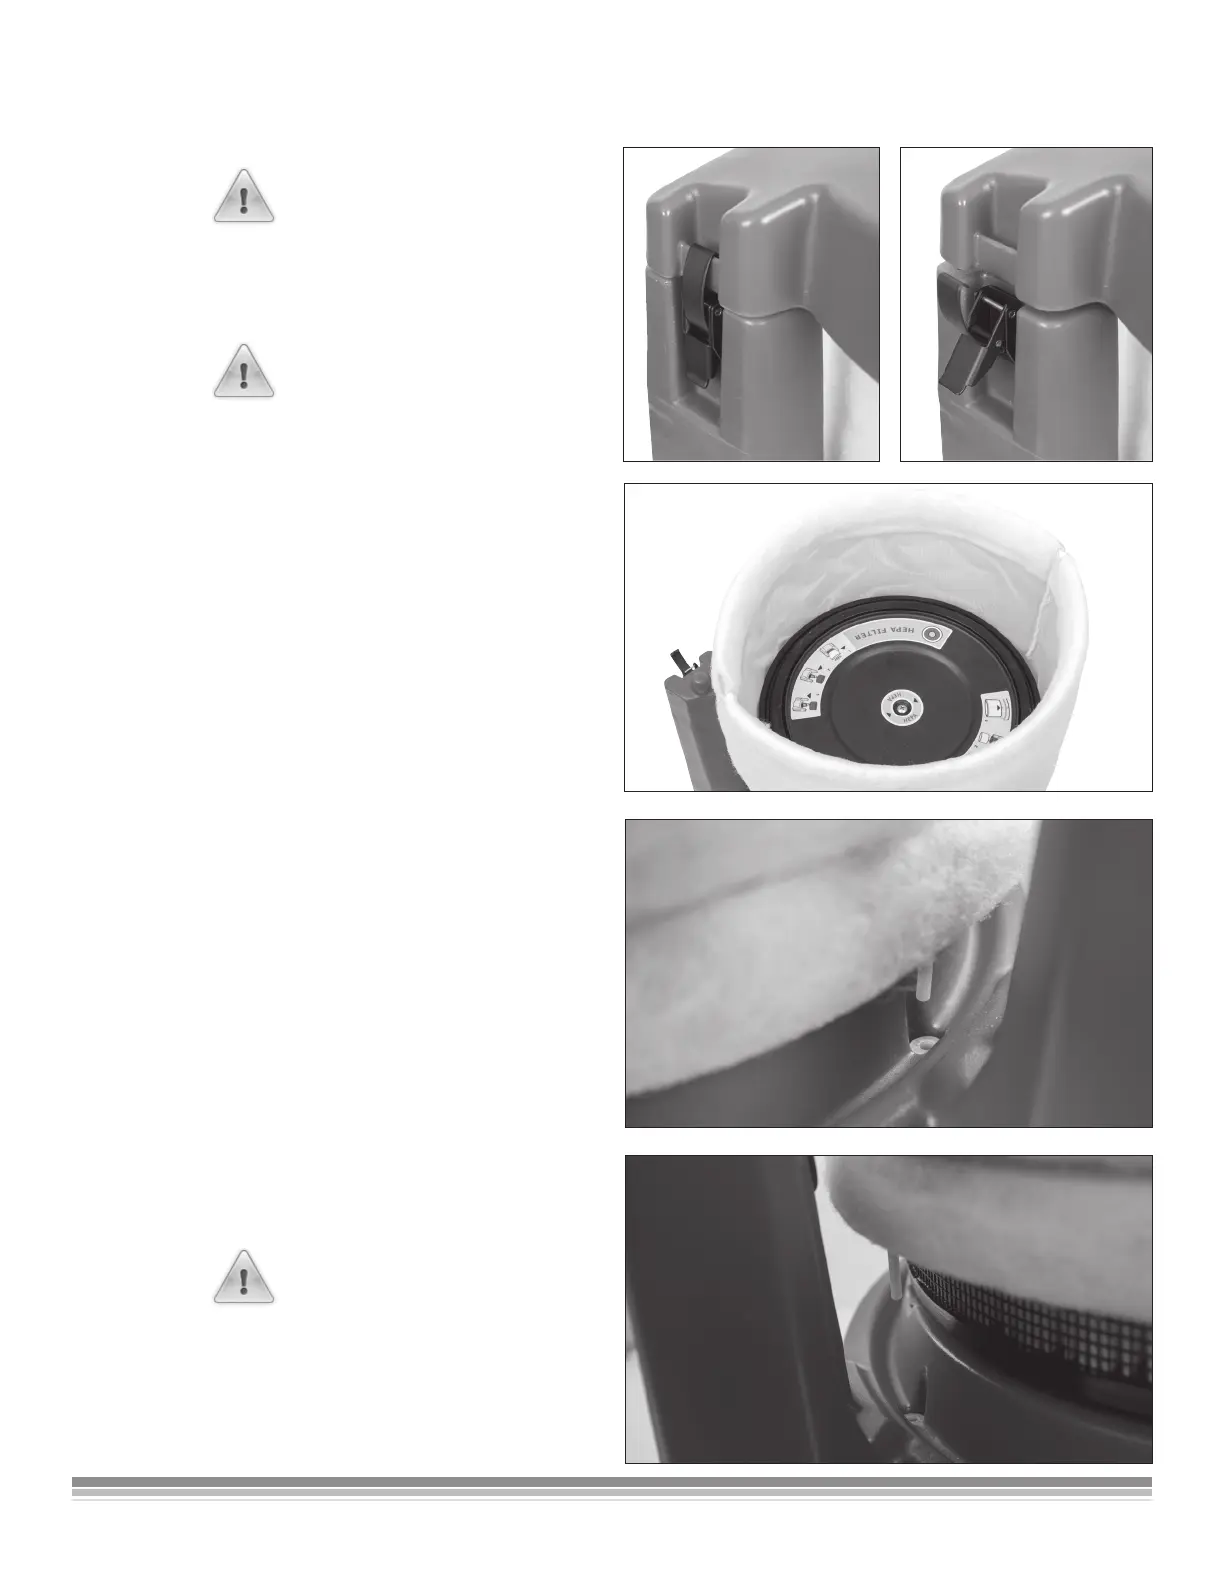
2. Remove the top cover of the air scrubber by
unlatching the three cover latches.
3. Carefully lift the pre-lter up and out of the air
cleaner.
Place the used lter in a plastic bag for disposal.
Replace pre-lter with Part # 512100.
Replacing the Pre-Filter
1. Remove the used pre-lter.
2. Slide the new pre-lter over and halfway down the
HEPA lter.
3. Find the locator pin on the bottom of the pre-lter.
4. Insert the locator pin into the Filter Orientation/
Activation Hole on the base of the unit. This will
orient the pre-lter properly during installation and
activate the lter monitoring electronics.
5. Push the remainder of the pre-lter sock down
so it covers the entire HEPA lter and touches
the base of the air scrubber.
6. Put the cover back on the unit and be sure to
properly latch all three tabs.
The air scrubber WILL NOT operate if the
pre-lter locator pin is not inserted into the
Orientation/Activation Hole.
WARNING
WARNING
WARNING
PIN MUST BE INSERTED TO RUN MACHINE


 To Next Page