43
snap into place. Continue down the length of the door and
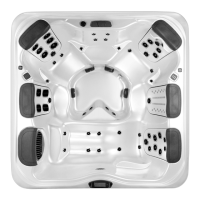
forcefully push the cabinet into each of the snaps until the door is
completely in and secured. You can feel along the bottom to make
sure all are in place and no gaps are present.
Step 3: Corner – Slip the upper lip of the corner into the top
groove of the spa. Starting from the top force the rst snap into
place, if the corner has slipped down and is not ush with the
top groove this is the best time to push it back up into place.
Continue down the length of the corner and forcefully push it
into each of the snaps until the corner is completely secured. e
corner should t tightly against the cabinet on both sides.
A,R & X Series Door Removal
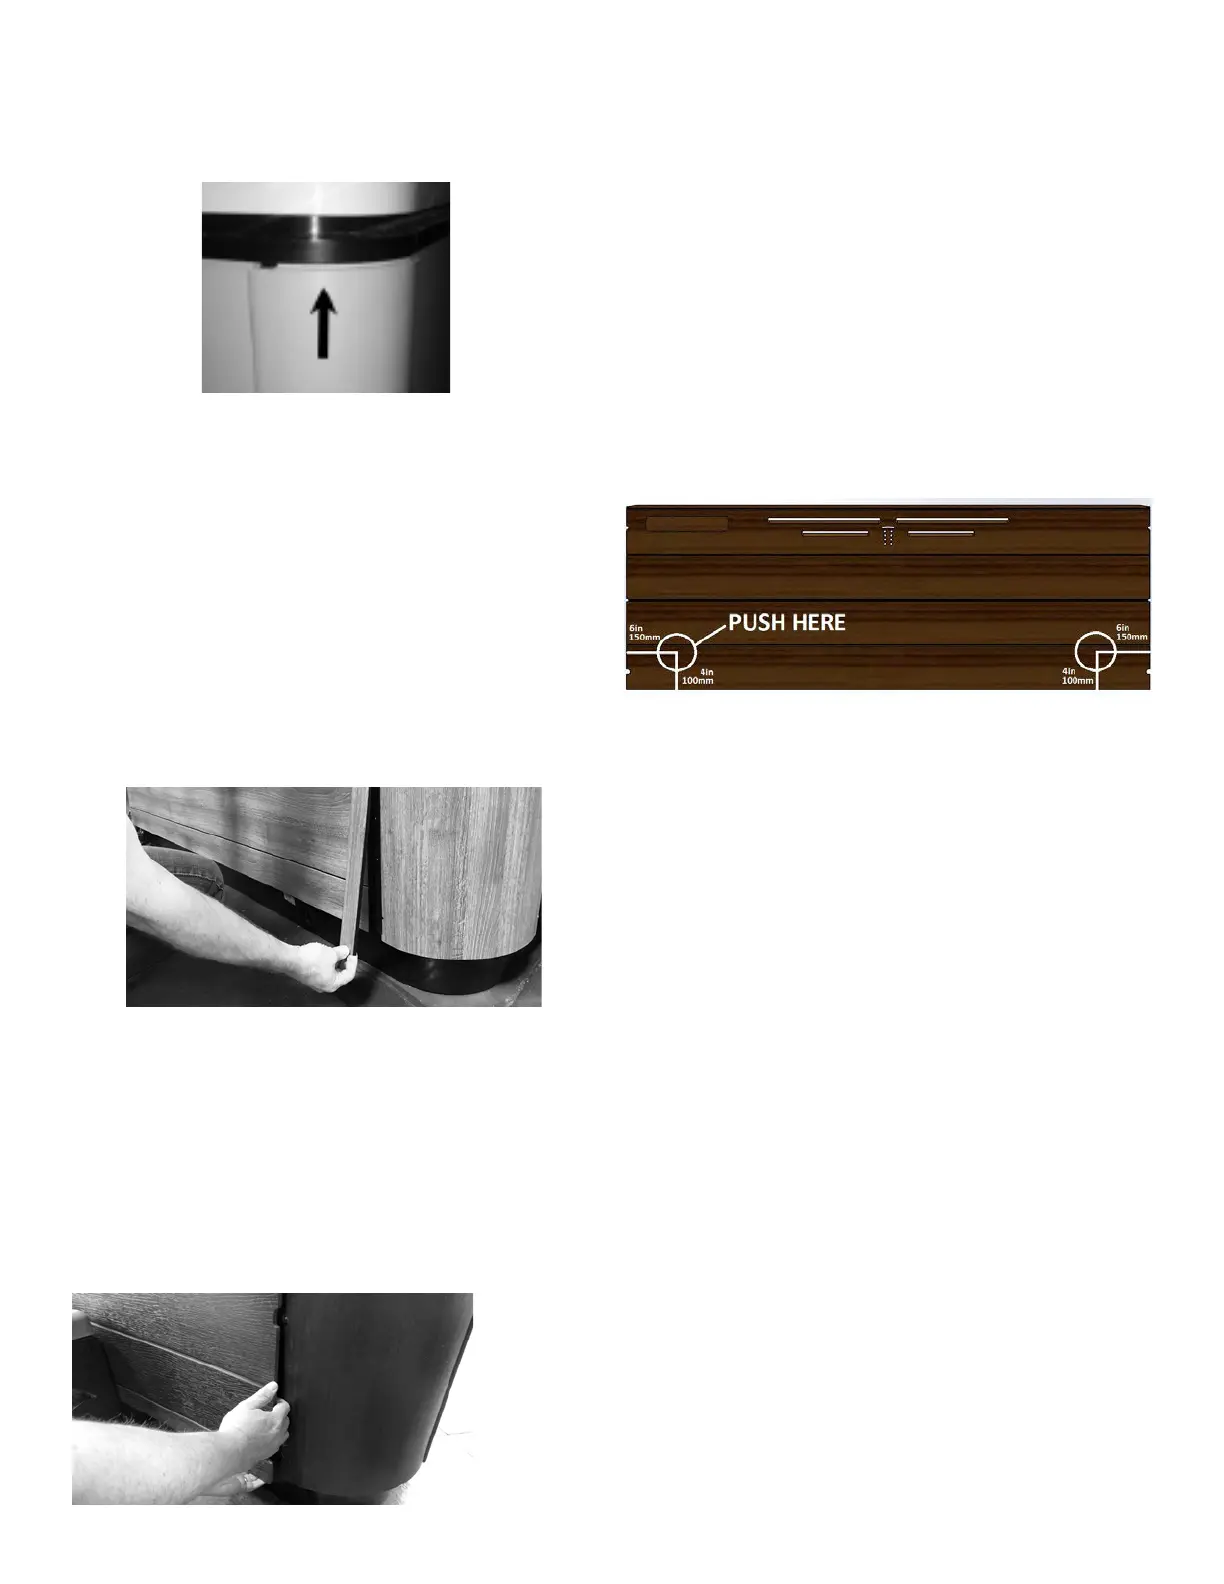
Step 1: Remove trim strips from trim channels by pulling
carefully and rmly, working from the bottom of the trim strip to
the top. Place trim strips aside.
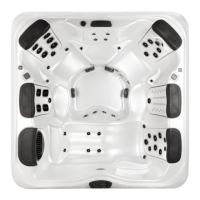
Step 2: Remove door - Carefully pull bottom of door out
toward you. Carefully grab the bottom corner of the door and
pull it out enough that you can slip your other hand in behind
the side of the door about 4-5 inches (10-13 cm) up from the
bottom. From there you will pull the door rmly away from the
spa until the snap on the door pulls out of the snap feature in
the rib. Continue to pull the door away until the second snap on
the other side pulls out. e door can then be dropped out of the
groove on top and removed from the spa.
Step 3: Electrical Disconnect – be sure to disconnect any
lighting or any other electrical wiring that is mounted onto the
door before completely removing it.
Step 4: When removed, lean door against spa.
To reinstall spa door, reverse the instructions above.
A,R & X Series Door Installation
Step 1: Electrical –Reconnect any lighting or electrical devices
on the door before installing.
Step 2: Door – Slip the upper lip of the door into the top
behind the lip of the spa. Lower the door while gently pushing on
it until you feel the snaps line up with the snap features in the
ribs. Starting from one side, force the rst snap into place and
then force the other side until the door is secured.
Step 3: Replace trim strips by snapping each carefully into the
trim channel.
X6R Door Removal
Step 1: Remove trim strips from trim channels by pulling
carefully and rmly, working from the bottom of the trim strip to
the top. Place trim strips aside.
Step 2: Remove door – Pull the bottom of the door forward, the
door can then be dropped out of the groove on top and removed
from the spa.
Step 3: Electrical Disconnect – be sure to disconnect any
lighting or any other electrical wiring that is mounted onto the
door before completely removing it.
Step 4: After the door has been completely removed, lean door
against spa.
X6R Door Installation
Step 1: Electrical –Reconnect any lighting or electrical devices
on the door before installing.
Step 2: Door – Slip the upper lip of the door behind the lip of
the spa. Place door securely against spa ush with the side panels.
Step 3: Replace trim strips by snapping each carefully into the
trim channel.