Page 6
49985 090814
Drain Install
1. Install drip tray bracket with 3 screws (included in bag).
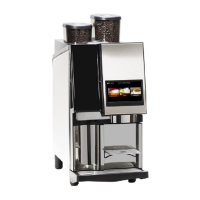
1. Attach the short drain hose to the drip tray fi tting.
2. Slide drip tray onto guide rails on front of machine.
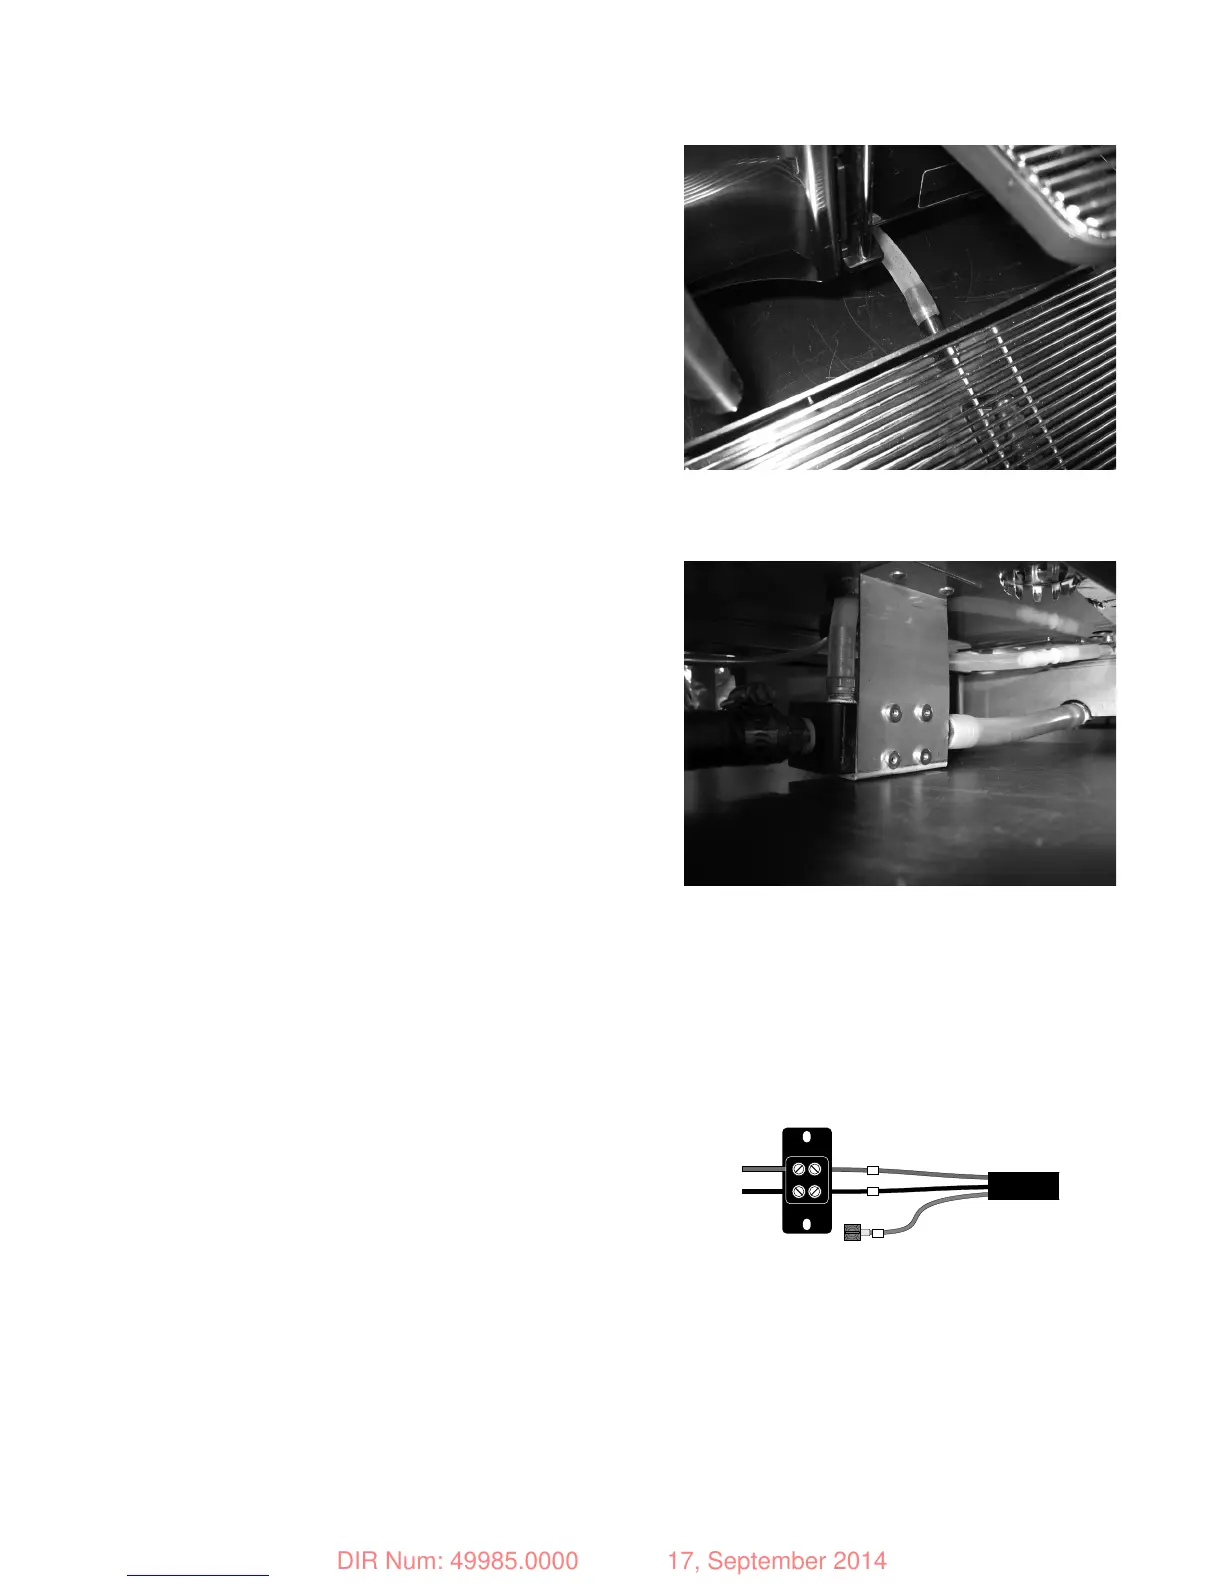
3. Attach other end of drain hose to manifold as shown.
4. Attach long drain hose to back of manifold and route to
fl oor drain or sink, fl owing downhill at all times.
5. Secure hose above the drain to maintain the air gap.
Water Supply Install
1. Ensure water is turned off.
2. Install the water fi ltration system between the water
supply and the machine inlet per manufacturer’s instal-
lation recommendations.
3. Connect one end of the inlet hose assembly to the
adapter and the other end to the water supply.
4. DO NOT TURN ON THE MAIN WATER SUPPLY UNTIL
REFRIGERATOR IS COMPLETELY CONNECTED. Check
for leaks; resolve any leak issues before proceeding.
Electrical Install
WARNING – Improper electrical installation will damage
electronic components.
1. Determine the available electrical service.
2. Ensure the proper voltage at the electrical source.
INSTALL DRAIN HOSE AND DRIP TRAY
INSTALL DRAIN HOSES TO MANIFOLD
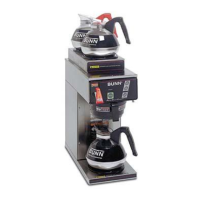
INSTALLATION-SURETAMP
208vac 2 wire + ground
L2 RED L2 RED
L2
L1 BLACK
L1
G
POWER CORD
GREEN
L1 BLACK
WARNING -
The brewer must be disconnected from the power source
until specifi ed in Initial Set-Up.
Refer to Data Plate on the Brewer, and local/national elec-
trical codes to determine circuit requirements.
ELECTRICAL HOOK-UP (All Models)
CAUTION – Improper electrical installation will dam-
age electronic components.
1. An electrician must provide electrical service.
2. Determine the available on-site electrical service.
3. Using a voltmeter, check the voltage and color
coding of each conductor at the electrical source.
4. Uncoil the power cord completely and plug se-
curely into the outlet or hard wire into electrical
box.
RELEASED FOR PRODUCTION
DIR Num: 49985.0000 17, September 2014