INSTALL HANDLE
1. Install the handle as shown in Fig 3.
2. Tighten all hardware.
INSTALL SHELF
1. Install shelf as shown in Fig 4.
2. Tighten all hardware.
GREASE BUCKET
1. Hang grease bucket from tube as shown in Fig 4.
ASH CUP
1. Install Ash Cup as shown in Fig 5. Never use grill without Ash Cup in place.
M6 X 15 SCREW
M6 X 15 SCREW
GREASE BUCKET
ASH CUP
M6 X 15 SCREW
M6 NUT
M6 FLAT WASHER
M6 LOCK WASHER
CHIMNEY GASKET
M6 NUT
M6 X 76 BOLT
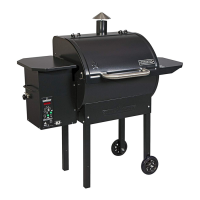
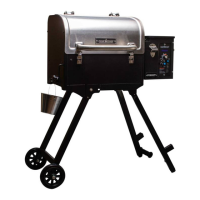
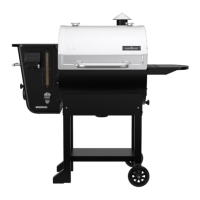
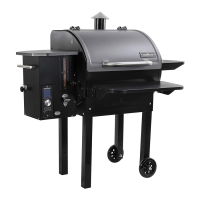
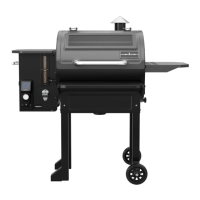
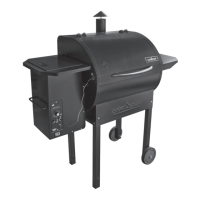
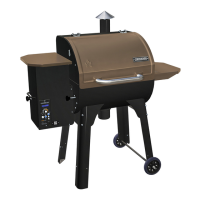
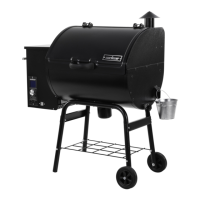
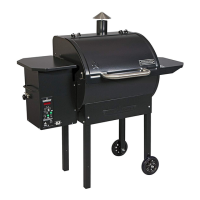
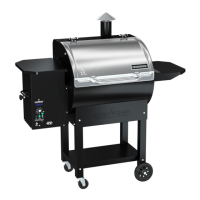
ASSEMBLY INSTRUCTIONS
ATTACH THE LEGS
1. Lay the grill on its back.
2. Install each of the 4 legs as shown in Fig 1. Make sure the legs with wheels are attached to the right side of the grill
with the wheels facing out.
3. Stand the grill upright
4. Tighten all hardware.
ATTACH CHIMNEY AND CHIMNEY CAP
1. Install chimney to grill as shown in Fig 2. Make sure to install the gasket between the grill and the chimney.
2. Tighten all hardware.
3. Install M6 x 76 Bolt through chimney cap and secure using Qty (1) M6 nut. Thread second nut onto bolt leaving
approximately 1.5” to the top of the cap. Thread cap assembly down into the chimney bracket until the lower nut hits
the bracket. See Fig 2.
4. The height of the chimney cap can be adjusted for summer and winter. In the summer the gap should be approximately
1-1/2”. In the summer the gap should be approximately ½”.
5. Tighten all hardware.
Fig. 1
Fig. 2
Fig. 3
Fig. 4
Fig. 5