PARTSTOBEINSTALLED
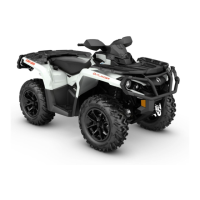
rbl2013-003-009_a
TYPICAL
1. Wood pie ce
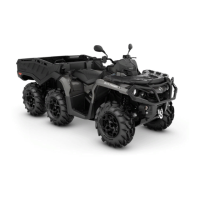
rbl2013-003-010_a
TYPICAL
1. Wood piece r emoved earlier
3. Remove the piece of wood from behind the rear
wheel.
rbl2
013-003-011_a
TYPICAL
1. Wood piece behind rear wheel
4. Care
fully remove pieces of wood positioned
earl
ier behind the front wheels.
5. With the help of your assistant, move v ehicle
rearward out of the crate base.
rbl2010-002-021_a
TYPICAL
NOTICE
Always move vehicle rearward out of
the crate base.
PARTS TO BE INSTALLED
Front Cargo Module
WARNING
Make sure ba
ttery is not connected before
installing
front cargo module. Do not install
front carg
o module if battery is connected
because sp
arks can occur if tools touch bat-
tery termi
nals.
1. Unlock and lift seat to full open position.
2. Remove LH and RH upper side panels.
2.1 Cut locking tie retaining upper side panel.
Remove panel nut and screw.
NOTE: Keep panel screws and nuts for instal-
lation further in procedure.
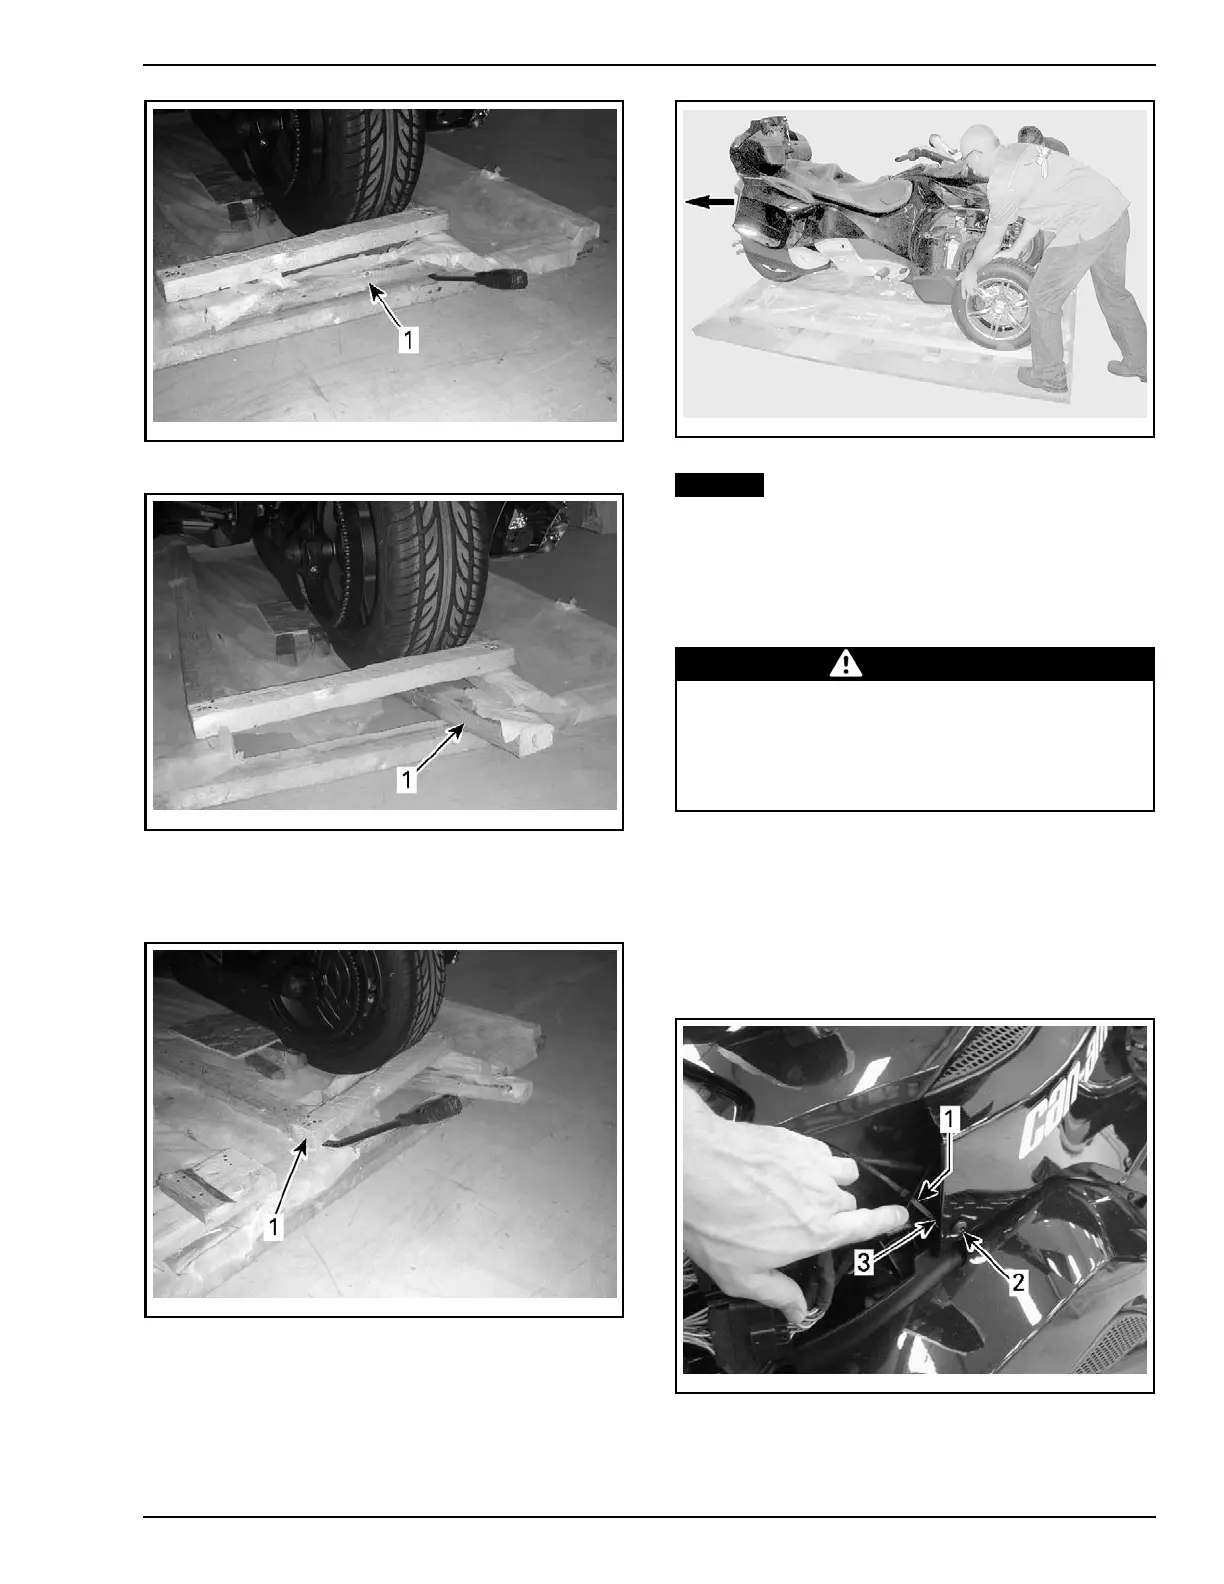
rbl2013-002-018_a
TYPI
CAL - BRAZIL MODELS
1. Locking tie
2. Panel screw
3. Pane
l nut
PREDELIVERY 2014-3 11 / 41
 Loading...