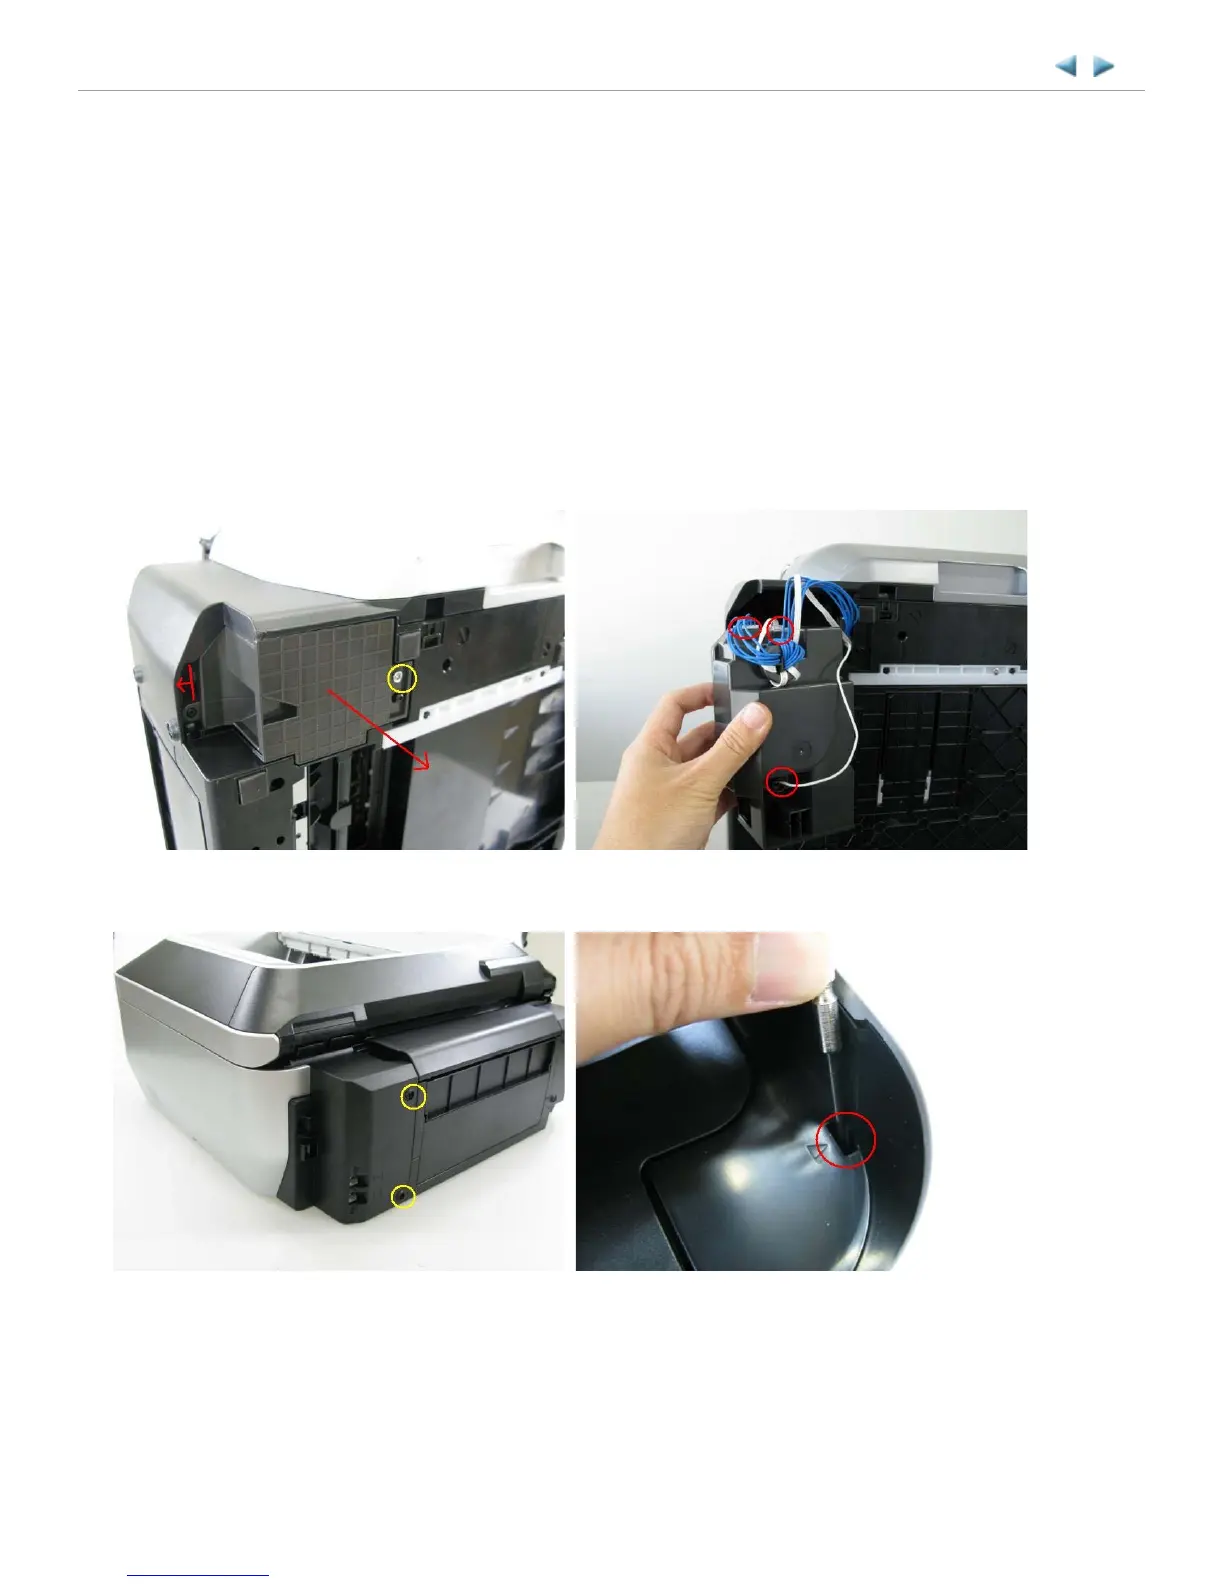
2-2. Disassembly & Reassembly Procedures (Click on the image to enlarge it.)
Be sure to protect the machine from static electricity in repair servicing, especially for the LCD, operation panel
board, scanner unit, logic board, card board, WLAN board, NCU board, and PE sensor board.
Some of the photos below are for the MX860 and MX870, since their structure is similar to that of the MX880
series.
(1) External housing, scanner unit, and document cover removal
MX880 series TABLE OF CONTENTS
1) Remove the cassette and the rear guide unit. (no screws)
2) Remove the AC adapter. (1 screw)
<Pull out the AC adapter from the bottom of the bottom case.>
<The core fits to the AC adapter rib.>
See "3-6. Special Notes on Servicing, (7) Power supply unit and modular board replacement."
3) Remove the side cover R. (2 screws)
<The scanner unit hinges are fitted in the right and left side covers.>