2
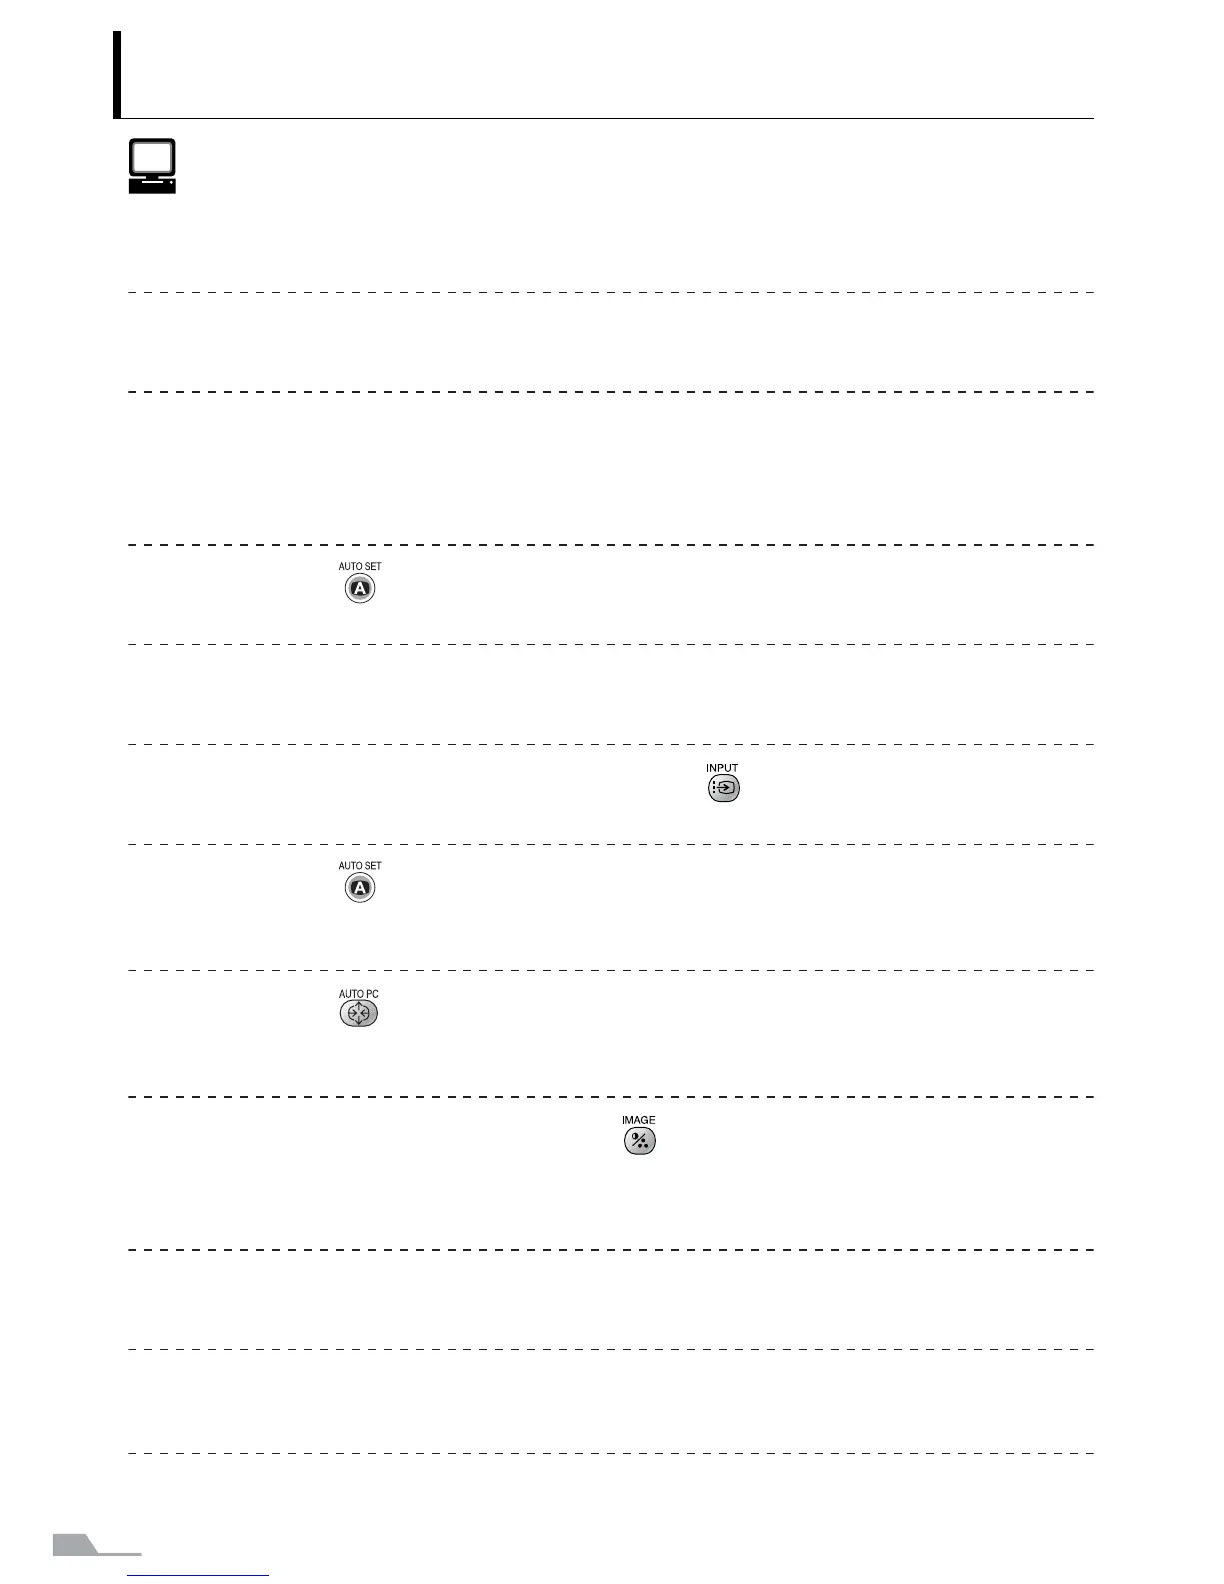
Quick Reference – How to start projection
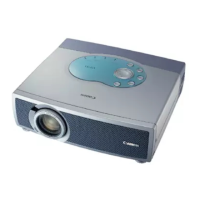
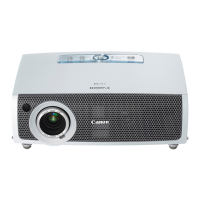
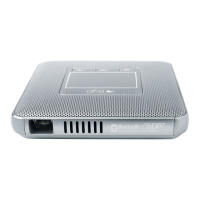
Computer
1. Install the projector. P30-31
z Install the projector at the desired distance from the screen.
2. Connect the projector. P34-37
z Connect the projector and the computer with a cable.
3. Turn on the projector. P38-39
z Connect the power cord and turn on the projector.
z Adjust the height of the projecting image (P41).
z Select a display language when turning on the projector for the first time (P39).
4. Press the button. P44
z Adjust the focus of the screen.
5. Set up the computer. P42-43
z Turn on the computer and set the resolution.
6. Select the input signal by pressing the button. P46-48
z Select an appropriate input signal in accord with the signal from the computer.
7. Press the button again. P44
z Adjust the input signal, focusing, keystone distortion, etc. automatically with the
auto setup function.
8. Press the button. P52
z Optimize the input signal with the auto PC function (Skip this step if the projector
is projecting an image properly.)
9. Select the image mode with the button. P53-54
z Select an appropriate image mode for projection.
z Specify the aspect ratio or display area in the [Aspect] menu as required (P55,
88).
10. Start the presentation. P76-81
z Set the useful functions available during the presentation from the remote control.
Turn off the projector P58-59
z Turn off the projector and unplug the power cord.
Finishing the projection...
 Loading...