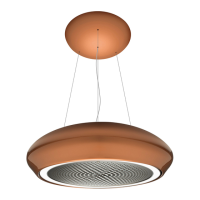
Instruction manual COR541SL20
Please keep this instruction manual for future reference
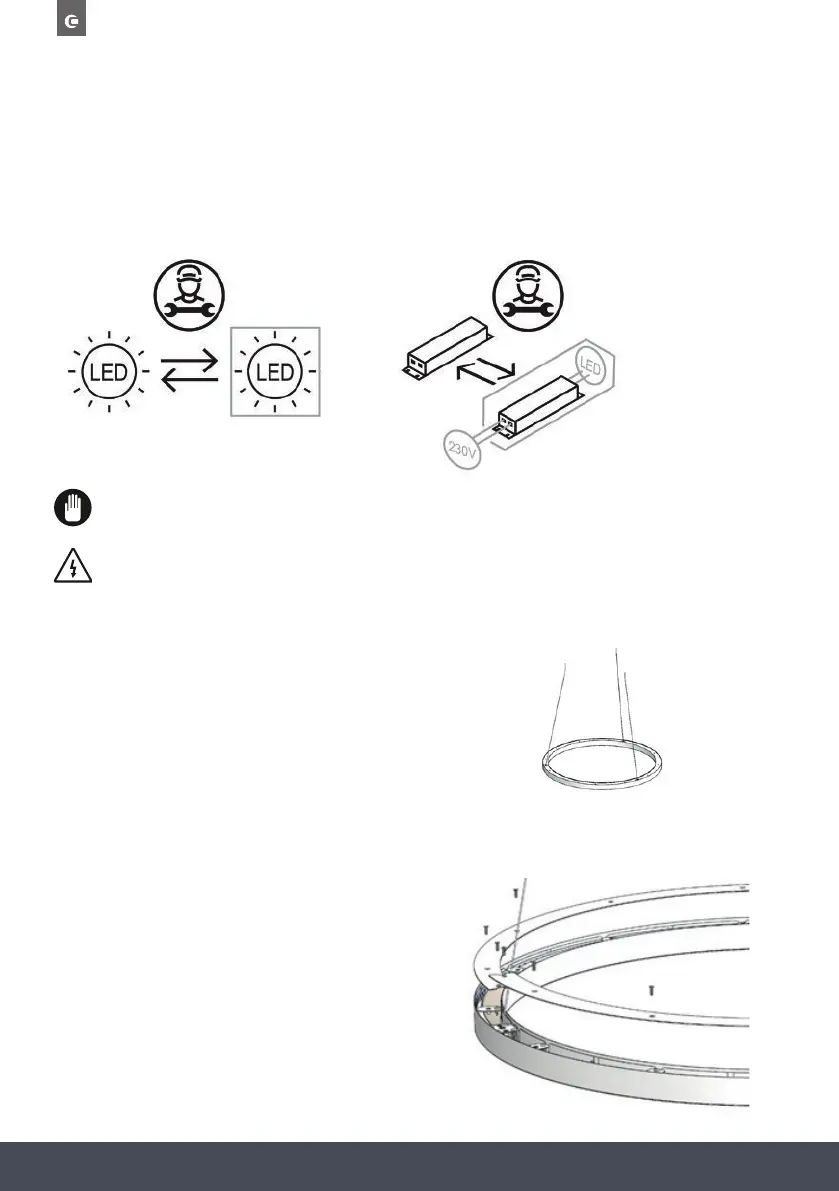
REPLACING LED LIGHTING
LIGHT SOURCE ENERGY CLASS
This product contains a light source of energy efficiency class F.
The LED light must be replaced by an authorised engineer or similar only. For more
information, please contact Caple service - 0117 938 7420 or service@caple.co.uk
Unplug the unit from the power supply before starting the process.
1. Un-install the LED Ceiling light from the hood and place on a suitable work surface
(see page 13 and follow the instructions in reverse).
2. Remove the screws from the top of the light structure.
1. Carefully remove the 2 screws that secure the light.
2.Remove the LED light from its housing.
3.Disconnect the connector and change the LED light.
4.Implement the steps in reverse order.
5.After waiting 5 minutes, plug the unit.
,
Unplug the unit from the power supply before starting the process.
LIGHT SOURCE ENERGY CLASS
This product containsalightsourceofenergy efficiency class F.
LED strip
1. Carefully insert a flat screw driver into the edge of the cover and lift cover off.
2.Remove the LED light from its housing.
3.Disconnect the connector and change the LED light.
4.Implement the steps in reverse order.
5.After waiting 5 minutes, plug the unit.
,
Unplug the unit from the power supply before starting the process.
LIGHT SOURCE ENERGY CLASS
Thisproductcontains alightsourceofenergy efficiency class F.
LED strip
1.Un-install the LED Ceiling light from the
hood and place on a suitable work
surface (see page 13 and follow the
instructions in reverse).
2.Remove the screws from the top of the
light structure.
1. Carefully remove the 2 screws that secure the light.
2.Remove the LED light from its housing.
3.Disconnect the connector and change the LED light.
4.Implement the steps in reverse order.
5.After waiting 5 minutes, plug the unit.
,
Unplug the unit from the power supply before starting the process.
LIGHT SOURCE ENERGY CLASS
This product containsalightsourceofenergy efficiency class F.
LED strip
Unplug the unit from the power supply before starting the process
1. Open the glass panels.
2. Use an appropriate tool to remove the
screws that fix the LED bars.
3.Remove the LED light from its housing
by sliding to the side. Disconnect the
connector and change the LED light.
4.Implement the steps in reverse order.
5.After waiting 5 minutes, plug in the unit.
1. Carefully insert a flat screw driver into the edge of the cover and lift cover off.
2.Remove the LED light from its housing.
3.Disconnect the connector and change the LED light.
4.Implement the steps in reverse order.
5.After waiting 5 minutes, plug the unit.
,
Unplug the unit from the power supply before starting the process.
LIGHT SOURCE ENERGY CLASS
Thisproductcontains alightsourceofenergy efficiency class F.
LED strip
1. Carefully remove the 2 screws that secure the light.
2.Remove the LED light from its housing.
3.Disconnect the connector and change the LED light.
4.Implement the steps in reverse order.
5.After waiting 5 minutes, plug the unit.
,
Unplug the unit from the power supply before starting the process.
LIGHT SOURCE ENERGY CLASS
This product containsalightsourceofenergy efficiency class F.
LED strip
1. Carefully insert a flat screw driver into the edge of the cover and lift cover off.
2.Remove the LED light from its housing.
3.Disconnect the connector and change the LED light.
4.Implement the steps in reverse order.
5.After waiting 5 minutes, plug the unit.
,
Unplug the unit from the power supply before starting the process.
LIGHT SOURCE ENERGY CLASS
Thisproductcontains alightsourceofenergy efficiency class F.
LED strip
1.Un-install the LED Ceiling light from the
hood and place on a suitable work
surface (see page 13 and follow the
instructions in reverse).
2.Remove the screws from the top of the
light structure.
1. Carefully remove the 2 screws that secure the light.
2.Remove the LED light from its housing.
3.Disconnect the connector and change the LED light.
4.Implement the steps in reverse order.
5.After waiting 5 minutes, plug the unit.
,
Unplug the unit from the power supply before starting the process.
LIGHT SOURCE ENERGY CLASS
This product containsalightsourceofenergy efficiency class F.
LED strip
1. Carefully insert a flat screw driver into the edge of the cover and lift cover off.
2.Remove the LED light from its housing.
3.Disconnect the connector and change the LED light.
4.Implement the steps in reverse order.
5.After waiting 5 minutes, plug the unit.
,
Unplug the unit from the power supply before starting the process.
LIGHT SOURCE ENERGY CLASS
Thisproductcontains alightsourceofenergy efficiency class F.
LED strip
1.Un-install the LED Ceiling light from the
hood and place on a suitable work
surface (see page 13 and follow the
instructions in reverse).
2.Remove the screws from the top of the
light structure.
 Loading...