Carefree of Colorado Service Manual ECLIPSE
REPLACING THE ARM ROLLERS
Use Kit number R019291-005 for white or
R019251-006 for black.
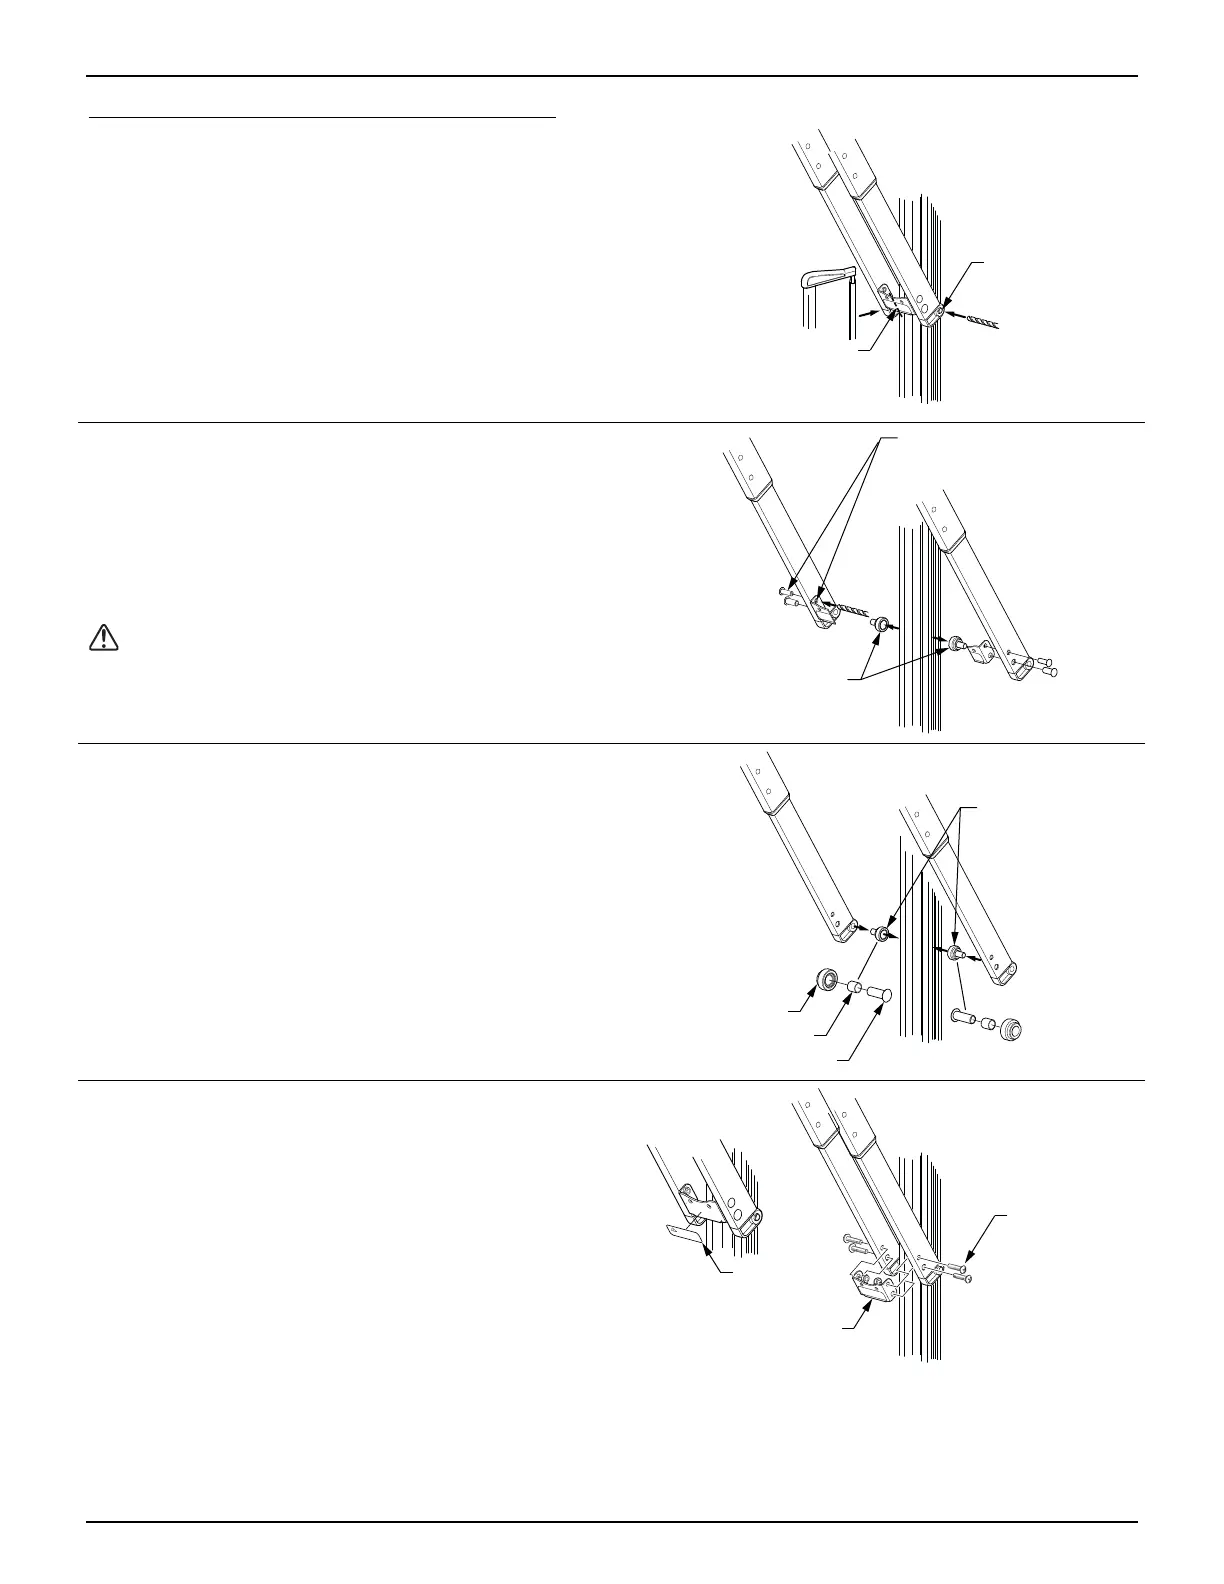
1. Open the awning completely.
2. Use a ladder or scaffold to support the roller tube.
3. Disconnect power to the awning.
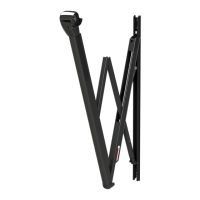
4. Cut the tie bracket in half.
5. Drill out the roll rivets from the roller on both sides
of the arm. Drill only the rivet; do not drill into the
roller mount at the bottom of the channel.
Cut Tie Bracket
Drill Out Rivet
Holding Roller
(2 plcs)
E0061a
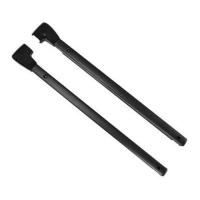
6. Spread the arm channels and hold slightly skewed.
From inside the channels, drill out the 4 rivets that
hold the tie bracket halves. Remove and discard
parts.
7. Pull out the roller from the channel. It may be
necessary to use a flat blade screwdriver or similar
tool to "pop out" the roller.
CAUTION USE A RAG OR SIMILAR PROTECTION
BETWEEN ANY TOOLS AND THE SURFACES OF THE ARMS
.
THIS IS TO PREVENT SCRATCHING OR DAMAGING THE
SURFACE
.
Drill Out and Remove
Bracket Rivets
(4 plcs)
Remove Roller
From Extrusions
E0061b
8. Assemble the new roller, standoff and rivet as
shown then insert the roller into the channel of the
extrusion. It may be useful to use a clamp or wide
mouth pair of pliers to squeeze the new roller into
the channel of the extrusion.
9. Slide the arm channels onto the rivets.
NOTE: It is not necessary to crimp or roll the new
roller rivet. When the assembly is
complete; the rivet is trapped and cannot
come out.
Roller
Standoff
Rivet
Insert Rollers
into Channel
(2 plcs)
Slide Arm
Onto Rivet
E0061c
10. Position the new tie bracket between the arm
channels.
11. Attach using four (4) each 1/4-20 x 1 truss head
screws and nylock nuts. Use the existing rivet
holes in the channels. Before tightening, make
sure that the front of the bracket is parallel with the
front face of the channels.
12. Clean the surface of the bracket then attach the
warning label to the front of the bracket.
13. Remove the roller tube supports and reconnect
power to the awning.
Tie Bracket
1/4-20 Screw
& Nut
(4 plcs)
E0061d
DANGER
Keep Ha
nds
Clear
Label
052547-301r7 13