91
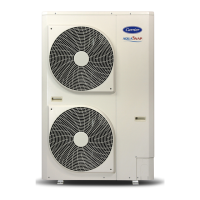
30AW
Carrier interfaces
7
7.2 33AW-RC1 user interface
WARNING:
#FGPSFJOTUBMMJOHUIFSFNPUFDPOUSPMMFSUVSOPòBMMQPXFSUPUIFVOJUUIBU
will supply power to the remote controller. Electrical shock can cause
personal injury or death.
- Open the remote controller rear mounting base to expose mounting
holes. The base can be removed to simplify mounting (snap apart
carefully at hinge to separate mounting base from remainder of the
remote controller).
- Route the remote controller wires through the large hole in the
mounting base. Level mounting base against wall (for aesthetic value
only).
- Mark the wall through the 2 mounting holes. Drill two 5 mm mounting
holes in wall where marked.
- Secure mounting base correctly to wall with 2 screws and anchors
provided, (additional anchoring holes available for more secure
mounting if needed) making sure all wires extend through hole in
mounting base.
- Adjust length and routing of each wire to reach the proper terminal in
the connector block on the mounting base. (Strip only 6 mm of
insulation from each wire to prevent adjacent wires from shorting
together when connected).
- Match and connect equipment wires to proper terminals in the
connector block.
- Both power and communication wires must be connected correctly for
proper remote controller operation.
- Push any excess wire into the wall and against mounting base..
SM_30AW.indd 91 14-03-2011 14:45:45
 Loading...