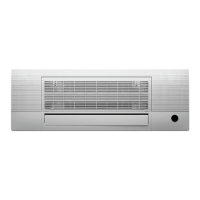
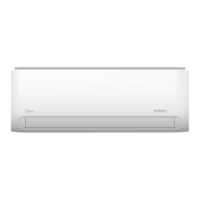
DLFSOAH: Installation Instructions
Manufacturer reserves the right to change, at any time, specifications and designs without notice and without obligations.
7
PRIOR TO INSTALLATION
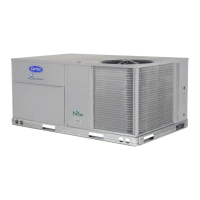
Before installing the indoor unit, ensure the compatibility with the
outdoor unit using the product data as a reference. It is also necessary to
confirm the proper application of the equipment and to perform a heat
load calculation for proper sizing.
Step 1 - Select Unit Location
Before installing the indoor unit (cassette), select an appropriate location.
The following are standards that will help you choose an appropriate
location for the unit.
Proper installation locations meet the following standards:
• Enough room for installation and maintenance
• Enough room for the line set and drainpipe
• A horizontal ceiling and a structure that can sustain the weight of the
indoor unit
• The air inlet and outlet are not impeded
• The airflow can fill the entire room
• The is no direct radiation from heaters.
Step 2 - Indoor Unit Installation
Ensure that only specified components are used for the installation.
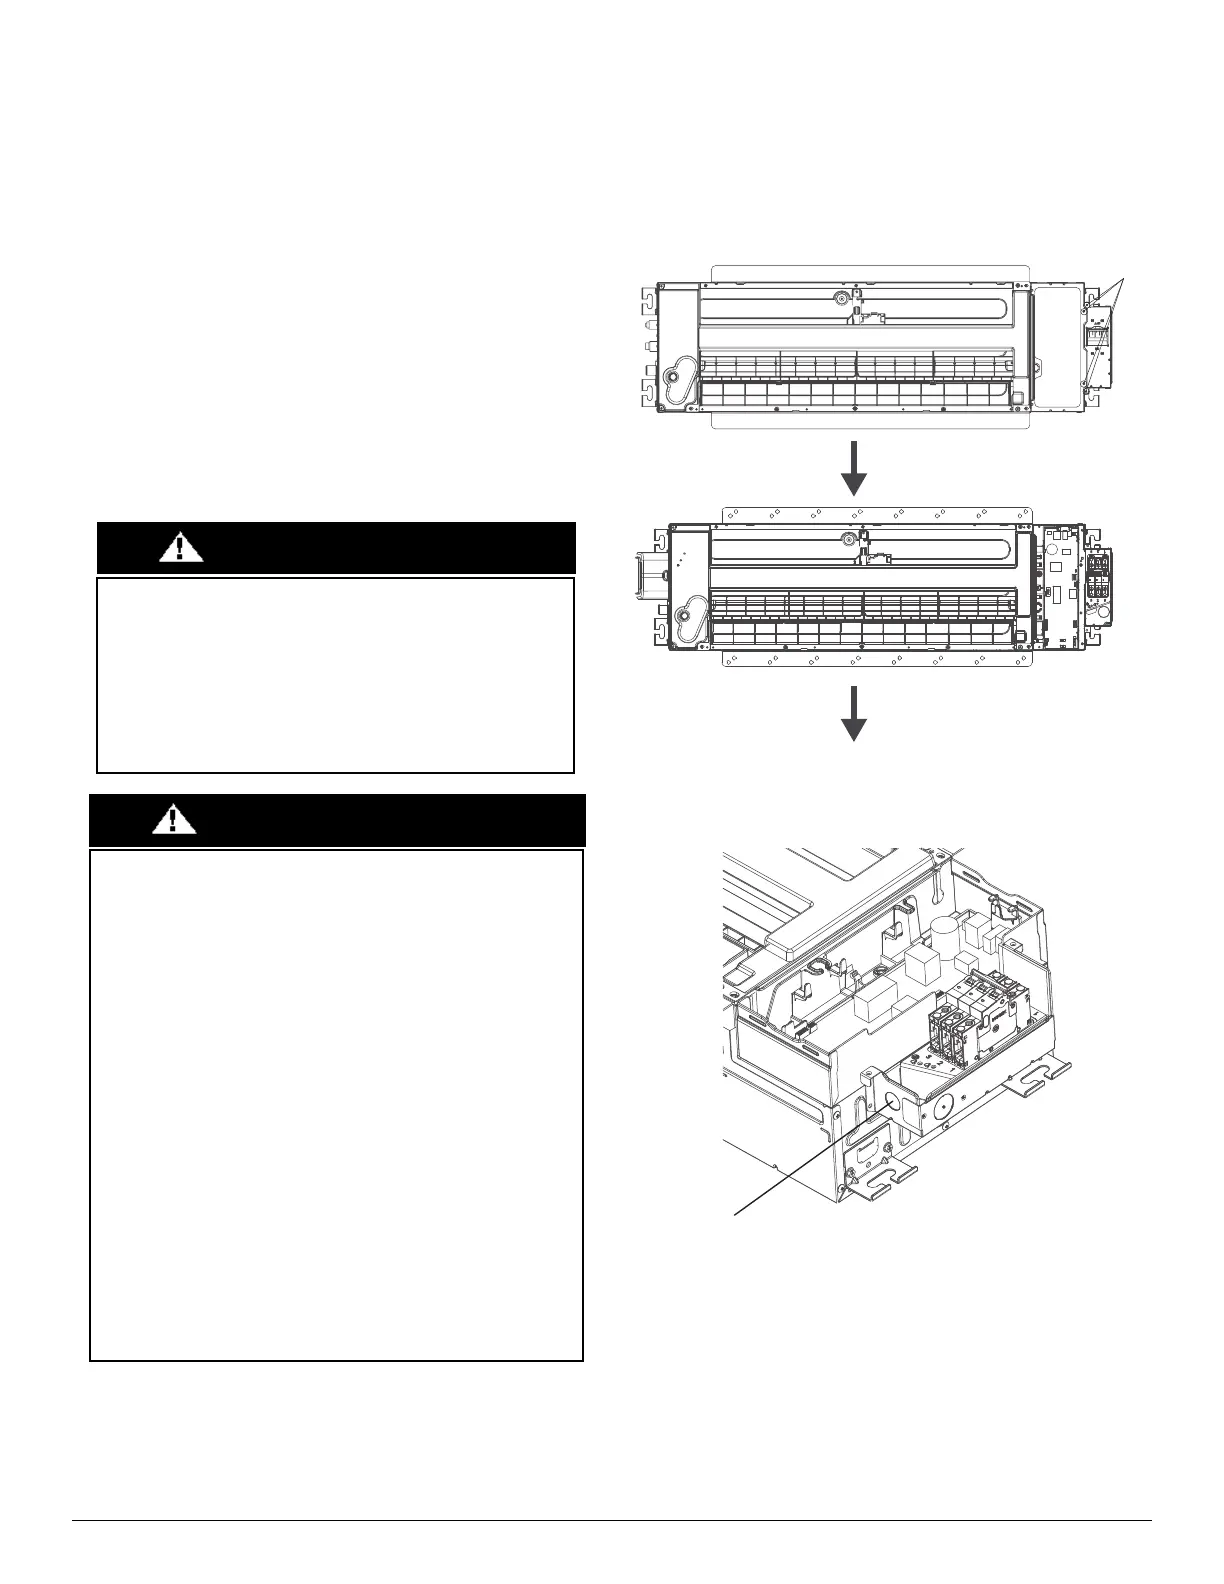
1. Connect the wire to the indoor unit.
a. Remove the four screws to open the indoor control box and
disconnect switch box.
Fig. 4 — Remove 4 screws
b. Remove the electrical knockout on the disconnect switch box.
Fig. 5 — Remove the Electrical Knockout
DO NOT install the unit in the following locations:
• Areas with oil drilling or fracking
• Coastal areas with high salt content in the air
• Areas with caustic gases in the air, such as near hot springs
• Areas with power fluctuations, such as factories
• Enclosed spaces, such as cabinets
• Areas with strong electromagnetic waves
• Areas that store flammable materials or gas
• Rooms with high humidity, such as bathrooms or laundry rooms.
CAUTION
PRODUCT INSTALLATION
• Installation must be performed by an authorized dealer or specialist.
A defective installation can cause water leakage, electrical shock, or
fire.
• The installation must be performed according to the installation
instructions. Improper installation can cause water leakage, electrical
shock, or fire. (In North America, installation must be performed in
accordance with the requirements of NEC or CEC by authorized
personnel only.)
• Contact an authorized service technician for repair or maintenance of
this unit. This appliance must be installed in accordance with local
codes.
• Only use the included accessories, parts, and specified parts for
installation. Using non-standard parts can cause water leakage,
electrical shock, fire, or unit failure.
• Install drainage piping according to the instructions in this manual.
Improper drainage may cause water damage to your home and
property.
• DO NOT install the unit in a location that may be exposed to
combustible gas leaks. If combustible gas accumulates around the
unit, it may cause a fire.
• DO NOT turn on the power until all work has been completed.
• When moving or relocating the system, consult experienced service
technicians for the disconnection and re-installation of the unit.
WA R N I N G
electrical knockout