Installation Instructions
NOTE: Read the entire instruction manual before starting the
installation.
NOTE: The Dual Point Kit can only be installed on units equipped with
a 2nd electrical entry (knockout), the knockout was added to the
electrical panel starting with the following unit serial numbers:
2711X_ _ _ _ _ and later
X1127_ _ _ _ _ and later
NOTE: Read the entire instruction manual before starting the
installation.
NOTE: Installation Instructions include Single and Dual point
connection instructions separately.
SAFETY CONSIDERATIONS
Improper installation adjustment, alteration, service, maintenance, or use
can cause explosion, fire, electrical shock, or other conditions which
may cause death, personal injury, or property damage. Consult a
qualified installer, service agency, or your distributor or branch for
information or assistance. The qualified installer or agency must use
factory-authorized kits or accessories when modifying this product Refer
to the individual instructions packaged with the kits or accessories when
installing.
Follow all safety codes. Wear safety glasses, protective clothing, and
work gloves. Use quenching cloth for brazing operations. Have a fire
extinguisher available. Read these instructions thoroughly and follow all
warnings or cautions included in literature and attached to the unit.
Consult local building codes, the current editions of the National
Electrical Code (NEC) NFPA 70.
In Canada refer to the current editions of the Canadian Electrical Code
CSA C22.1.
Recognize safety information. This is the safety-alert symbol . When
you see this symbol on the unit and in instructions or manuals, be alert to
the potential for personal injury. Understand these signal words;
DANGER, WARNING, and CAUTION. These words are used with the
safety-alert symbol. DANGER identifies the most serious hazards which
will result in severe personal injury or death. WARNING signifies
hazards which could result in personal injury or death. CAUTION is
used to identify unsafe practices which may result in minor personal
injury or product and property damage. NOTE is used to highlight
suggestions which will result in enhanced installation, reliability, or
operation.
Before proceeding with heater installation, inspect thoroughly for
shipping damage. Notify shipper immediately if any damage is found.
Clean all dirt, dust and moisture from heater package.
Check for proper clearances of live parts, between phases and to ground.
Make sure that all required barriers are in place. Check conductors run in
multiple to insure that they are properly wired. Refer to unit installation
instructions for complete unit installation details. The minimum air
quantity for safe electric heater operation is shown in Table 2.
DESCRIPTION AND USAGE
These heaters are comprised of a separate heater module mounted on the
blower inlet and remote mounted controls located in the unit control box.
Heater models are provided with single point electrical connections for
powering both the heater and the unit.
These heaters are intended for use only in SPP units as noted in Table 1.
PACKAGE CONTENTS
Electric Heater Package Contents
1. Heater assembly, comprised of heater module and control panel
2. UPC heater label
3. Installation Instructions
4. Identification label
5. Wiring label
6. Wire connectors (2)
7. Wire tires-6” (5)
8. Screws #10B (4)
9. Ground lug (1) (See Fig. 8)
10. Bolts 3/8-16 (3)
11. Plug attachment plate
12. Dual Point Electric Rating Label
13. Dual Point Warning Label
INSTALLATION
Single Point Heater Installation
1. Open all electrical disconnects and install lock-out tag before
beginning any installation or service work.
2. Check for proper heater application in Table 1.
3. Remove unit side panel to access blower compartment (See Fig. 1
and Fig. 2).
4. Disconnect wiring to motor by removing speed selection and power
plugs from bottom of motor (See Fig. 2).
5. Remove rear blower support bracket. Remove shipping block and
label under blower if unit has one (See Fig. 2).
6. Remove screws securing blower to front blower support bracket;
slide blower out of unit.
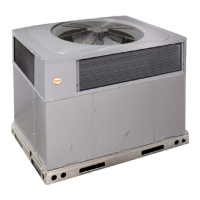
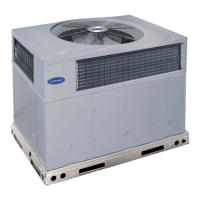
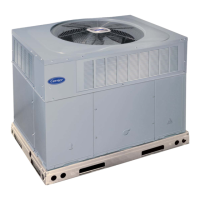
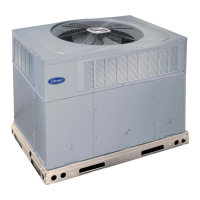
50ZPB, C, D, 50ZHB, C,
PA3Z-A, PH3Z-A, PA4Z, PH4Z, PAJ4, PHJ4, WJA4, WJH4
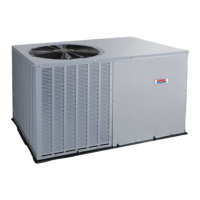
SMALL PACKAGED PRODUCTS (SPP)
Accessory Electric Heaters 5-20 kW
For 14 SEER, R-410A Manufactured Home
WARNING
!
ELECTRICAL SHOCK HAZARD
Failure to follow this warning could result in personal injury or death.
Before performing installation, service or maintenance operations on
this system, turn off all main power to system. There may be more than
one disconnect switch. Turn off accessory heater power switch if
applicable. Lock out and tag switch with a suitable warning label.