Page 4 of 16 SC-409-10 Installation and Operating Instructions
11/10/05 CP4958A
INSTALLATION
Proper installation of the unit is essential for years of safe, reliable operation. Please read all
instruction before
installing the unit. Failure to follow these instructions can cause serious dam-
age to the unit or vehicle and may void warranties.
SAFETY PRECAUTIONS
For the safety of the installer, vehicle operator, passengers and the community please observe
the following safety precautions. Failure to follow all safety precautions and instructions may
result in property damage, injury or death.
Qualifications - The installer must have a firm knowledge of basic electricity, vehicle electrical
systems and emergency equipment.
Mounting - Mount the unit for easy access by the vehicle operator. DO NOT mount in air bag
deployment area. Assure clearances before drilling in vehicle.
Wiring - Use wiring capable of handling the current required. Make sure all connections are tight.
Route wiring to prevent wear, overheating and interference with air bag deployment. Install and
check all wiring before connection to vehicle battery.
Testing - Test all siren functions after installation to assure proper operation. Test vehicle opera-
tion to assure no damage to vehicle.
Keep These Instructions - Keep these instructions in the vehicle or other safe place for future
reference. Advise the vehicle operator of the location.
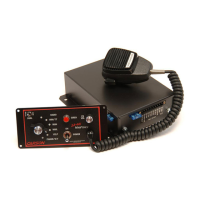
UNPACKING
Inspect contents for shipping damage. If found alert carrier immediately
. Contents should in-
clude unit with attached microphone, mounting bracket, microphone bracket with screws, mount-
ing bolts, connectors and these instructions. Contact supplier immediately if any components are
missing.
MOUNTING
The mounting bracket supplied can be installed above or below the unit. Choose a mounting
location convenient to the operator and away from any air bag deployment areas. Inspect behind
mounting area for clearance. Assure adequate ventilation to prevent overheating. Consider wire
routing and access to connections, as well as microphone bracket placement. Install mounting
bracket to vehicle using 1/4" hardware (not supplied).
If mounting in a rack or console, make sure that mounting bolts do not enter case more than 1/4".
OPTION SWITCHES
Various options may be selected by turning on
or off DIP switches internally mounted on the
printed circuit board inside the case.
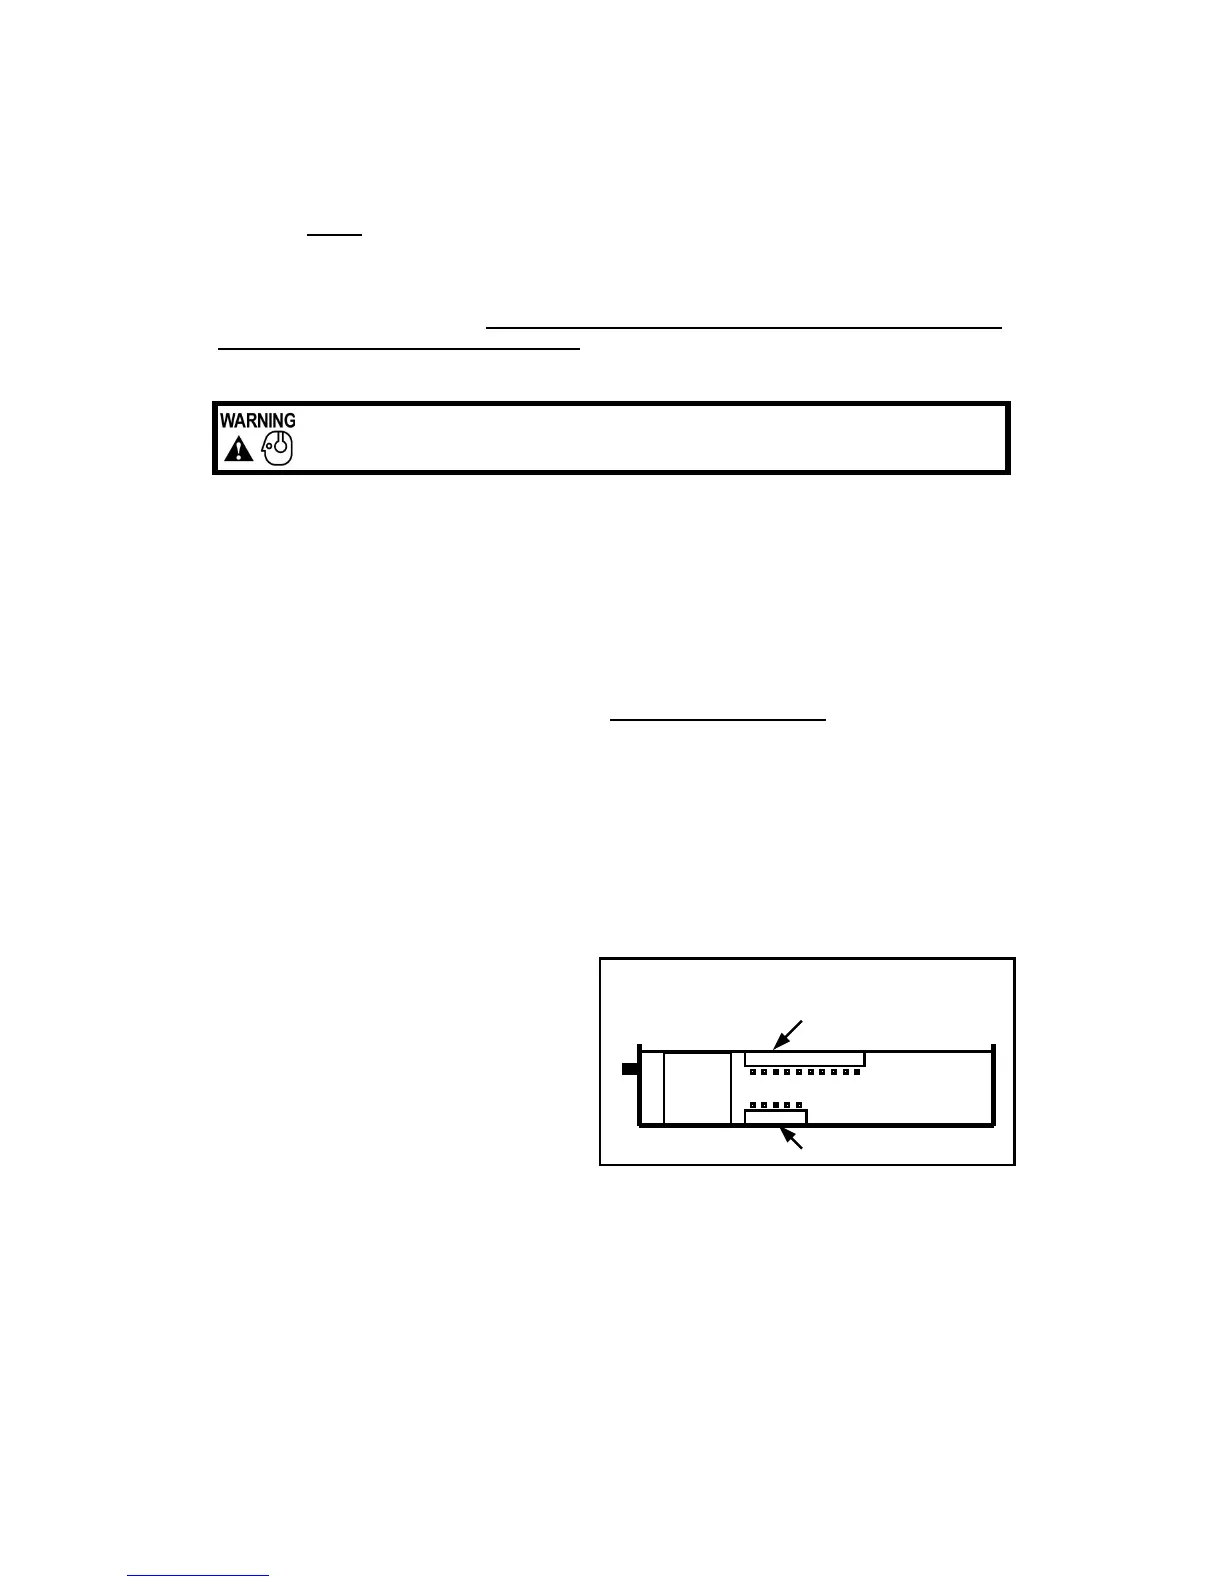
Accessing Option Switches - Remove the
12-Pin plug to prevent shorting then remove
the case cover by removing two screws at the
bottom rear corners of the unit.
SWA-1 (CUT_P) Cutout Input Polarity - The
cutout input is normally activated by positive.
Turn switch off to activate with negative.
SWA-2 (AUX_P) Auxiliary Input Polarity - The auxiliary input is normally activated by positive.
Turn switch off to activate with negative.
SWA-3 (TO) Timed Override - While in Wail, Yelp, or Phaser mode, momentarily pressing the
Manual push-button will toggle between tones overriding the Wail, Yelp, or Phaser tone. With this
option selected (turn on switch) the unit automatically goes back to the previous tone after 10
seconds without having to press Manual push-button again. In summary, press Manual button
once to override tone, then unit automatically goes back to previous tone.
SWA-4 (SWP) Sweep/Intersection Function (SWP/INT) - While in Wail, Yelp, or Phaser mode,
momentarily activating the auxiliary input will change the unit into sweep and intersection function.
See OPERATION section for further details. Turn this switch on to enable this function.
Sound Hazard
- Sound level from siren speaker (>120dBA @ 10 feet) may cause hearing damage.
Do not operate siren without adequate hearing protection for you and anyone in immediate vicinity.
(Ref. OSHA 1910.95 for occupational noise exposure guidelines)
SIDE VIEW COVER REMOVED
A - SWITCHES (SWA)
B - SWITCHES (SWB)