www.casellasolutions.com
and moves to the next setting. Any changes made will become the
default when the dBadge2 is next powered up.
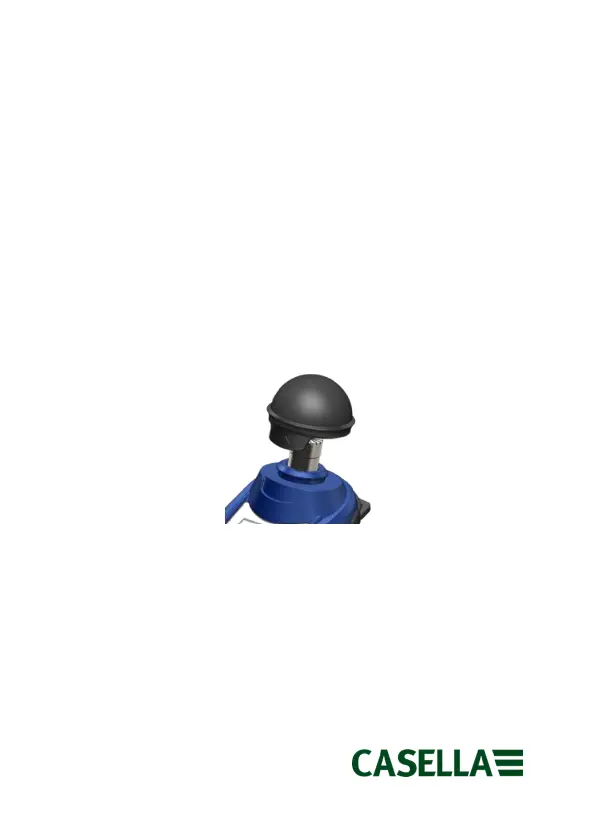
Fitting and Removing the Windscreen
The Windscreen protects the sensitive microphone against dirt,
moisture, impact damage and air movement that may otherwise
affect the measurement. To remove the Windscreen (e.g. in order to
perform a calibration), grip the black plastic body and push in the
direction of the arrow indicated on the tab of the Windscreen. Refit
by aligning the tab with the recess in the main body of the dBadge2.
An audible “click” confirms that it is securely in place.
Mounting Clips
It will not normally be necessary to remove the clips. Please refer to
the full handbook for details of how to do this.
Calibration
With the dBadge2 in stop mode, remove the Windscreen and place a
CEL-120/2 acoustic calibrator firmly over the microphone and switch