– 23 –
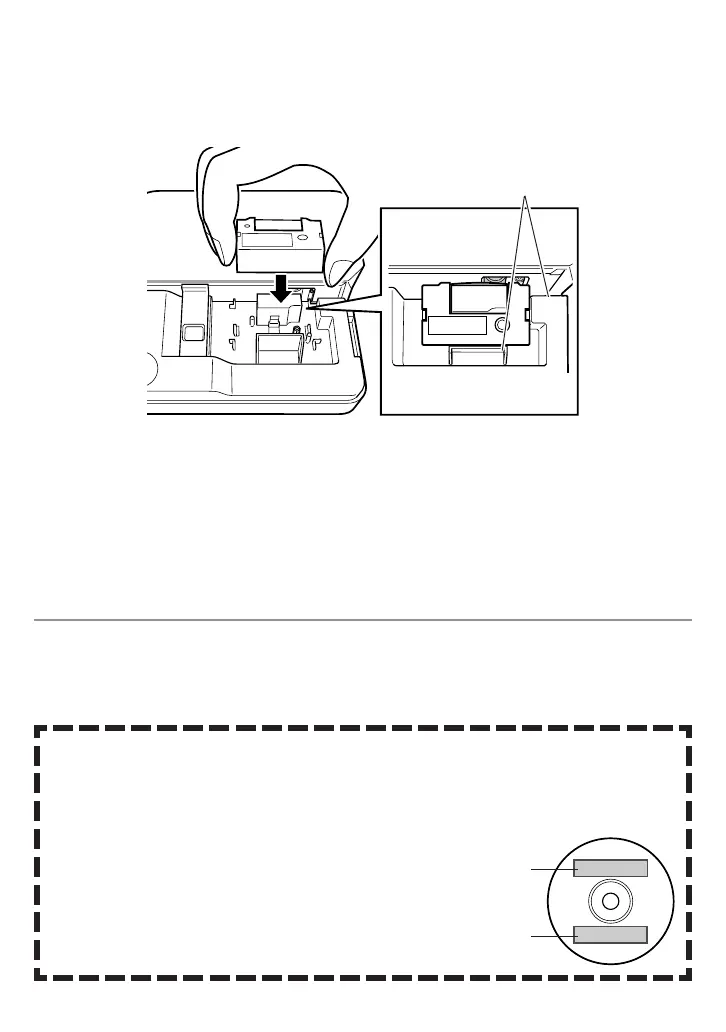
4. Load the ink ribbon cassette into the printer.
•
Make sure that the ink ribbon passes between the print head the rubber roller
as shown in the illustration below. Press down on the ink ribbon cassette until
you hear them click securely into place.
Important!
• Installing the ink ribbon cassette incorrectly or failing to secure them properly
in place can cause the ribbon to break.
5. Close the cassette cover.
• Press down on the cassette cover until you hear it click securely into place.
To remove the ink ribbon cassette
1. Open the cassette cover.
2. Grasping both sides of the ink ribbon cassette, lift it straight up.
Storing a Partially Used Ink Ribbon Cassette
Install a stopper on the partially used ink ribbon cassette, place the cas-
sette into its plastic bag, and then into its box. Store it where it will not be
exposed to dirt and dust.
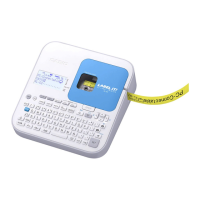
Number of Prints Per Ink Ribbon Cassette
• Upper or Lower Label Only: Approximately 40
prints
• Upper and Lower Label: Approximately 20
prints
Upper label
Lower label
Make sure these
lines are parallel.