– 32 –
DIAGNOSTIC PROGRAM
Initial Setting
1. Connect the AC adaptor.
2. Connect the pedal.
Even if a pedal unit is unavailable for the test, all the tests except for the pedal check may be performed.
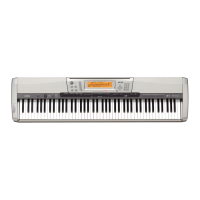
* SP-3 is the pedal unit that comes with PX-130.
Connect it to the DAMPER PEDAL terminal in the back of the main unit.
* SP-32 is a pedal unit sold separately.
Connect it to the pedal connector on the bottom of the main unit.
To use SP-32, you will need the stand CS-67P, sold separately.
3. "Main" volume: MAX
4. Have a PC and a USB cable ready. (They will be used in the USB check.)
Operating System: Windows
®
XP (SP2 or later) *1
Windows Vista
®
*2
Windows 7
®
*3
Mac OS
®
X (10.3.9, 10.4.11 or later, 10.5.6 or later, 10.6.2 or later)
*1: Windows XP Home Edition/Windows XP Professional (32 bit)
*2: Windows Vista (32 bit)
*3: Windows 7 (32 bit, 64 bit)
How to start the diagnostic program
1. Hold down the "METRONOME", "RECORDER", and "SONG (
u
/
n
)" buttons at the same time, to turn
the power ON.
2. Release the
"METRONOME", "RECORDER", and "
SONG (
u
/
n
)
" buttons.
3. After the diagnostic program is launched, Automatic Test will start.
Select Sequential Test or Single Test after Automatic Test is completed.
Be sure to turn off the power when the test is nished.
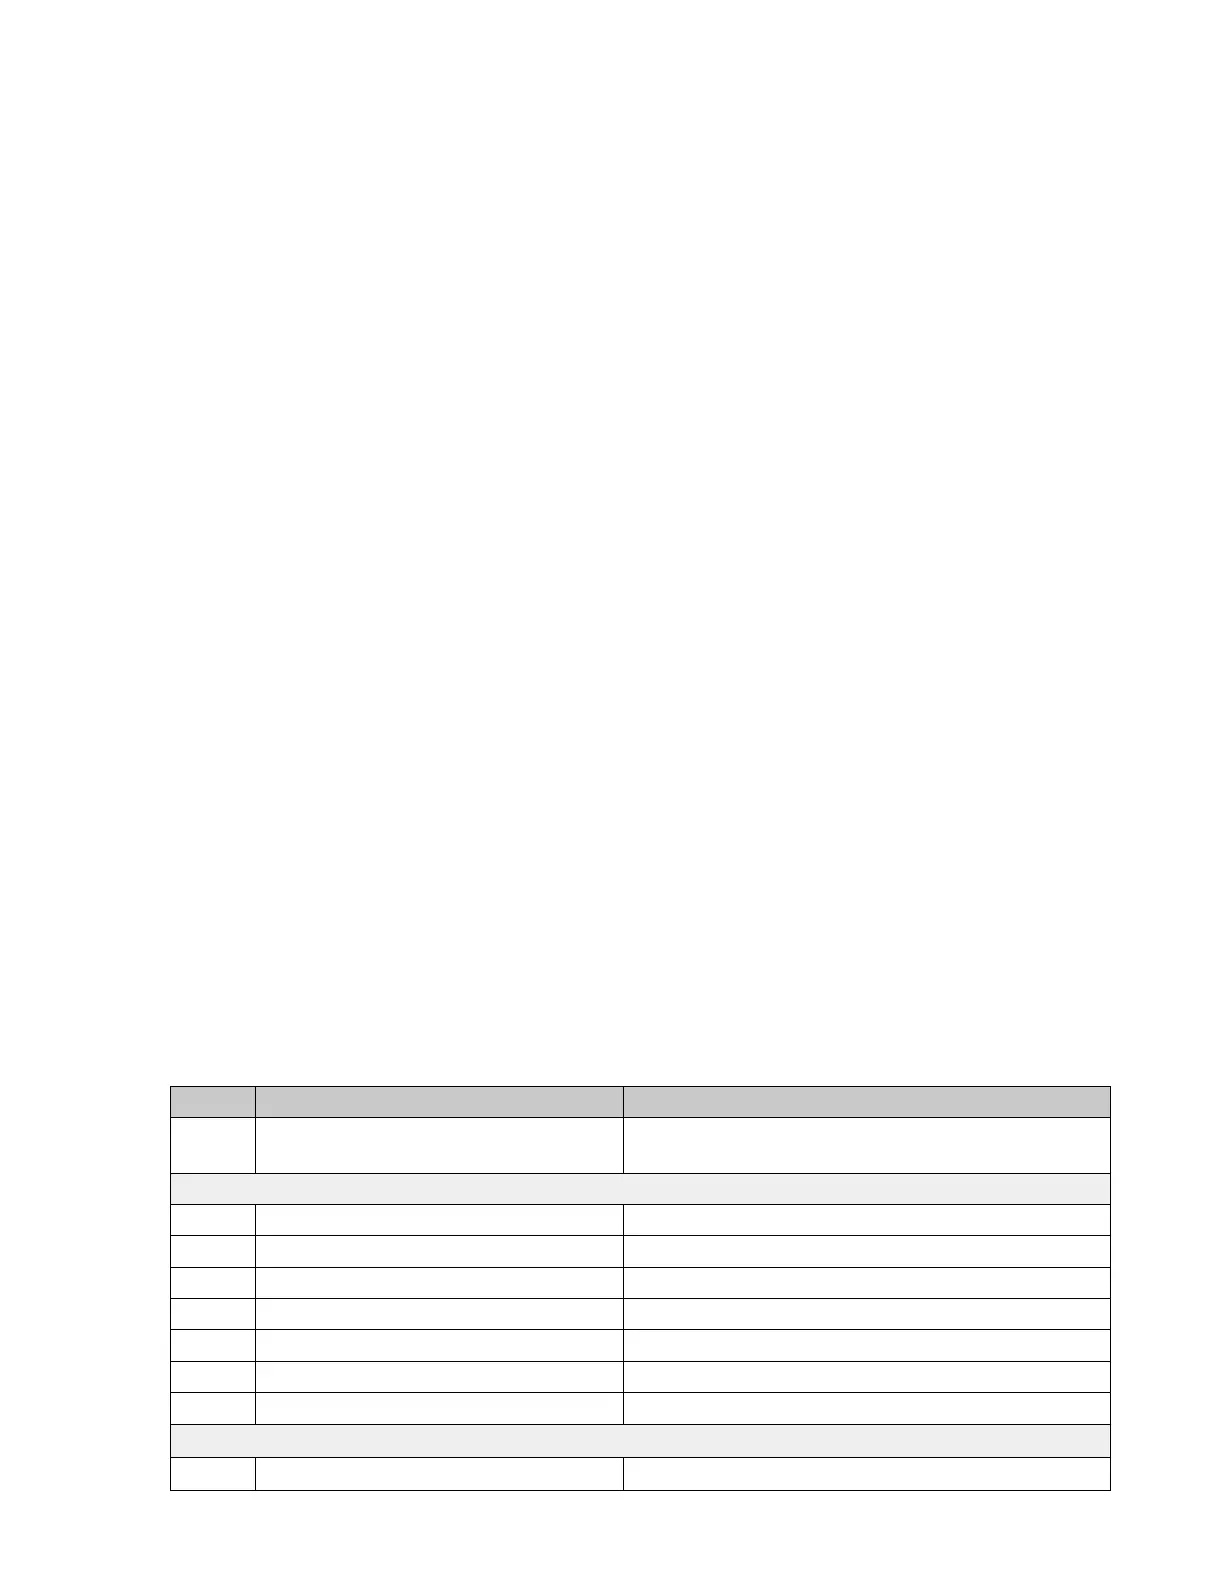
Test Items
This diagnostic program tests the following items.
Selecting the "2. Model check" will run Test 2 (Model check) through 8 (Key check) in sequence.
The "9. Flash Memory check" is a single test. (see page 37)
No. Test Items Note
1 Automatic Test
RAM, ROM, LED
(Performed at the launch of the diagnostic program)
Sequential Test
2 Model check
3 ROM Version check Internal, External
4 Button check
5 Pedal check Pedal
6 Headphones check Headphones
7 USB check PC, USB cable
8 Key check
Single test
9 Flash Memory check