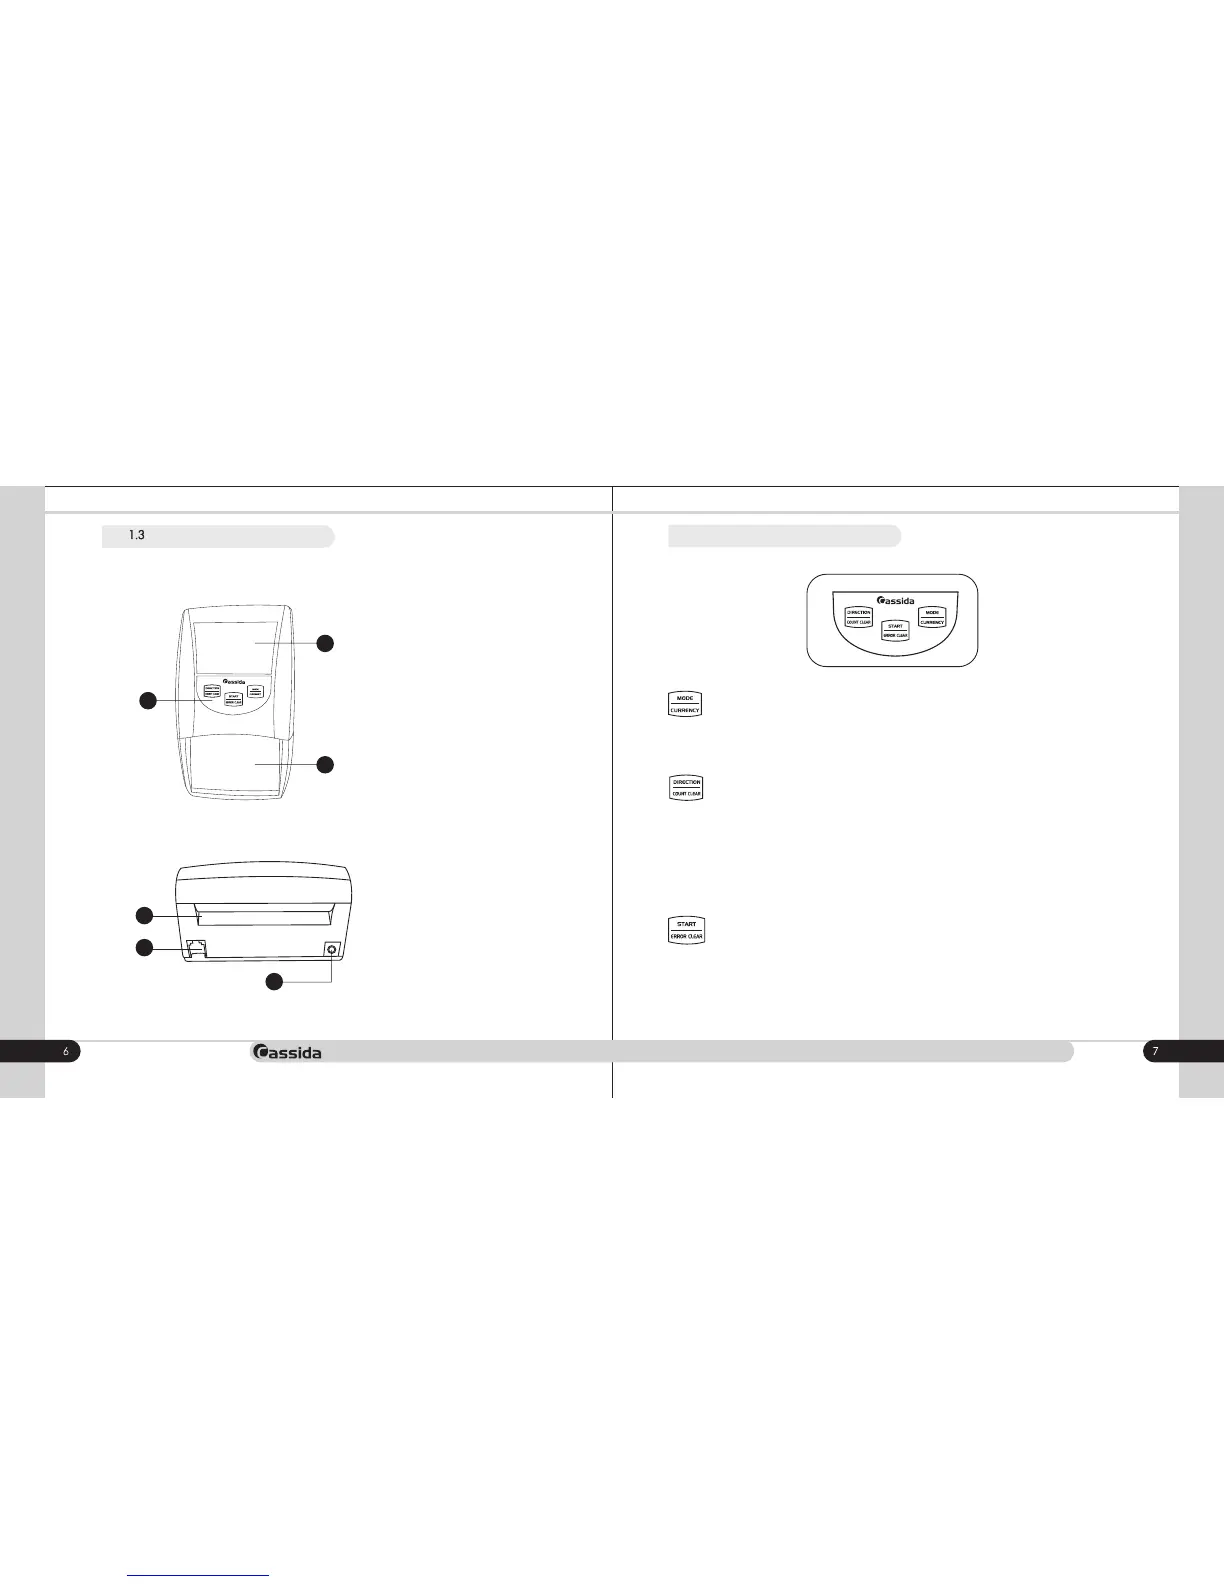
5. RJ11 port
This interface is used for connection
between PC and the detector for
software upgrade
6. AC adapter power jack
Power adapter connection port.
4. Rear slot
4
• The Cassida 3200 can eject recognized bills through either the front (insertion) slot
or the rear slot.
NOTE: Rejected (non-authenticated) bills are always ejected through the front slot
with 2 beep signals.
To change ejection direction, press the "Direction/Count clear" button until the
indicator of a bill ejection direction appears on the display.
To clear the total value of authenticated bills, press and hold this button for
approximately two seconds.
• Press "the Start/Error code" button to clear the error message.
To switch on/off the detector press and hold this button for approximately two
seconds.
• To switch between Addition and Denomination modes, press this button. ADD or
DENO appears accordingly on the display.
To select a different currency, press and hold the "Mode/Currency" button. The new
selected currency symbol will appear in the top right corner of the display. Repeat as
necessary to select the desired currency.
5
6
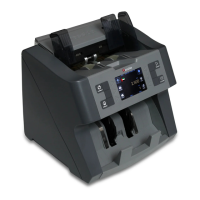
Cassida 3200 AUTOMATIC COUNTERFEIT DETECTOR
Rear view
1.4 Control panel
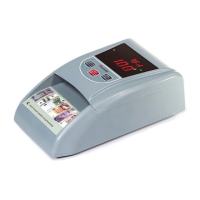
1. Front slot
Put a banknote into the feeding track.
The detector will automatically process
the bill.
1
2
3
2. LED Display
3. Control panel
View of the Cassida 3200
Front view
moving money forward