EN EN
DGA
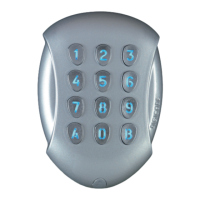
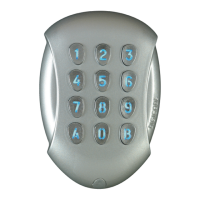
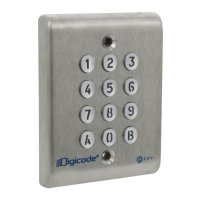
Keypad DGA
3cdvigroup.com
DGA
1 1 1 2 2
1
(X2)
(X2)
2
Digicode
3
05D 680K
Varistor
Spanner
for Torx
®
T20 screws
M4x10
Torx
®
screw
M4x30
screws
S5 plastic
anchor
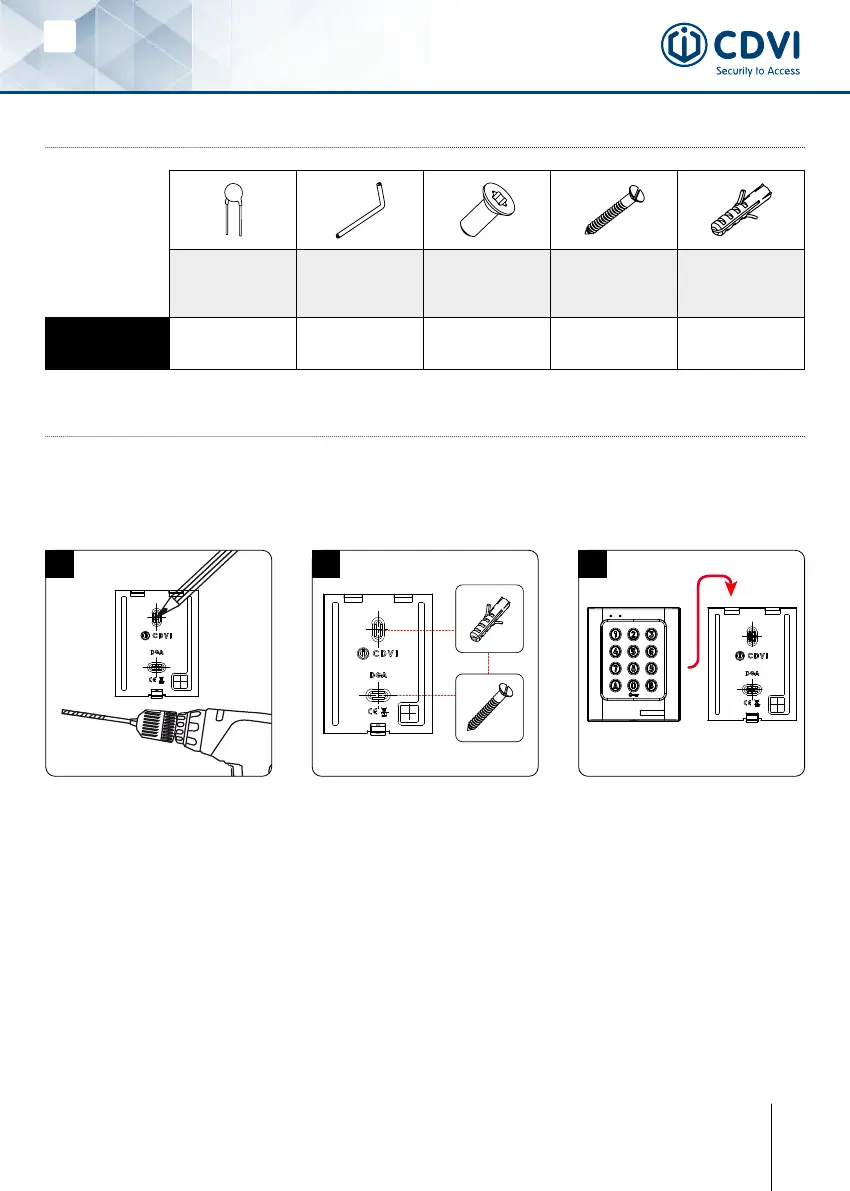
4] MOUNTING INSTRUCTION
Once you have made sure that the mounting kit is complete and that you prepared the cables
oftheDGAkeypadthenyoucanproceedandmounttheproduct.Makesurethatyouhave
alltheappropriatetools(drill,screwdriversandametertape...)andfollowthemounting
instructionsoftheDGAkeypad.
Take the marks with the back plate
of the DGA. Drill the 2 mounting
holes (Ø 5 MM bit and 35 MM depth
minimum) and the wiring access
hole.
Insert the 2 plastic anchors. Then
mount the back plate of the DGA
keypad, and screw on the wall with
the (M4x30) mounting screws.
Insert the cable of the keypad in
the wiring access area.
Place the keypad on the back plate
top rst and then make sure that it
ts all over the back plate.
fasten the screw at the buttom
of the DGA keypad with the Torx
®
screw using the spanner.
3] MOUNTING KIT3] MOUNTING KIT