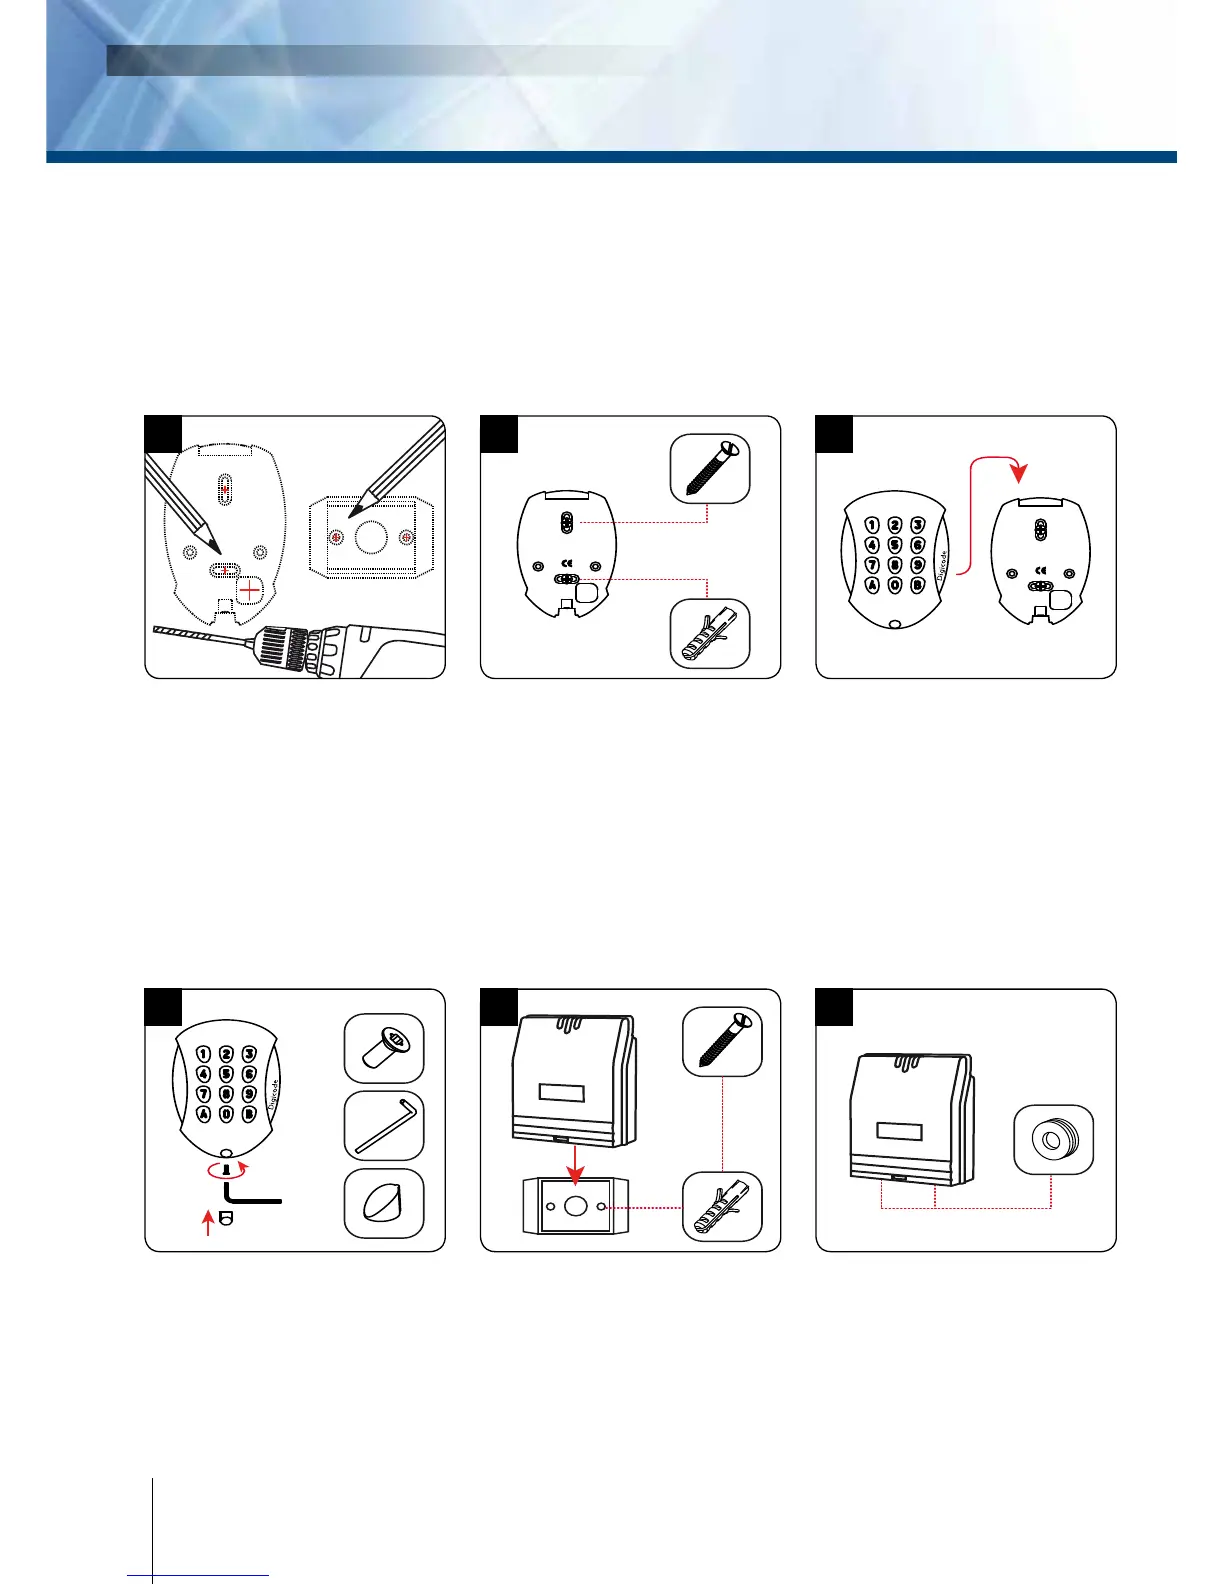
Onceyouhavemadesurethatthemountingkitiscompleteandthatyouprepared
thecablesoftheGALEOkeypadanditsremoteelectronicthenyoucanproceed
andmounttheproduct.Makesurethatyouhavealltheappropriatetools
(drill,screwdriversandametertape...)andfollowthemountinginstructions
oftheGALEOkeypadandoftheremoteelectronic.
Verify the distance between the
GALEO keypad and its remote
electronic (refer to page 3 Notes
and Recommendations). Place
the back plate of the GALEO on
the wall and the bracket of the
remote electronic then mark
with a pen the hole location
then drill the 2 mounting holes
(drill bit
Ø
5 mm and 35 MM
hole depth) and the hole wiring
access.
Fasten the GALEO keypad to the
back plate by using the supplied
(M4x10) Torx
®
screw and T20
Trox spanner hardware. Place the
screw cap at the bottom of the
keypad.
Insert the 2 plastic anchors in
the holes. Place the back plate
of the GALEO and screw on the
wall using the supplied (M4x30)
mounting screws.
Insert the 2 plastic anchors in the
holes. Place the bracket of the
electronic and screw on the wall
using the supplied M4x30 screws.
Slide the box from up to down on
the bracket.
Insert the cable in the hole
access area of the back plate.
Then mount the keypad on the
back plate, placing rst the
top in the hooks and then the
bottom.
Insert the cable in the remote
electronic and wire the cable to
the terminals. Donít forget to ins-
tall the varistor on the lock (refer
to page 3 ´Notes and Recommen-
dations‘).
4
cdvi.se
cdvigroup.com
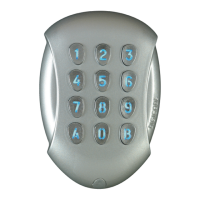
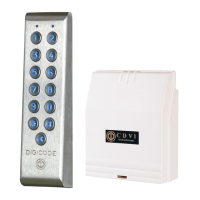
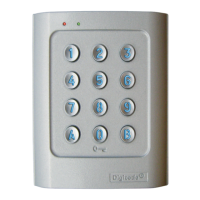
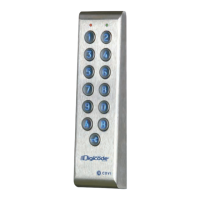
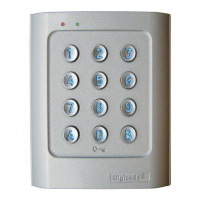
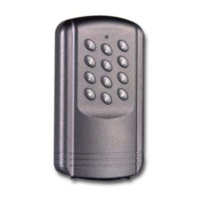
IlluminatedWeatherproofKeypadwithremoteelectronics