3
■ WELDING MODE
The RAINBOW welding machine offers 3 welding modes. Each
time the button is pushed, the welding machine switches to se-
lect the welding mode indicated by the LED that stays lit, in the
following order:
L4 2 STROKES
L5 4 STROKES
L6 SPOT WELDING
L5
L6
L4
L4 2 STROKES
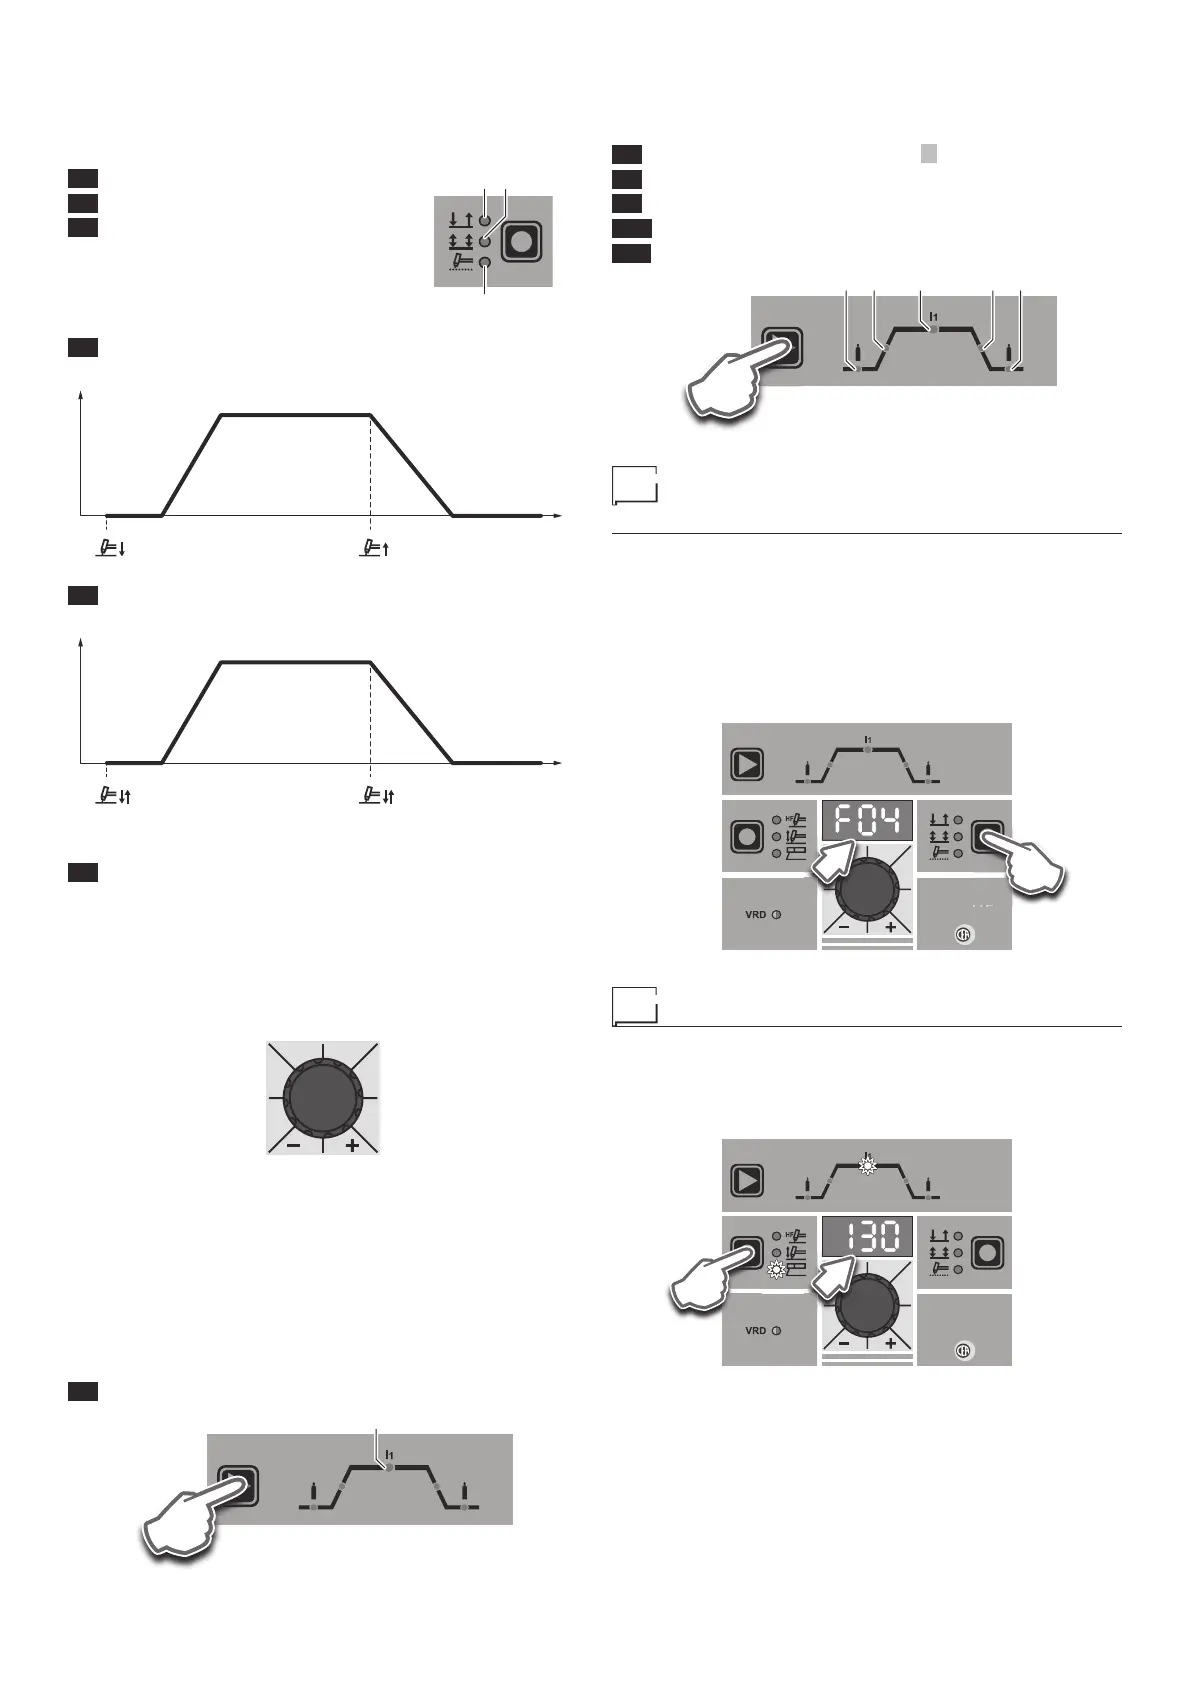
TIG welding takes place as follows:
WELDING CURRENT (I1)
I
1 (A)
POST GAS
2000HC22/A
t (sec)PRE-GAS
SLOPE UP SLOPE DOWN
L5 4 STROKES
TIG welding takes place as follows:
WELDING CURRENT (I1)
I1 (A)
POST GAS
2000HC22/A
t (sec)PRE-GAS
SLOPE UP SLOPE DOWN
NOTE: Welding only begins when the torch button is pushed.
L6 SPOT WELDING
This can be used by pushing the torch button to spot weld for a pre-
set period of time (in seconds) at the end of which the arc switch-
es off automatically.
■ ENCODER KNOB
This is used to regulate and change the welding parameters, ac-
cording to which LED is switched on and the value shown on the
DISPLAY, which is necessary for the machine to work correctly.
■ WELDING PARAMETERS
Each time the button is pushed, the welding machine selects the
next function according to the machine configuration, the welding
process, the welding mode, etc...
To exit welding parameter programming, hold the T3 button down
for about 1 second.
STANDARD MMA WELDING CONFIGURATION
When using the electrode welding process, this allows you to select
the following welding parameters, based on which LED is flashing:
L7 HOT START
L7
T3
STANDARD TIG WELDING CONFIGURATION
When one of the 2 TIG welding processes available on the welding
machine is activated, this allows you to select the following weld-
ing parameters, based on which LED is flashing:
L7 PRINCIPAL welding CURRENT I1
L8 PRE-GAS duration
L9 SLOPE UP duration
L10 SLOPE DOWN duration
L11 POST-GAS duration
L7 L10 L11L8 L9
T3
Displaying the software
version installed
The RAINBOW HF are fitted with a digital control with software on
board defined in the factory. This software is subject to continuous
evolution and improvement. The software is identified by a spe-
cific number that can be viewed on the DISPLAY (D) as follows:
1) With the welding machine switched on, press and hold down
the WELDING MODE button (T1).
2) The DISPLAY (D) shows the type of version of software in-
stalled.
3) To exit, push and release the WELDING MODE button (T1).
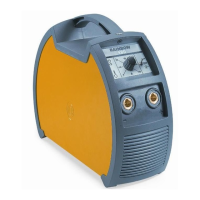
RAINBOW
201 HF
W
T1
D
Electrode welding (MMA)
1) Start the welding machine by turning the power supply switch
to position I.
2) WELDING PROCESS SELECTION
Push the WELDING PROCESS SELECTION key (T2) to se-
lect the ELECTRODE welding processes.
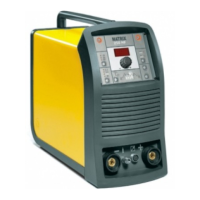
RAINBOW
201 HF
T2
D