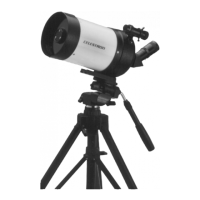
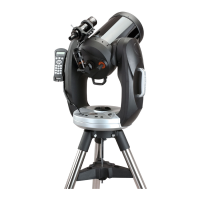
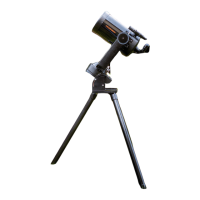
Celestar Manual
Assembling your Celestar10
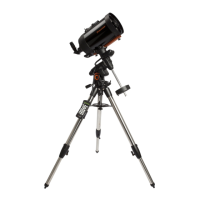
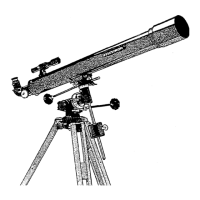
SETTING UP THE TRIPOD
(For Celestar Deluxe 8 And Celestar Deluxe 8 Computerized Only)
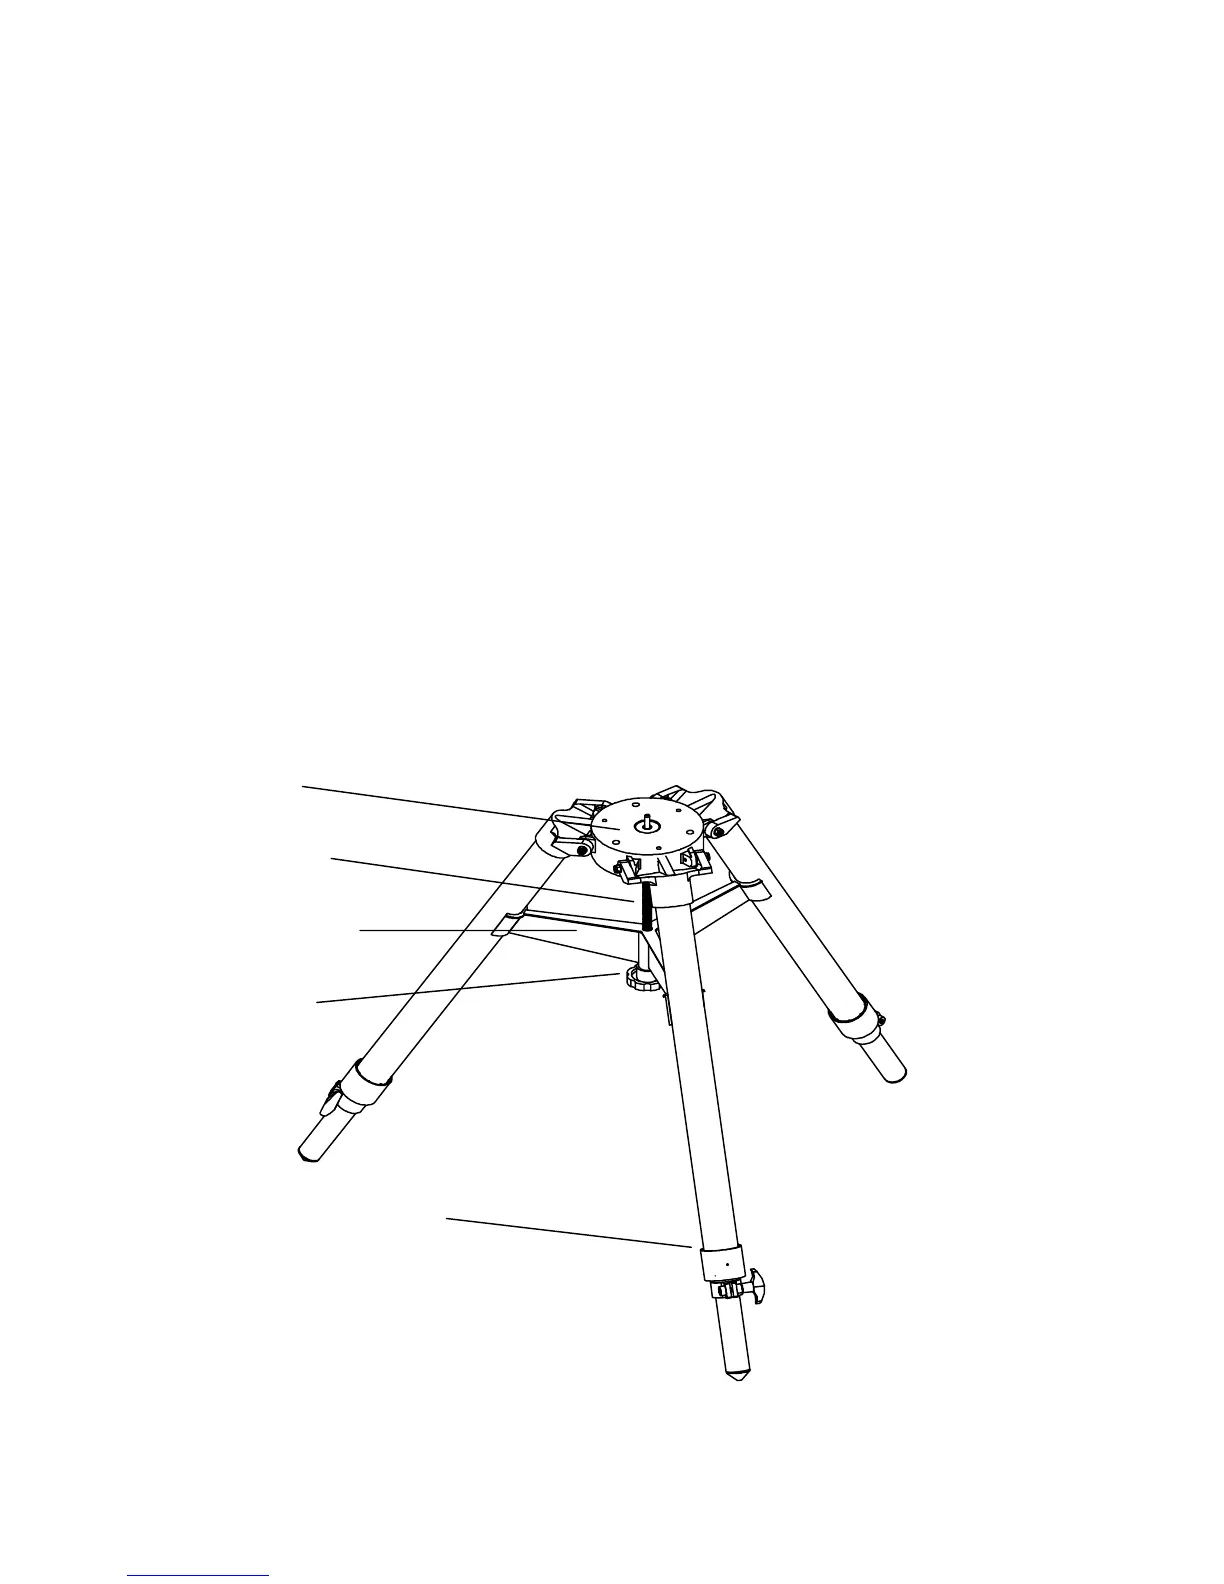
For maximum rigidity, the Celestron field tripod has a leg support bracket. This bracket fits snugly against
the tripod legs, increasing stability while reducing vibration and flexure. However, the tripod is shipped
with each arm of the leg support bracket in between the legs so the tripod legs can collapse. To set up the
tripod:
1.
Hold the tripod with the head up and the legs pointed toward the ground.
2.
Pull the legs away from the central column until they will not separate any further. A small stop on the
top of each tripod leg presses against the tripod head to indicate maximum separation.
3.
Rotate the tension knob (located underneath the support bracket on the central column) clockwise until
it is close to the bottom of the central column.
4.
Turn the leg support bracket until the cups on the end of each bracket are directly underneath each leg.
5.
Rotate the tension knob counterclockwise until the bracket is secure against the tripod legs.
Do not
over tighten.
The tripod will now stand by itself. Once the wedge and telescope are attached to the tripod, readjust the
tension knob to ensure that the leg support bracket is snug. Once again, do not over tighten!
Figure 2-3
Tripod Head
Central Column
Leg Support Bracket
Tension Knob
Leg Clamp