18
3. Installing the ear speaker and microphone
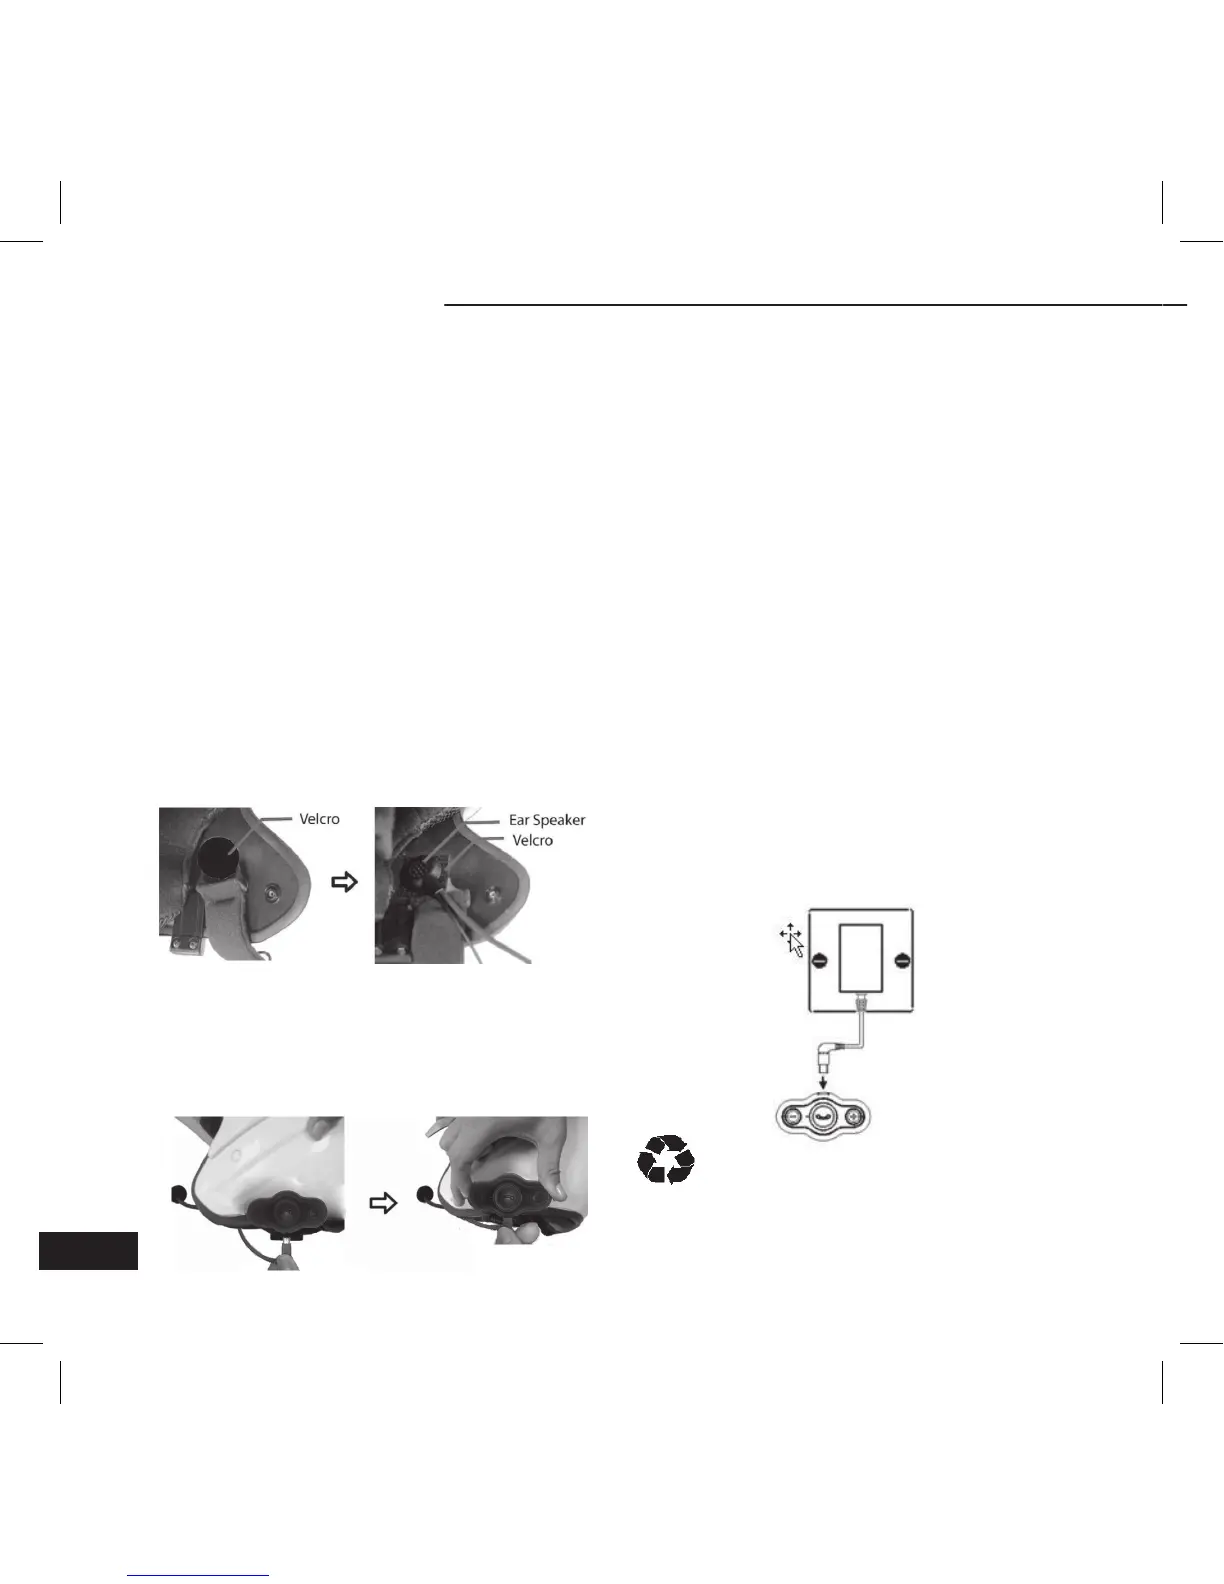
Now you need to attach the ear speaker and micro-
phone arm to the inside of the helmet. Take the velcro
which the ear speaker will attach to, and test for the best
position to fix it. The velcro should be fixed at the height
of your ear. You will need to put the helmet on a few
times to find the optimum position. When the correct
positioning is found, remove the protective strip and
apply the velcro.
Next, take the ear speaker and attach it to the velcro.
Run the microphone arm down along down to where
your mouth will be. As the microphone arm is flexible,
you can adjust it so it sits in the optimum position in
front of your mouth.
Note: There are two types of velcro, thin and thick.
Please use based on the actual situation.
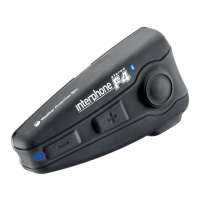
4. Connecting the ear speaker and microphone to
interphone headset
Take care to connect USB cable to the USB port of inter-
phone headset, now you have successfully installed the
interphone.
GETTING STARTED
1. Charging the interphone headset
The Bluetooth® interphones have built-in rechargeable
batteries, prior to using them, it is recommendable to
charge their batteries fully for the first time.
Connect one end of USB cable to a standard power out-
let and the USB plug to the USB port of the interphone
headset. The red LED will be on while charging. It takes
about 2 hours to charge the battery fully. When charg-
ing has completed, the red LED will be off.
When the Bluetooth® interphone is on and the battery
becomes low, the red LED flashes and the Bluetooth®
interphone emits 3 “DU” tones every 30 seconds. Please
recharge the battery fully as described above.
Notes:
1) When you can’t turn off the Bluetooth® interphone,
you can turn it off as soon as you charge it.
2) There is travel charger.
Warning:
1) The battery is recyclable.
2) Batteries (battery pack or batteries installed) shall not
be exposed to excessive heat place such as sunshine,
fire or the like.
BTEASYCOM