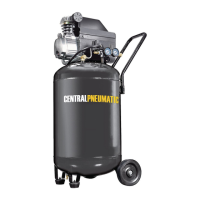
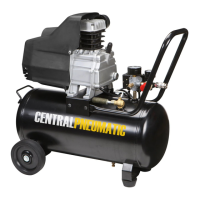
Page 10 For technical questions, please call 1-800-444-3353. Item 60328
NOTICE
Clean the Airbrush IMMEDIATELY after use.
Delayed or inadequate cleaning will permanently clog the Airbrush.
SAFETY OPERATION MAINTENANCESETUP
TO PREVENT SERIOUS INJURY FROM ACCIDENTAL OPERATION:
Turn the Power Switch “OFF” and unplug the Compressor from its electrical
outlet before assembling or making any adjustments to the Compressor.
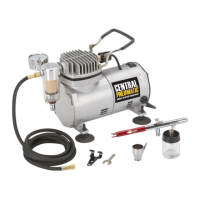
Initial Airbrush Setup
1. The Airbrush may be shipped with a
protective plug covering the Air Inlet.
Remove this plug before set up.
2. Thread Lid onto empty Glass Jar. Gently
push Lid Fitting into Color Stem on Airbrush.
3. Metal Cup (28) may be used for excess
correctly thinned paint, and also for
solvent for cleaning Airbrush.
4. Metal Hanger (30) can be attached to a
secure surface and used to hang Airbrush
for drying, or when it is not being used.
Initial Compressor Setup
1. Designate an area that is clean and
well-lit. The work area must not
allow access by children or pets to
prevent distraction and injury.
2. Before operating, make sure Compressor
is set up in a well-ventilated area, on a
flat, level, solid surface well away from
any flammable objects, such as drapes.
3. Keep at least 12″ of space around
Compressor to allow for air circulation.
4. Route Power Cord from Compressor to
grounded wall outlet, along a safe path,
without creating a tripping hazard or exposing
the power cord to possible damage.
5. Insert power cord into grounded outlet.
6. Connect one end of Air Hose to
Air Outlet of Compressor.
7. Connect other end of Air Hose
to Air Inlet of Airbrush.
8. Turn on Power Switch and inspect
air connections for leaks.
9. Turn off and unplug Compressor,
then repair any leaks found.
 Loading...