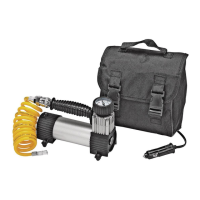
Page 7SKU 96068 For technical questions, please call 1-800-444-3353.
To Inate Balls, Toys, Air Mattresses, Rubber Rafts, Etc.:
The compressor comes with three nozzles for inating a variety of items. Thread 1.
on the desired nozzle onto the Air Nozzle (57). Insert the nozzle into the item you
want to inate then turn on the Air Compressor, and inate the object. Do not
over-inate.
When nished, turn the Power Switch (4) to its “OFF” position. Remove the nozzle 2.
from the inated object. Then, disconnect the Cigarette Lighter Adapter (1) from
the vehicle’s cigarette lighter socket. (See Figures A and B)
INSPECTION, MAINTENANCE, AND CLEANING
WARNING! 1. Make sure the Power Switch (4) of the Air Compressor is in its
“OFF” position and the unit is unplugged from the vehicle’s cigarette lighter socket
before performing any inspection, maintenance, or cleaning procedures.
Before each use,2. inspect the general condition of the Air Compressor. Check for
loose screws, misalignment or binding of moving parts, cracked or broken parts,
damaged electrical wiring, loose air ttings, and any other condition that may affect
the safe operation of the Compressor. If abnormal noise or vibration occurs, have
the problem corrected before further use. Do not use damaged equipment.
To clean, 3. wipe with a clean, damp cloth and a mild detergent. Then dry. Do not
use solvents. Do not immerse the unit in liquids.
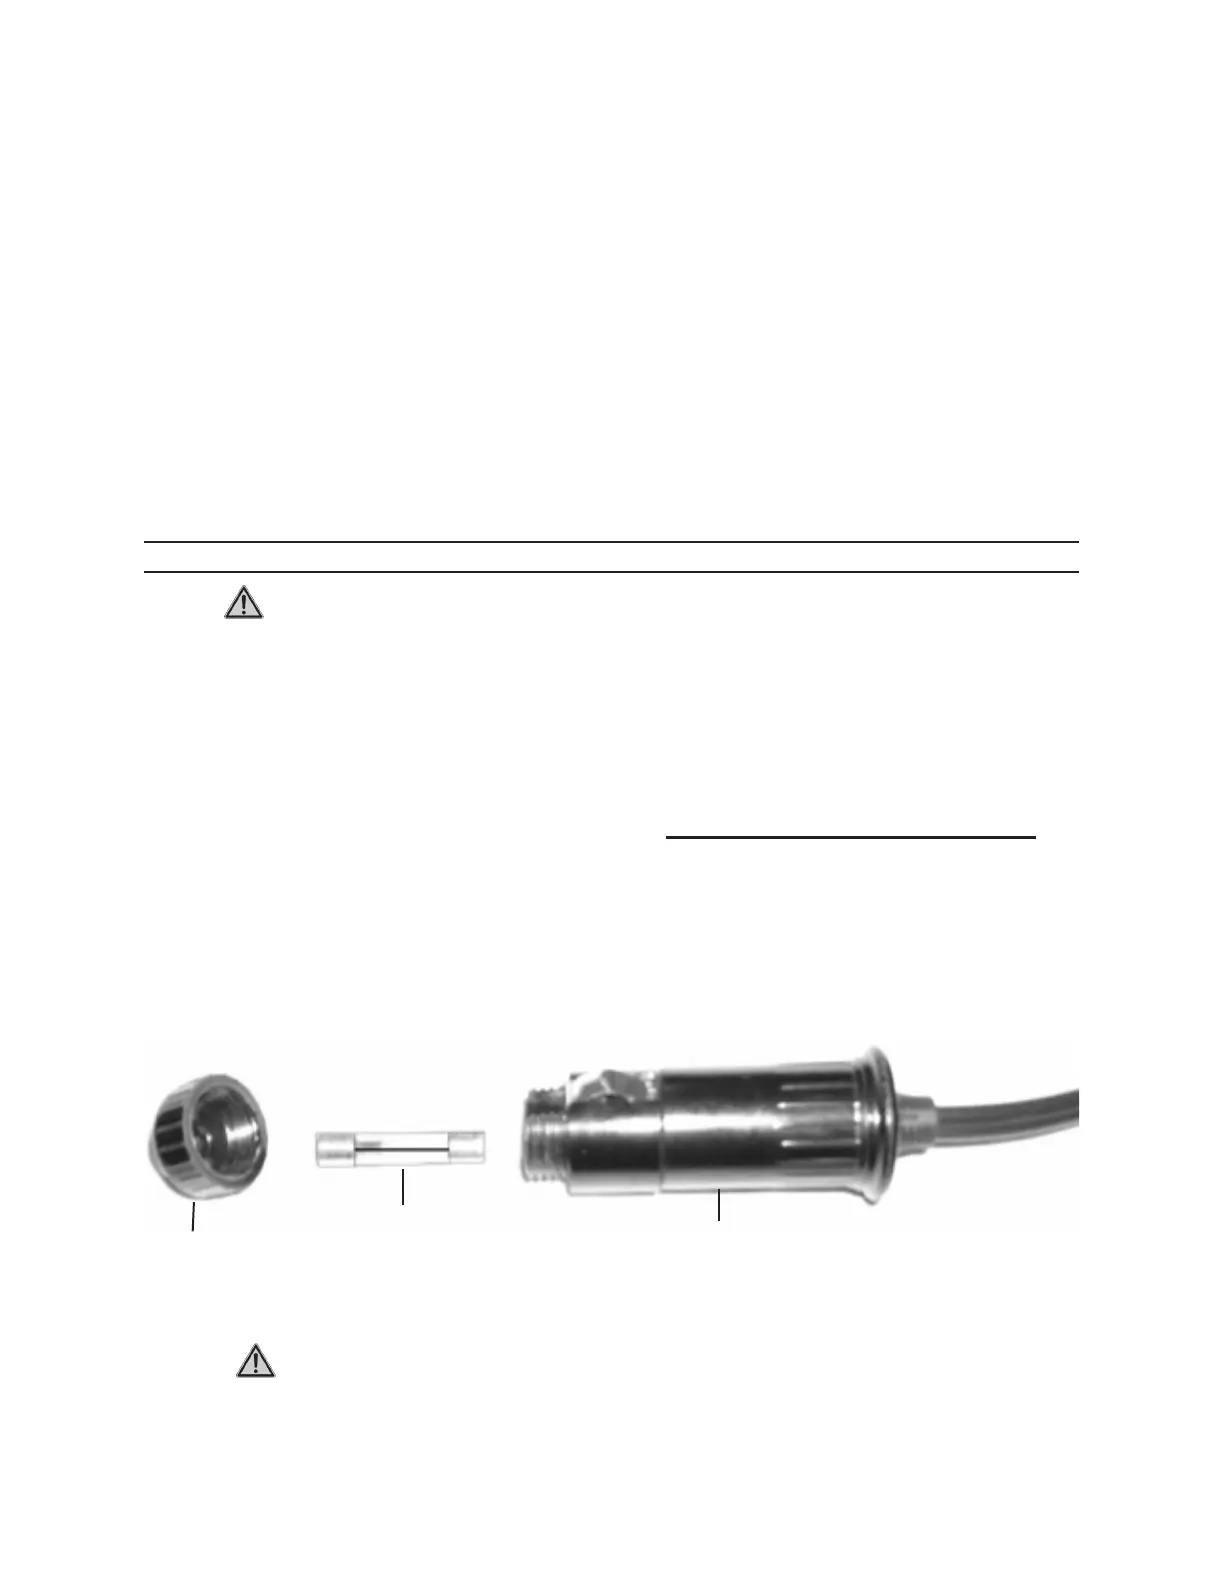
To replace the Fuse (58), 4. unscrew and remove the cap on the Cigarette Lighter
Adapter (1). Remove the old Fuse, and replace with a new Fuse (type: 15 Amp).
Then, screw the cap back onto the Cigarette Lighter Adapter. (See Figure C)
5.
CAP
GLASS FUSE (58)
CIGARETTE LIGHTER ADAPTER (1)
FIGURE C
CAUTION! All maintenance, service, or repairs not mentioned in this 5.
manual must only be performed by a qualied service technician.