44
1234
[1] 1
enabled disabled
PGM1 activating/deactivating
En/Dis PGM1 Allowed k1 Not allowed k1
[2] 2
enabled disabled
PGM2 activating/deactivating
En/Dis PGM2 Allowed k2 Not allowed k2
[3] 3
enabled disabled
PGM3 activating/deactivating
En/Dis PGM3 Allowed k3 Not allowed k3
[4] 4
enabled disabled
PGM4 activating/deactivating
En/Dis PGM4 Allowed k4 Not allowed k4
enabled disabled
PGM5 activating/deactivating
En/Dis PGM5 Allowed k5 Not allowed k5
[6] 6
enabled disabled
PGM6 activating/deactivating
En/Dis PGM6 Allowed k6 Not allowed k6
4. Finally the installer should press [#] key to confirm the RIGHTS
2
set of the “maintenance code”.
After [#] key pressing the keypad buzzer will sound 3 confirmation beeps and the panel will pass to the next step.
By [#] key pressing, RIGHTS
3
set of the “maintenance code” can be maintained as it was previously established
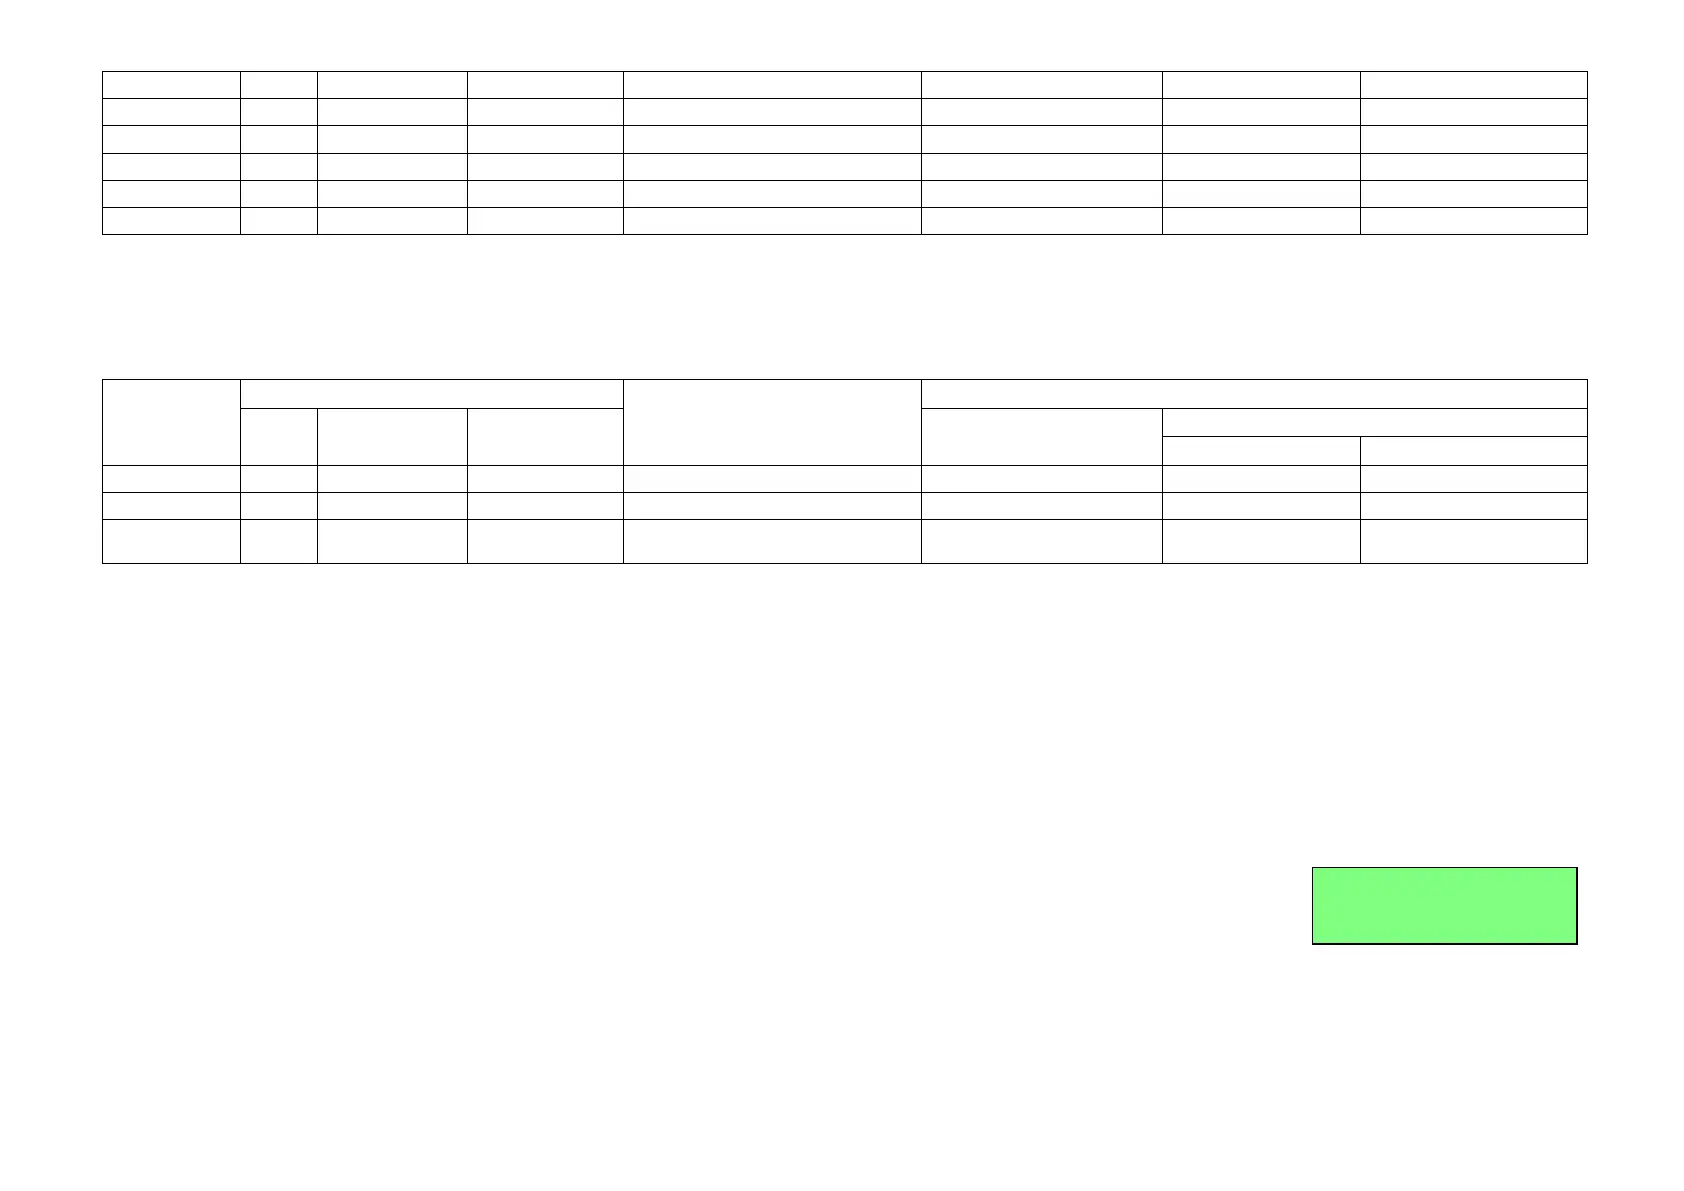
5. The user code rights are displayable on 1 to 3 LEDs; in order to turn the rights activate/deactivate, the installer should press the 1 to 3 keys and the
appropriate LED will turn ON/OFF. If the a zone LED is ON that means the appropriate right is enabled and if the zone LED is OFF that means the right is disabled.
3
rd
set of rights
Key pressed
to toggle
option
KP-126Pz / KP-164Pz (LED keypads)
Description
KP16LCD / KP16LCDL (LCD keypads)
Zone
LED
ON OFF 1
st
line message
2
line message
Enabled Disabled
[1] 1
enabled disabled
Start guardian rounds
Start Rounds Allowed k1 Not allowed k1
[2] 2
enabled disabled
Stop guardian rounds
Stop Rounds Allowed k2 Not allowed k2
[3] 3
enabled disabled
Card controls access control PGM
types
CardControlPGM Allowed k3 Not allowed k3
5.1 Finally the installer should press [#] key to confirm the RIGHTS
3
set of the “maintenance code”. After [#] key pressing the keypad buzzer will sound 6 confirmation
beeps and the control panel will go back within “main programming menu”.
6. Entering of the [*] key (instead of sequence of 4 or 6 digits) can perform Erasure of “maintenance code” while the control panel just entered section [045]. After [*] key was
entered the keypad buzzer will sound 6 confirmation beeps and the control panel will go back within “main programming menu”.
Notes:
1. The “maintenance code” has only the first 5 rights enabled by default and only installer can change them while he is within session of maintenance code programming (section [045]).
2. In case of “arming/stay arming/disarming/ambush” by “maintenance code”, in order to generate the event codes for transmission to CS in 4x2 formats (4 account digits + 2 event
digits), the panel will automatic add the digit [0] to each specific event digit of “arming/stay arming/disarming/ambush” by user, defined in [052], [053], [054] and [057] sections.
3. In case of “arming/stay arming/disarming/ambush” by “maintenance code, if transmission to CS is done in CID format (4 account digits + 4 event digits + 3 zone/user digits), the
panel will automatic add another 3 digits of [0] after each specific 4-digit of “arming/stay arming/disarming/ambush” by user, defined in [063], [064], [065] and [068] sections.
4. As a conclusion, the “installer’s maintenance code” will be identified at the central stations as user 0. So, these messages from central stations - “arming/stay
arming/disarming/ambush” by user 0 - should be redefined as “arming/stay arming/disarming/ambush” by installer.
Section [046]: Master Code Programming Performed by Installer
While the control panel is being within “main programming menu”, in order to program the “master code” select section [046] and then enter the
following sequence:
[x][x][x][x](or [x][x][x][x][x][x] for 6-digit codes)
and then assign the rights you what this code to have on the system, according to the following tables:
1. “MASTER USER CODE” CHANGING MAY BE SKIPPED BY [#] KEY PRESSING.
After [#] key pressing the keypad buzzer will sound 3 confirmation beeps and the system will pass to display the first 5 rights of the “master code” (step no. 3, because
erasing of the “master code” is never allowed).
2. IN ORDER TO CHANGE THE “MASTER USER CODE” KEY IN THE FOLLOWING SEQUENCE FROM THE KEYPAD: