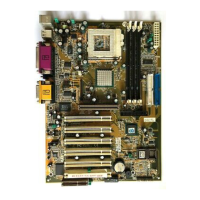
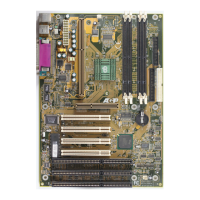
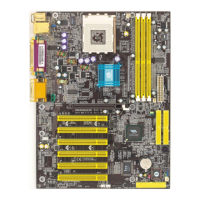
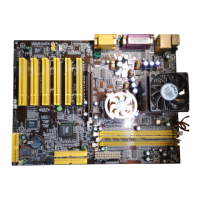
Hardware Setup
13
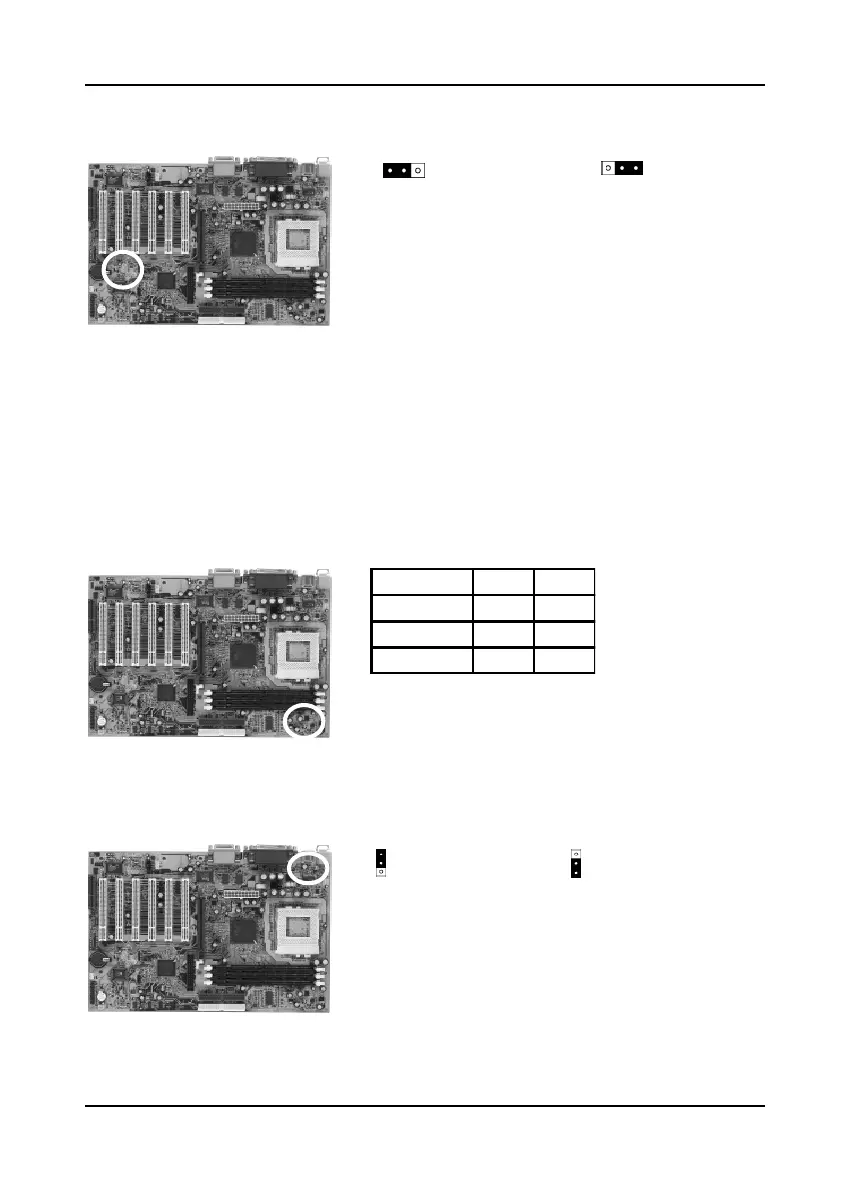
Clear CMOS Data (JP1)
To clear the contents of the CMOS, please follow
the steps below.
1. Disconnect the system power supply from the
power source.
2. Set the jumper cap at location 2~3 for 5 seconds,
then set it back to the default position.
3. Connect the system's power and then start the
system.
4. Enter BIOS's CMOS Setup Utility and choose
Load Setup Defaults. Type Y and press enter.
5. Set the system configuration in the Standard
CMOS Setup menu.
CPU Bus Frequency (JP2A/JP2B)
This jumper allows the CPU bus frequency to be
determined either by the CPU or the user. Set both
jumper cups to pin 1-2 (default) if you are not sure
what frequency your CPU support.
PS/2 Keyboard Power On Function (JP5)
This board is able to be turned on by the keyboard.
To use this function, enable the Power On Function
option in BIOS's Integrated Peripherals screen
(See section 3-8). You must also set this jumper's
cap to pins 2-3 to use this function. Some out-
of-date keyboards may require larger current than
supplied by the Suspend 5V of modern power
supplies. When using older keyboards disable
this function.
Normal (default)
1
1
Clear CMOS Data
11
Disabled (default)
Enabled
FSB JP2B JP2A
Auto(default) 1 ~ 2 1 ~ 2
100MHz 2 ~ 3 1 ~ 2
133MHz Open 2 ~ 3