Do you have a question about the Chamberlain Security+ 4620 and is the answer not in the manual?
Essential safety guidelines, precautions, and tool requirements for opener installation and use.
Procedure to check garage door balance before installing the opener.
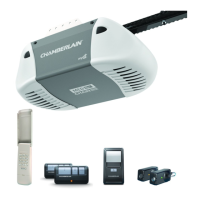
List of all parts included in the garage door opener package.
Visual guide to assembly and installation hardware components.
Instructions for assembling the garage door opener rail assembly.
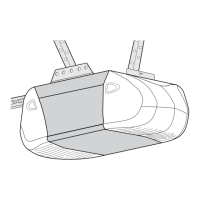
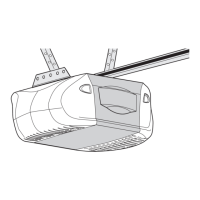
Connecting the rail assembly to the power unit and installing the trolley.
Securing the rail brackets to the assembled rail.
Locating the correct position for the header bracket on the wall or ceiling.
Mounting the header bracket to the structural support.
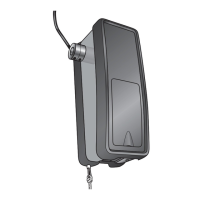
Critical details about the safety reversing sensor's function and importance.
Mounting and wiring the safety reversing sensors for safe operation.
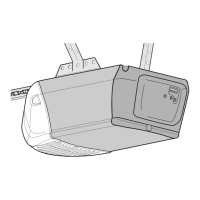
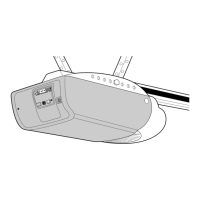
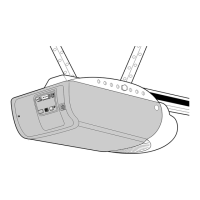
Placing the opener in its final position and securing it.
Installing the wired door control button and connecting wires.
Attaching the door bracket to the garage door.
Connecting the opener's door arm to the trolley.
Setting the door's fully open and closed positions.
Regulating the opener's force for safe and effective door movement.
Verifying the Protector System® and safety reverse system functionality.
Key safety guidelines for using and maintaining the opener.
How to operate the garage door opener using various controls.
Adding and erasing remote controls and keyless entry codes.
Solutions for when the opener fails to operate from controls.
Diagnosing and resolving issues with door movement and reversal.
Illustrated list of replacement parts for rail, installation, and opener assemblies.
Optional accessories to enhance opener functionality and convenience.
| Type | Garage Door Opener |
|---|---|
| Drive Type | Chain Drive |
| Horsepower | 1/2 HP |
| Remote Control | Yes |
| Motor Type | AC |
| Battery Backup | No |
| Wi-Fi Capable | No |
| Max Door Height | 7 feet |
| Max Door Weight | 500 lbs |
| Security Features | Security+ Rolling Code Technology |
| Lift Capacity | 500 lbs |
| Remote Controls Included | 2 |
| Security | Security+ Rolling Code |