10
ASSEMBLY STEP 2
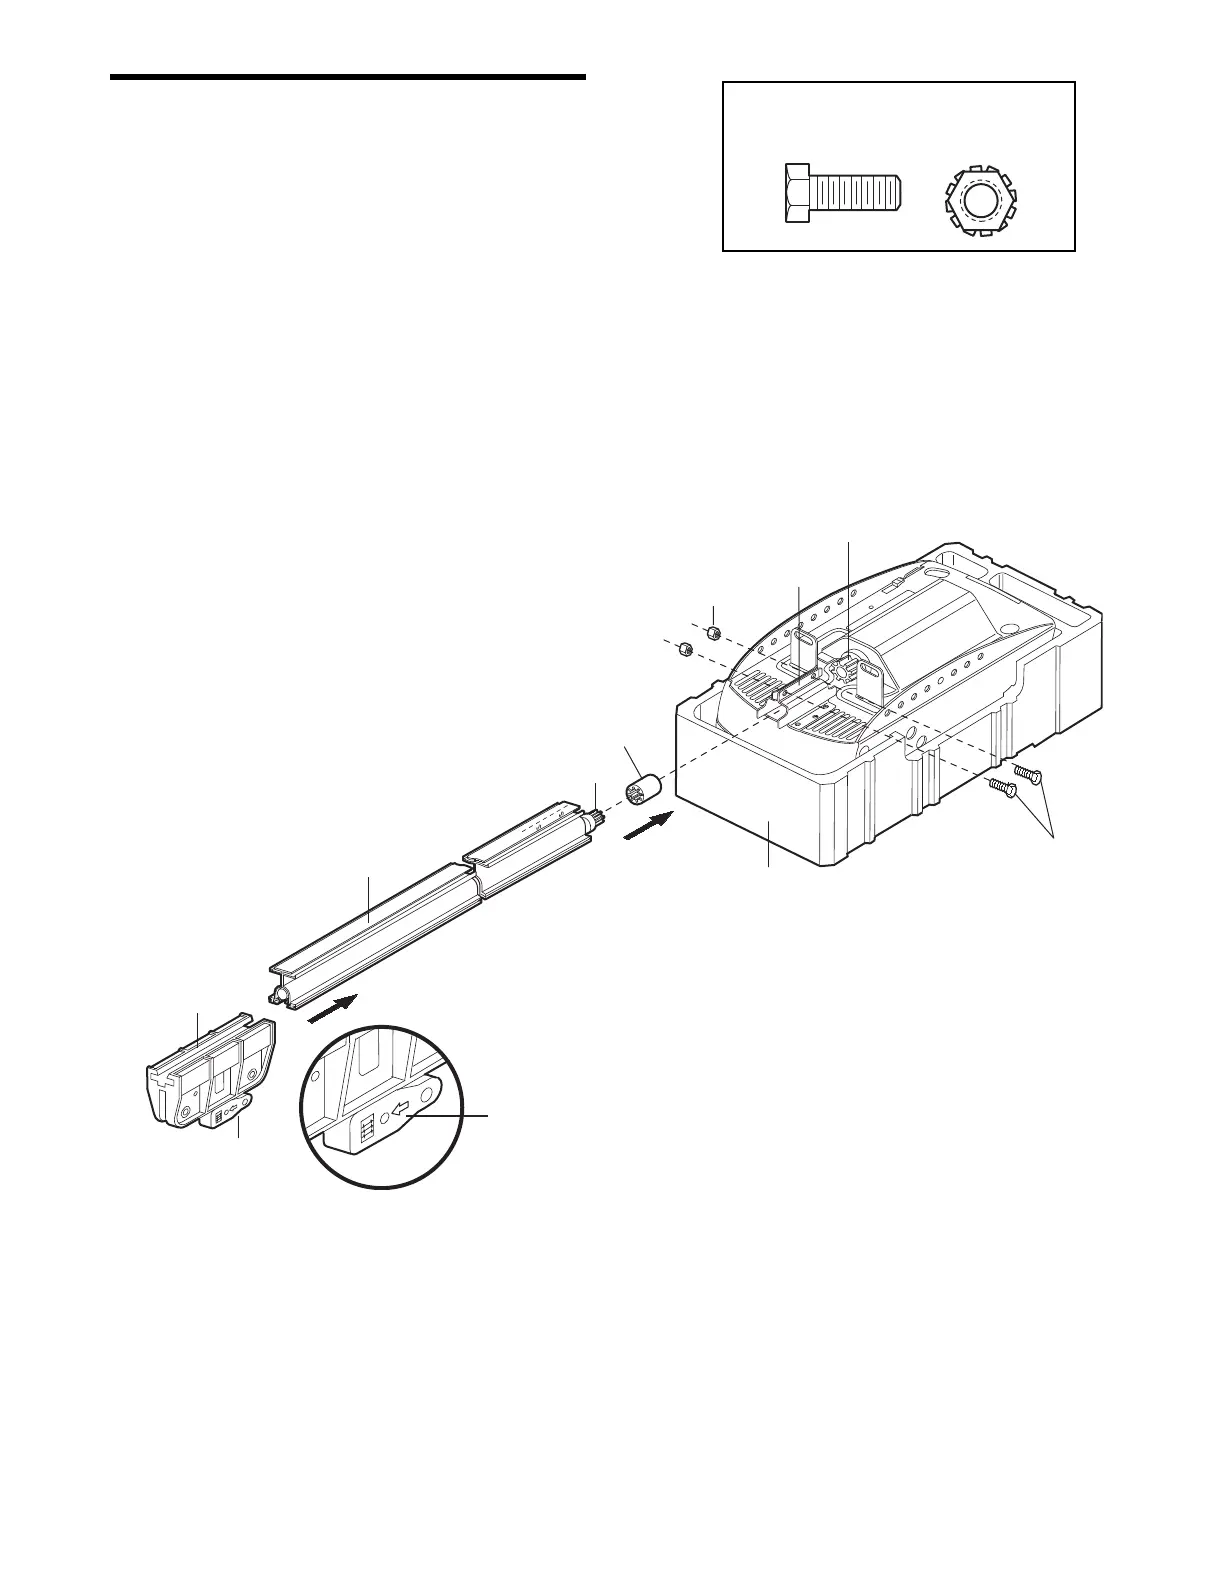
Fasten the Rail to the Motor Unit
and Install the Trolley
NOTE: To aid in assembly and installation, replace
the foam packing around the motor unit. Remove it
after Installation Step 4.
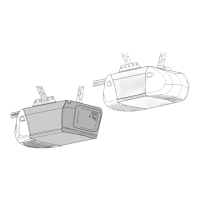
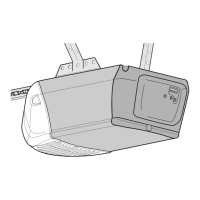
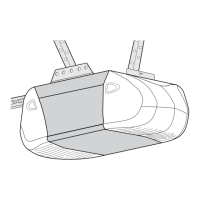
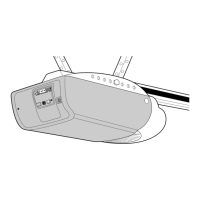
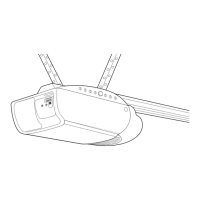
• Working on a level surface, align the rail assembly
with the motor unit, as shown.
• Slip the coupling over the rail sprocket.
• Slide the rail through the motor unit bracket until
the coupling fits securely over the motor unit
sprocket.
• Align the two bolt holes in the rail with those in the
motor unit bracket. Insert two 1/4"-20x5/8" hex
bolts and lock nuts. Tighten securely with a 7/16"
socket wrench.
• Slide the trolley onto and along the bottom of the
rail until it snaps firmly in place. Be certain to
install it facing correctly: the trolley release
arm must be horizontal (lock position), with its
arrow pointed away from the motor unit.