Do you have a question about the Chamberlain Whisper Drive LW3500 and is the answer not in the manual?
| Horsepower | 1/2 HP |
|---|---|
| Max Door Weight | 350 lbs |
| Battery Backup | No |
| Noise Level | Ultra-Quiet |
| Voltage | 120V |
| Drive System | Belt Drive |
| Speed | 7 inches per second |
| Safety Features | Safety Sensors |
| Motor Type | AC |
| Security | Rolling Code |
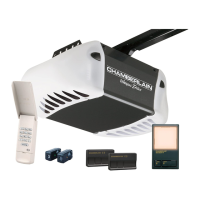
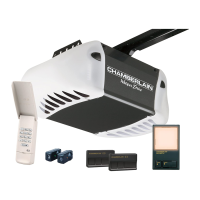
| Remote Controls Included | 2 |
Review of safety symbols, signal words, and potential hazards.
Procedures to ensure the garage door is balanced and operates smoothly.
List of optional items required for specific garage door types.
Visual guide to tools required for installation.
Lists all parts included in the opener package.
Detailed listing of hardware components for assembly and installation.
Instructions for assembling the opener rail and installing the trolley.
Steps to securely attach the garage door opener rail to the motor unit.
Guidance on installing the idler pulley and preparing the rail tab.
Instructions for routing and connecting the drive belt to the trolley and sprocket.
Procedure for setting the correct belt tension using the trolley nut.
How to install the protective cover over the drive sprocket.
Critical safety warnings and general guidelines before starting installation.
How to locate and mark the correct position for the header bracket.
Detailed steps for mounting the header bracket to the wall or ceiling.
Connecting the opener rail assembly to the installed header bracket.
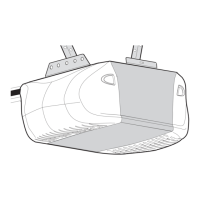
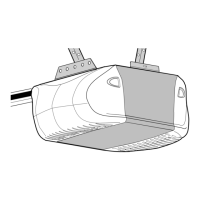
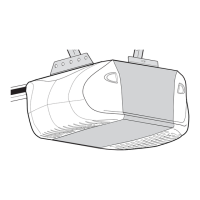
Placing the opener unit correctly relative to the door and rail.
Securing the garage door opener unit to the ceiling or wall supports.
Instructions for installing the opener's light bulbs and lenses.
Installing the manual release mechanism for safety.
Mounting the bracket to the garage door for arm attachment.
Attaching the door arm to the trolley for sectional doors.
Mounting and wiring the wall-mounted door control panel.
Connecting the door control wires to the opener unit.
Placing essential safety and warning labels in appropriate locations.
Installing the safety reversing sensors for obstruction detection.
Connecting the safety reversing sensor wires to the opener.
Instructions for connecting the opener to electrical power safely.
Critical steps for aligning the safety reversing sensors for proper function.
Setting the open and close travel limits for the garage door.
Adjusting the force required to open and close the garage door.
Testing the safety reversal system's functionality with an obstruction.
Verifying the proper operation of the safety reversing sensors.
Comprehensive safety guidelines for operating the garage door opener.
Basic operation of the opener with remote controls and wall button.
Features and operation of the multi-function door control.
Procedure to manually disconnect and operate the garage door from the opener.
Maintenance schedule including limit/force adjustments and lubrication.
Troubleshooting common issues with the garage door opener.
Interpreting diagnostic LED flashes to identify opener issues.
Instructions for programming remote controls and keyless entry systems.
Information on replacing the battery in the remote control.
Part numbers for components of the rail assembly.
Part numbers for components used during installation.
Part numbers for the main garage door opener unit components.