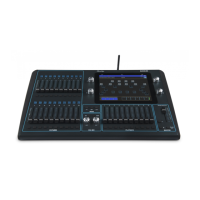
ChamSys QuickQ Series Service Document
Page 8 of 17 www.chamsys.co.uk
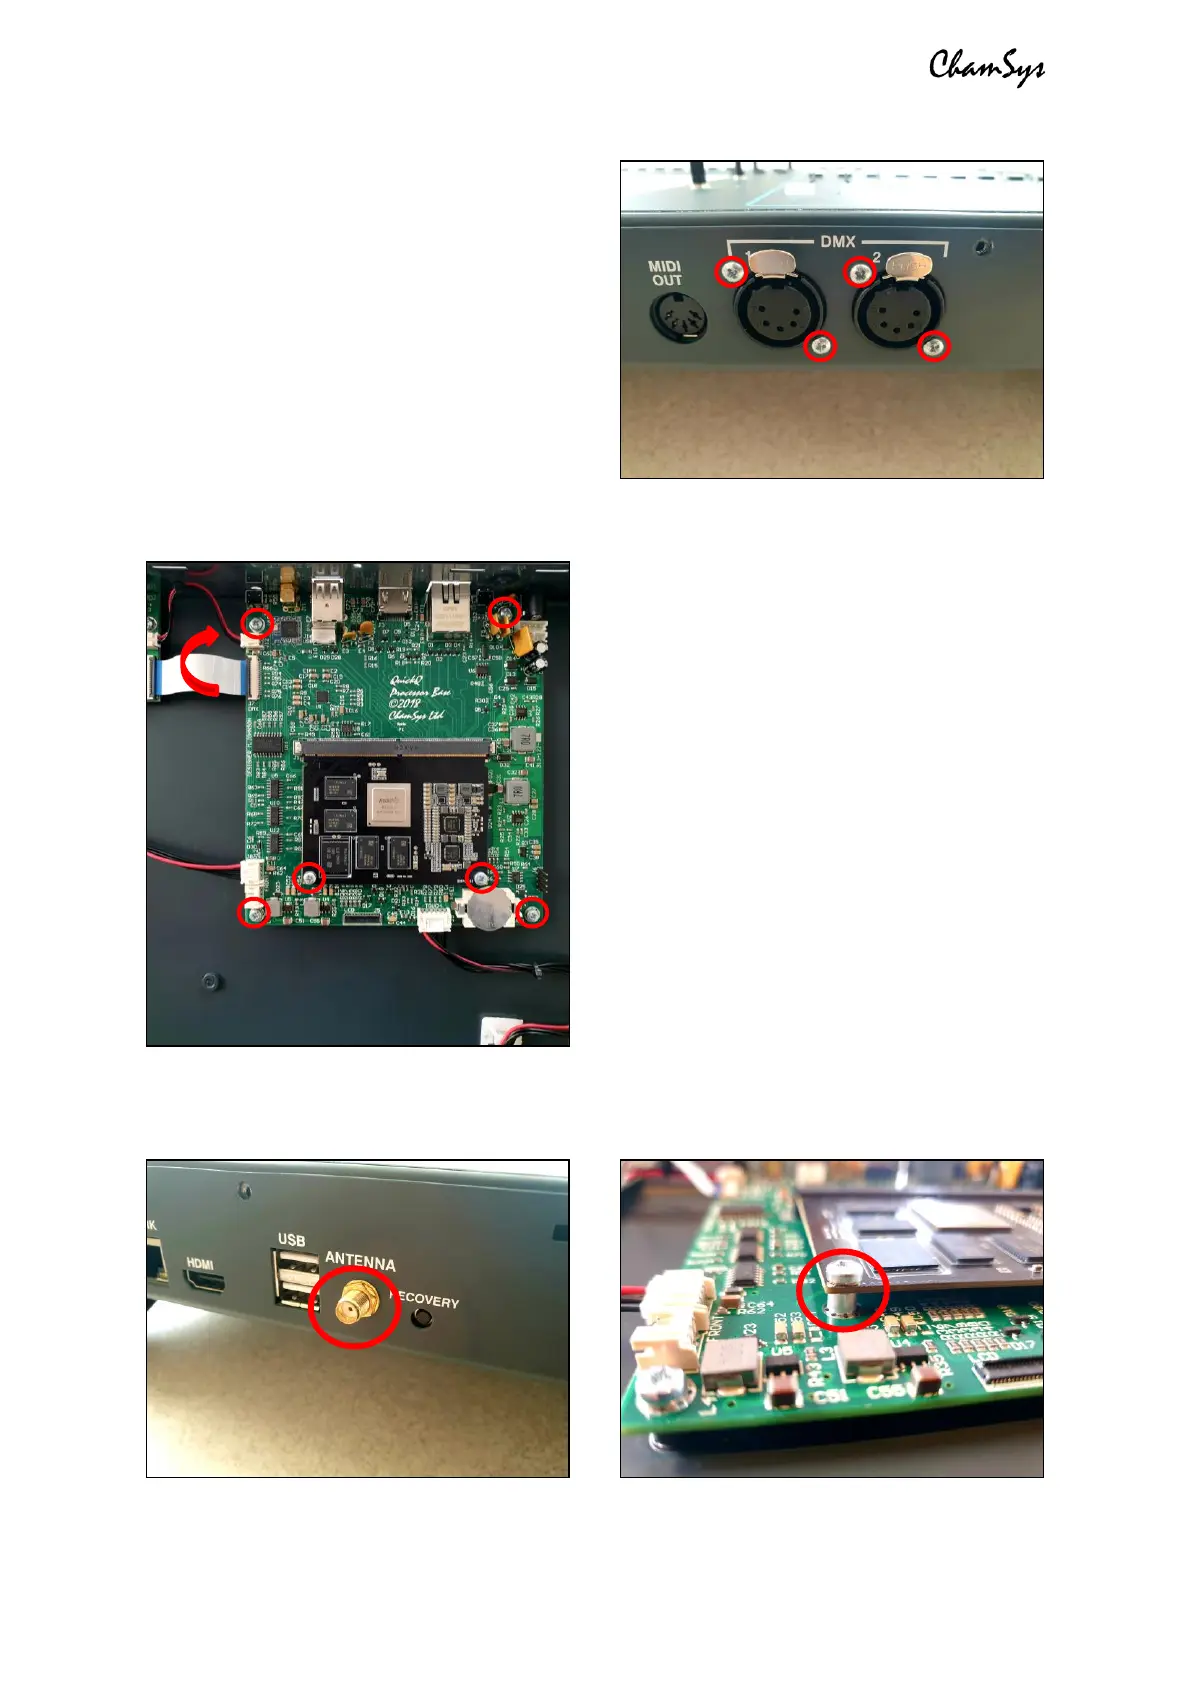
To remove the DMX PCB: First remove the
4x screws from around the DMX ports on
the rear of the console as pictured, right.
Once these are removed, it is recommended
that you first disconnect the PCB, before
removing the final screws. Both the 2-way
cable and the 30-way ribbon cable need to
be removed. The ribbon cable is removed by
first lifting the tab, as with the LCD display
cable. You can then remove the 3x M3x6
screws and shake-proof washers holding the
PCB into the base of the console and remove
the PCB from the console.
To remove the motherboard: First, unscrew
the nut and shake-proof washer securing the
antenna in place from the rear of the
console, as shown in the picture below, left.
This is done using an 8mm nut driver, or
adjustable spanner.
Next, unplug all cables. All cables with
red/black wires can be removed with careful
force while gently wriggling the connector.
The 30-way ribbon cable to the DMX PCB
however must first have the tab on the
connector lifted to free it. Once this is done,
remove the 4x M3x6 screws holding the PCB
into the console base, as well as the 2x
M3x10 screws through the firefly processor
module (see picture, left). Note that when
these two screws are removed, the module will naturally lift to roughly a 45 degree
angle. You will also find 2x spacers between the firefly module and the motherboard,
which will come free once the two screws are removed. See picture below, right.
 Loading...