08/27/15 • G466-001-200801
If you have questions or need assistance
during assembly, please call 1-888-430-7870.
Si vous avez des questions ou besoin d´aide
pendant l’assemblage, S’il vous plaît appelez
1-888-430-7870
Si tiene alguna pregunta o si Necesita
ayuda durante el Ensamblado, llámenos Al
1-888-430-7870
Serial number | Numéro de série | Número de serie
Date purchased | Date d’chat | Fecha de compra
See rating Label on grill for serial number.
El número de serie se encuentra en la etiqueta de
especificaciones de la parrilla.
Ce numéro se trouve sur l´étiquette signalétique sur
i´appareil.
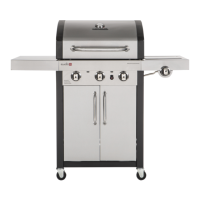
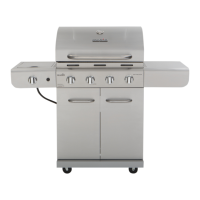
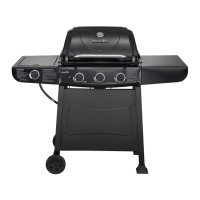
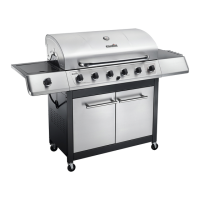
463367016
Professional
3-Burner Gas Grill
#4584609
Convertit facilement de forme (LP)
propane liquide (NG) de gaz naturel
ENSEMBLE DE CONVERSION