© CIAS Elettronica S.r.l. Ed 1.1
Installation Manual Page 32 of 51 Sioux Pro 2
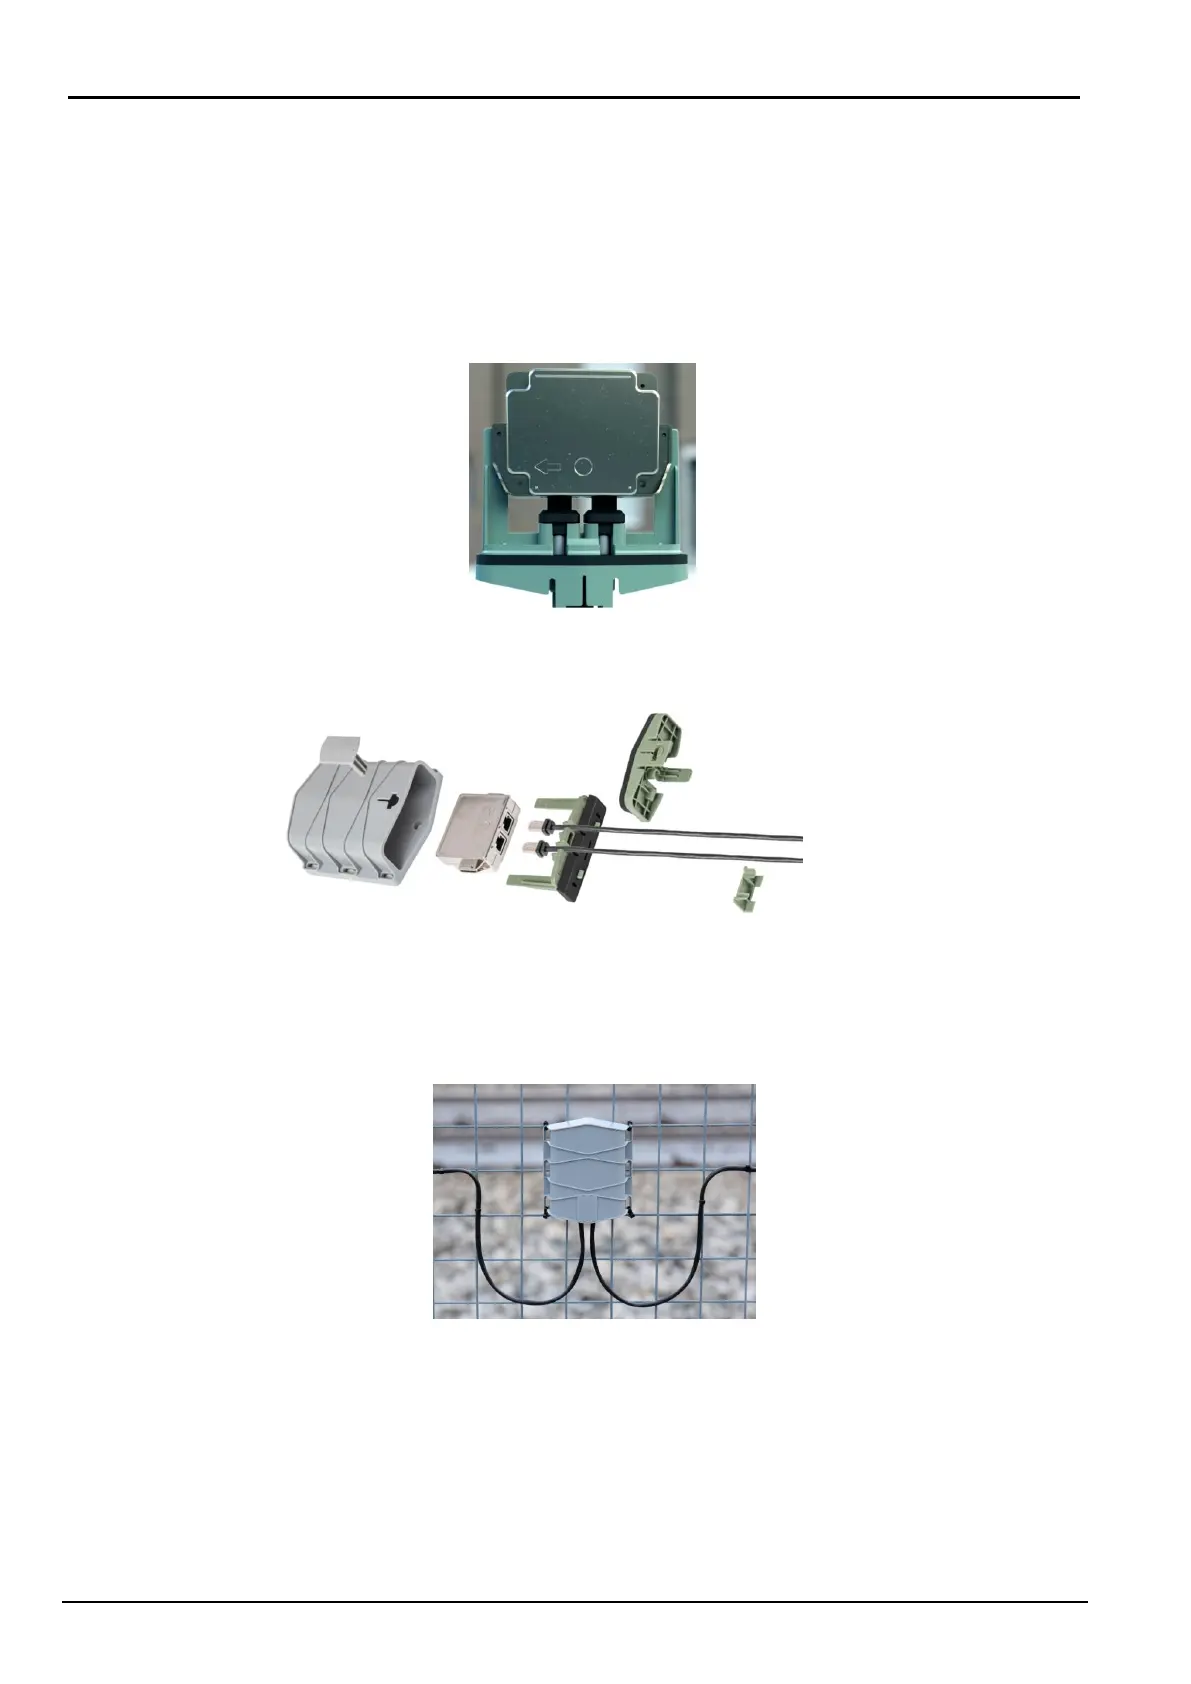
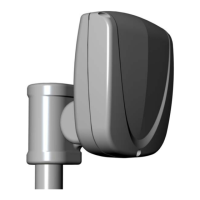
3) The sensors have an arrow on the cover that helps during installation
- The arrow of the Master-Pro2 sensor indicates the direction of the Sioux-CU-Pro2
- The arrow of the Slave-Pro2 sensor indicates the relative Master-Pro2
- At the center of the shielded box the SIOUX-MASTER-PRO2 has a BLUE dot
while the SIOUX-SLAVE-PRO2 has an ORANGE dot
- The Master-Pro2 manages 6 Slave-Pro2 boards: 3 on its left and 3 on its right
- See Fig. 5 (below) for correct installation of all sensors
Fig. 4
4) Assemble the plastic parts as indicated in the assembly instructions:
Fig. 5
5) Be sure that cable assumes a soft curve as shown in Fig. 6, and fix the first tie on both
sides
Fig. 6
6) Continue with the entire installation of the cable avoiding twisting and position the supplied
ties approximately every 20/30 cm, depending on the type of network.
7) Within the branch, all the sensors of the kit, (1 Master-Pro2 and 6 Slave-Pro2) MUST be
installed, Fig. 7 (indication F).