8-4 Mounting Options
3930 Service Delivery Switch Hardware Installation and Start-up Manual
009-3223-001 Standard Revision E
Copyright
©
2012-2014 Ciena
®
Corporation January 2014
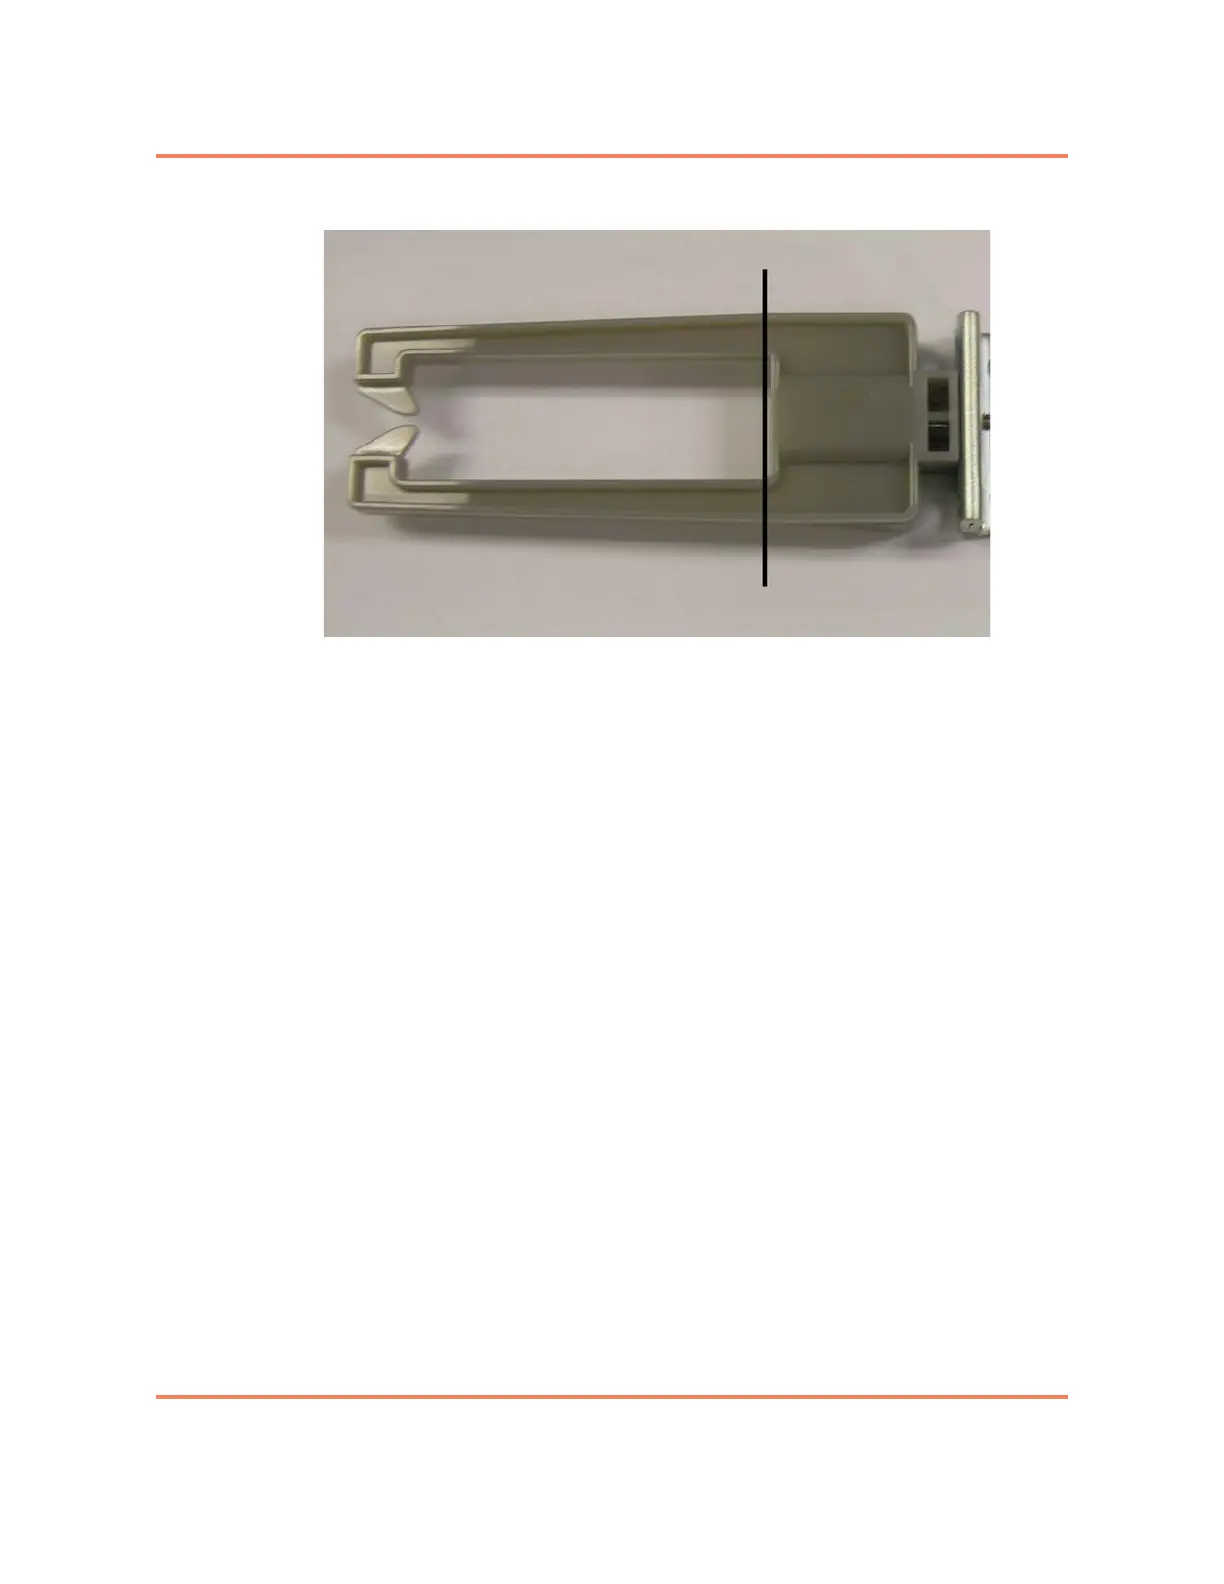
Figure 8-2
Bracket cable support, mounting offset shown
The same mounting bracket can be used to mount a number of different single
rack unit high chassis including: 3920, 3930, 3932, 3940, 3960, 5142 and
5160. The installation procedure is essentially the same for all units. The main
difference will be the placement and number of screws used.
Note: The bracket will be installed on the sides of the chassis and near
the front of the chassis. The bracket will be positioned slightly behind the
front of the chassis. It is not installed flush with the front of the chassis.
When correctly installed, the back of the channel on the cable support
bracket will be approximately flush with the front of the chassis. See
Figure 8-2.
Two screws will be used to attach each bracket to the chassis.
For a procedure see “Installing the 19” Frame Mount Bracket - 1 RU” on page
8-8.
Approximate location of front of chassis