• #1 and #2 Phillips-head screwdrivers
• Level
• Pencil
You must also install an Ethernet jack for the telephone in the desired location if an Ethernet jack does not
currently exist. This jack must be wired appropriately for an Ethernet connection. You cannot use a regular
telephone jack.
Procedure
Step 1 Mount the wall bracket in the desired location. You can install the bracket over an Ethernet jack, or you can
run the Ethernet network cable to a nearby jack.
If the jack is to be placed behind the phone, the Ethernet jack must be flush to the wall or recessed.
Note
a) Hold the bracket on the wall. See the following figure for the orientation of the wall bracket.
b) Use the level to ensure that the bracket is level and use a pencil to mark the screw holes.
c) Using a #2 Phillips-head screwdriver, carefully center the anchor over the pencil mark and press the anchor
into the wall.
d) Screw the anchor clockwise into the wall until it is seated flush.
e) Use the included screws and a #2 Phillips-head screwdriver to attach the bracket to the wall.
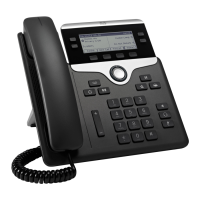
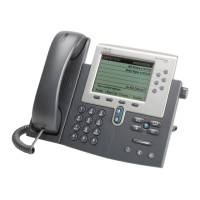
Cisco IP Phone Accessories
42
Cisco IP Phone Accessories
Cisco IP Phone Accessories

 Loading...