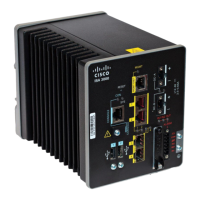
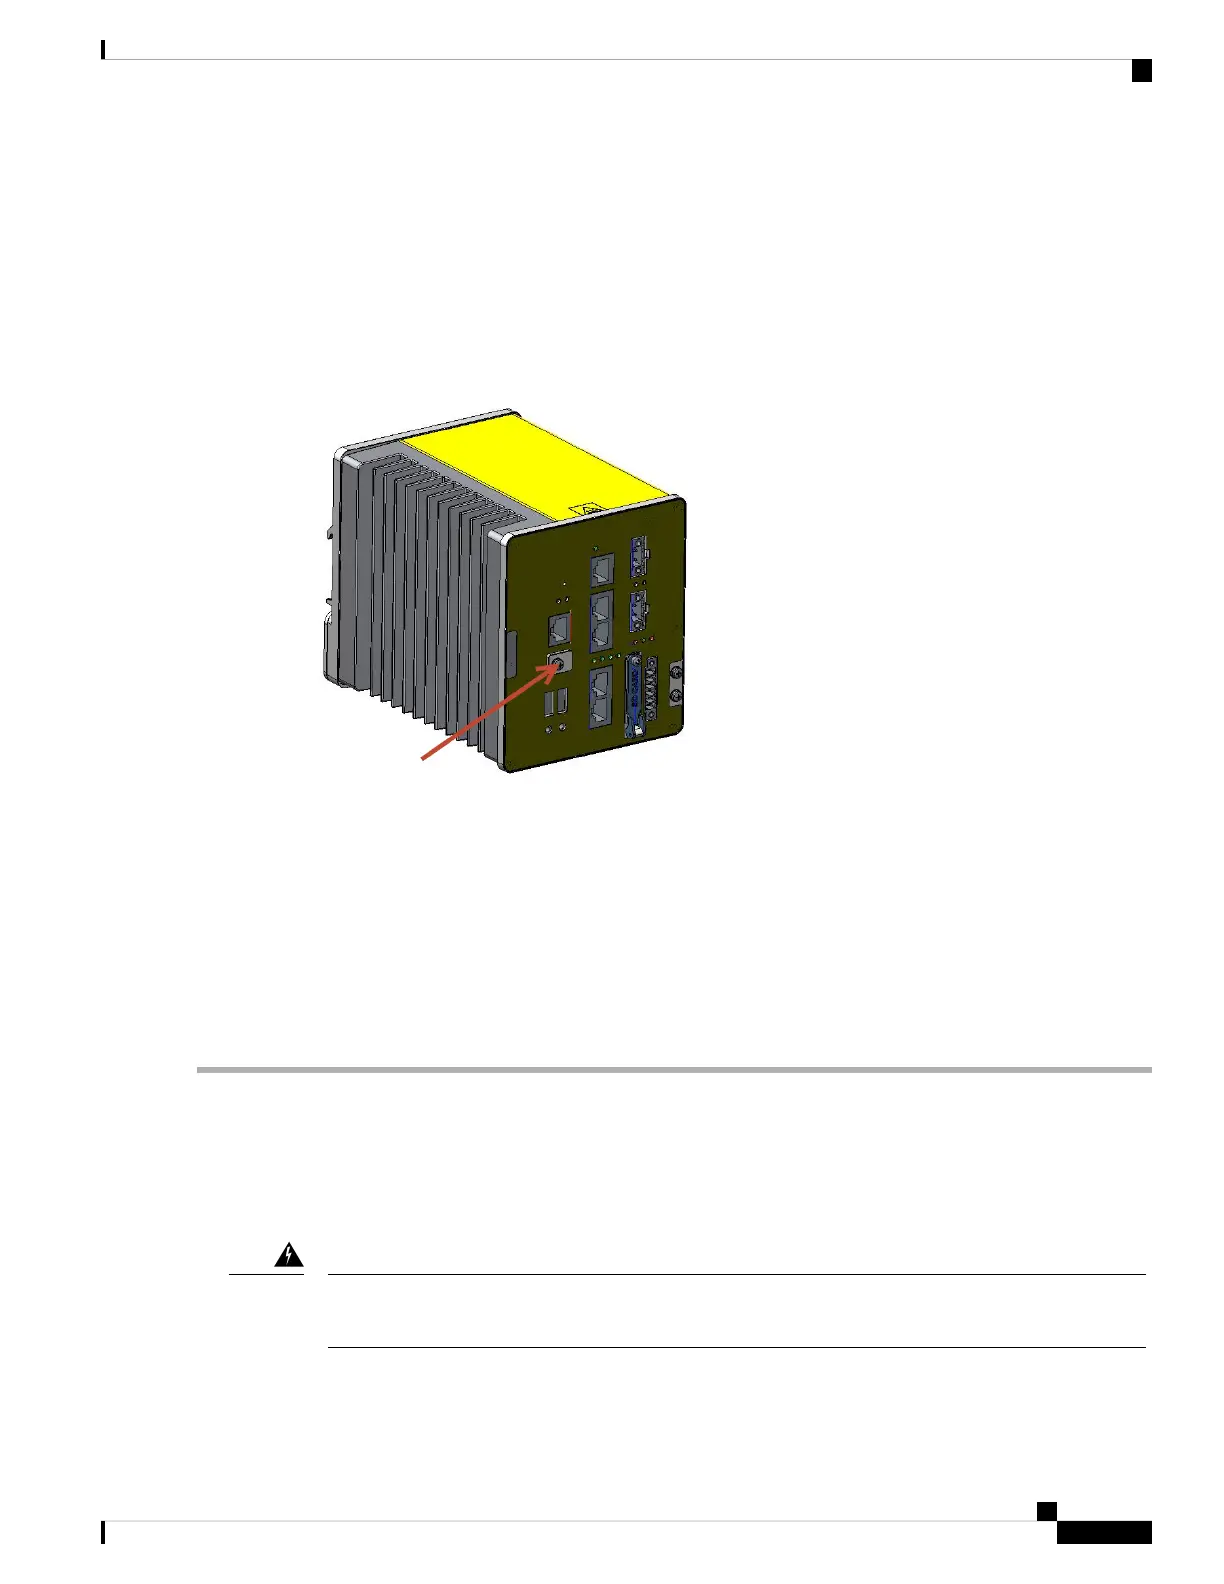
Step 2 If the mini-USB connector is being used, the protective cover will need to be removed first. The red arrow in the following
figure shows the location of the cover. Remove the cover with a Phillips screw driver and set it aside to be reinstalled
after completing the configuration.
Figure 2: mini-USB Cover
Step 3 Connect the mini-USB side of a cable to the USB Console port on the Cisco ISA 3000.
Step 4 Connect the opposite end of the mini-USB cable to the USB port on your PC. If your PC warns you that you do not have
the proper drivers to communicate with the device, you can obtain them from your computers manufacturer, or go here:
https://software.cisco.com/download/home/282774227/type/282855122/release/3.1
Step 5 Start up a console terminal.
Step 6 See the initial configuration section for more details.
Connecting to DC Power
Before you begin
This product relies on the building’s installation for short-circuit (overcurrent) protection. Ensure that
the protective device is rated not greater than 60 VDC minimum, 5A maximum. Statement 1005
Warning
Connecting the Cisco ISA 3000
3
Connecting the Cisco ISA 3000
Connecting to DC Power
 Loading...