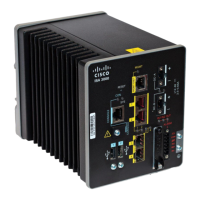
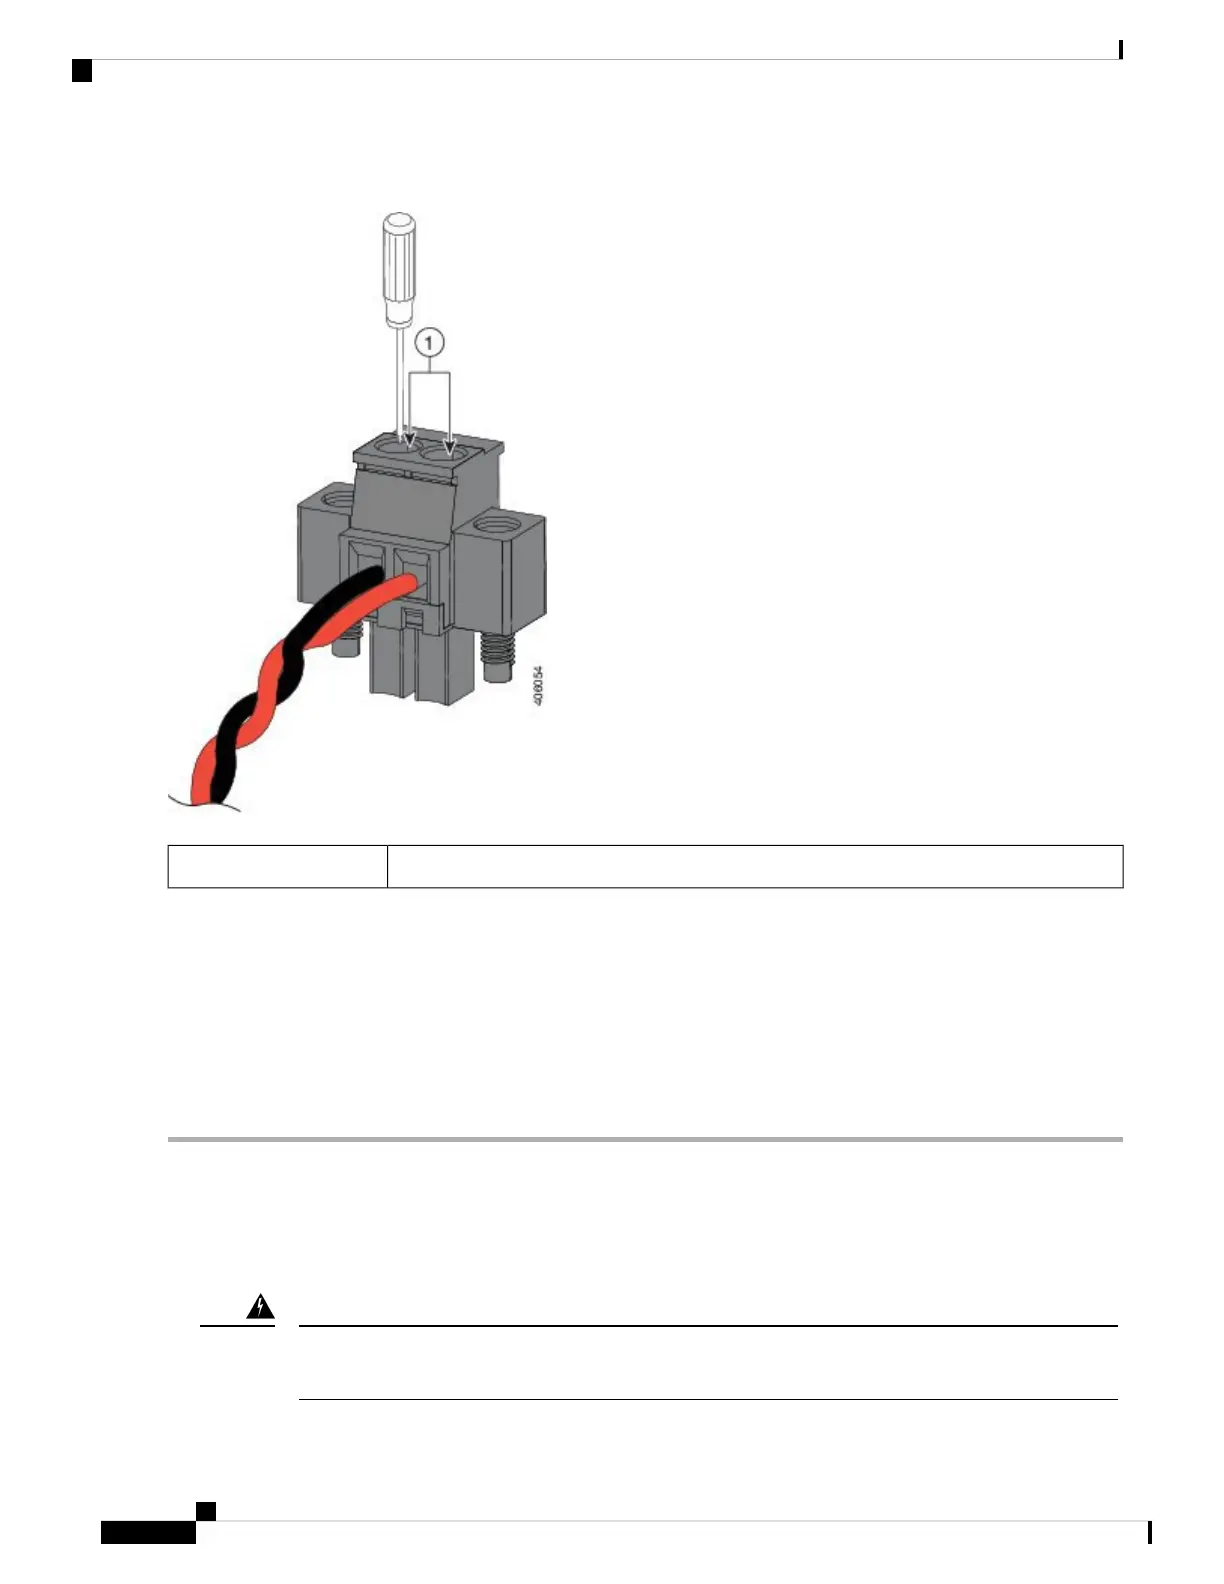
Figure 6: Torquing the Power Connector Captive Screws
Power connector captive screws1
An exposed wire lead from a DC-input power source can conduct harmful levels of electricity. Be sure that no
exposed portion of the DC-input power source wire extends from the power and relay connector. Statement
122
Warning
Step 8 Connect the other end of the positive wire to the positive terminal on the DC power source, and connect the other end of
the return wire to the return terminal on the DC power source.
When you are testing the device, one power connection is sufficient. If you are installing the device and are using a second
power source, repeat steps 4 through 8 using the second power connector.
Attaching the DC Power Connectors to the Device
To attach the power connectors to the front panel of the device, follow these steps:
Failure to securely tighten the captive screws can result in an electrical arc if the connector is accidentally
removed. Statement 397
Warning
Connecting the Cisco ISA 3000
6
Connecting the Cisco ISA 3000
Attaching the DC Power Connectors to the Device
 Loading...