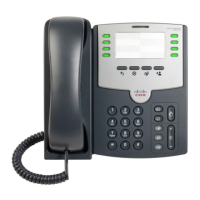
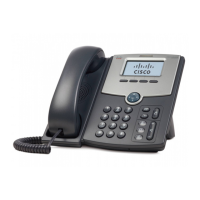
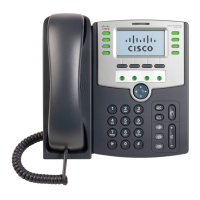
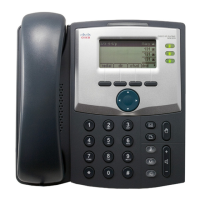
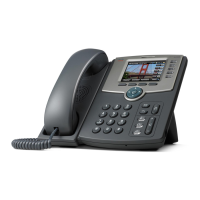
USING THE CISCO SPA 500 SERIES IP PHONE
PLACE A CALL
• First, dial number. Then pick up handset.
• For hands-free speakerphone – Dial number, then press
SPEAKER or
press
DIAL softkey.
ANSWER A CALL
• Pick up handset and press the ANSWER softkey or press the SPEAKER
button.
DIAL A NUMBER FROM YOUR DIRECTORIES
• Press SET UP. Select Call History.
• Select Redial List, Answered Calls or Missed Calls.
• Select the number and press
DIAL.
• The LCD screen shows missed calls. Press the
LCR softkey to dial the
last missed call. Press the
MISS softkey to view a list of missed calls.
Select a call and press
DIAL.
RECEIVE A CALL
• Lift handset.
• For hands-free speaker mode press
SPEAKER or press the ANSWER
softkey.
PLACE A CALL ON HOLD
• During a call, press the HOLD function button.
• To retrieve the call, press the flashing red line button for the call or the
RESUME softkey.
CALL PARK/CALL PARK RETRIEVE
NOTE: Call Park places a call on hold so that other users assigned to Call
Park service can retrieve that call.
• Press
HOLD and then *68, or press PARK softkey (The PARK softkey
does the same thing as
HOLD and *68).
• Enter the extension where the call will be parked, then
#.
• To retrieve parked call press *88 or the RETRIEVE softkey, then the
parked extension and
#.
TRANSFER A CALL
ANNOUNCED TRANSFER
• Press the XFER softkey to place active call on hold.
• Dial the number where you want to transfer the call and press
DIAL.
• Once the third party answers, announce the call and press
XFER.
BLIND TRANSFER
• Press the BXFER softkey to place active call on hold.
• Press right arrow on Navigation key to view options.
• Dial the number where you want to transfer the call and press
DIAL.
TRANSFER TO VOICEMAIL
• Press the XFER softkey. Next enter *55 and dial the party’s extension,
then
#.
INTERCOM
• Pick up the receiver and press the INTERCOM softkey. Make your
announcement (this will broadcast to
all phones). Hang up when you
are done.
MUTE A CALL
• Press MUTE to silence your phone’s mouthpiece/speaker.
•
LISTEN TO VOICE MAIL
• Press MESSAGES. Your phone will ring your Voice Portal.
• Enter your passcode, then
#. Follow voice prompts to listen to/delete/
save messages.
3-WAY CONFERENCING
• Place the first call.
• Press the
CONF softkey to place the next call and dial the number.
The active call will be on hold.
• After the second call answers, press the
CONF softkey again to join all
parties in the conference.
• All parties will be disconnected when you exit the call.
FORWARD CALLS
• Press the CFWD softkey.
• Enter the 10-digit number where you want your calls forwarded. If you
are entering a number that is less than 10 digits (such as an extension),
press
DIAL.
•
CALLS FORWARDED will be displayed on LCD screen.
•
CFWD.
VOICE MAIL SET UP
RECORD NAME
• Press MESSAGE. Enter your PIN provided on your “User List and Login
Credentials.”
NOTE: If you are trying to access a voice mail box other than the phone
you are dialing from, press
*.
• Press
#. Follow prompts to set a new PIN, then press #.
• Follow prompts to verify the new
PIN, then press #.
• Follow prompts to record a name announcement, then press
#. At the tone,
say the name of the group or a brief 2 or 3 word description and press
#.
NOTE: This is a name announcement and not one of the two main voice
mail greetings supplied with the service.
• You will be asked if you are satisfied with your name recording. If yes,
press
*. If no, follow prompts to re-record.
• Press 1 to access your Voice Mail box.
RECORD BUSY GREETING
A busy greeting plays when your phone is in Do Not Disturb mode or
unplugged.
• Press
2. Then, press 1. Wait for the tone, and then record your “busy
greeting.”
• Press
# immediately after finishing.
• Press
2 to listen to your greeting or press * to get back to the previous menu.
RECORD NO ANSWER GREETING
• Press 3. Then, press 1. Wait for the tone, and then record your “no
answer greeting.”
• Press
# immediately after finishing.
• Press
2 to listen to your greeting or press * to get back to the previous menu.
 Loading...