Do not place anything on top of the hardware that weighs more than 5 lbs. or applies a point load of greater
than 1 lbs. Excessive weight damages the chassis. Additionally, do not stack other electronic equipment on
top of the hardware so as not to impede or interfere with the cooling mechanisms.
Caution
To prevent airflow restriction, allow clearance around the ventilation openings to be at least 1 inch (2.54cms).
Statement 1076.
Warning
After you install the voice gateway, you must connect the chassis to a reliable earth ground. For the chassis
ground connection procedures, see the Chassis Grounding section.
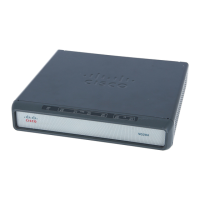
Attach Cisco VG400 Voice Gateway Chassis to Wall
Step 1 Attach the voice gateway chassis to the wall by using the fasteners.
The fasteners that you use must support the weight of the VG400 Voice Gateway.
The head diameter of the fasteners should be sized to fit in the key slot on the chassis bottom. The maximum
diameter of the fastener head should not exceed .250” and the maximum shank diameter should not exceed
.130”.
You must adjust the fastener to allow for the head of the fastener insert into the key slot.
Note
Your chassis installation must allow unrestricted airflow for chassis cooling.
Caution
Step 2 Attach the voice gateway to as shown in the following image.
If you prefer, you can also install the voice gateway diagonally using the other two sides.
Note
Installing the Cisco VG400 Voice Gateway
4
Installing the Cisco VG400 Voice Gateway
Attach Cisco VG400 Voice Gateway Chassis to Wall
 Loading...