EasyManuals Logo

Citizen CLP-521 Technical Manual

Citizen CLP-521
20 pages
To Next Page IconTo Next Page
To Previous Page IconTo Previous Page
Page #12 background imageLoading...
Page #12 background image
Chapter 2 Installation Procedure
2-3
CLP-521, CLP-621 & CLP-631
2-3. Installation Procedure
Notes:
- The following shows the auto cutter unit installation procedure for CLP-521. However, the
procedure for CLP-621 and CLP-631 is basically the same as for CLP-521.
- The auto cutter unit cannot be installed on the printer if an optional peeler unit is attached.
Therefore, remove the peeler unit before installing the auto cutter unit.
2-3-1. Installing the Cutter Stand Unit
1. Turn the printer off and unplug the power cord from the printer.
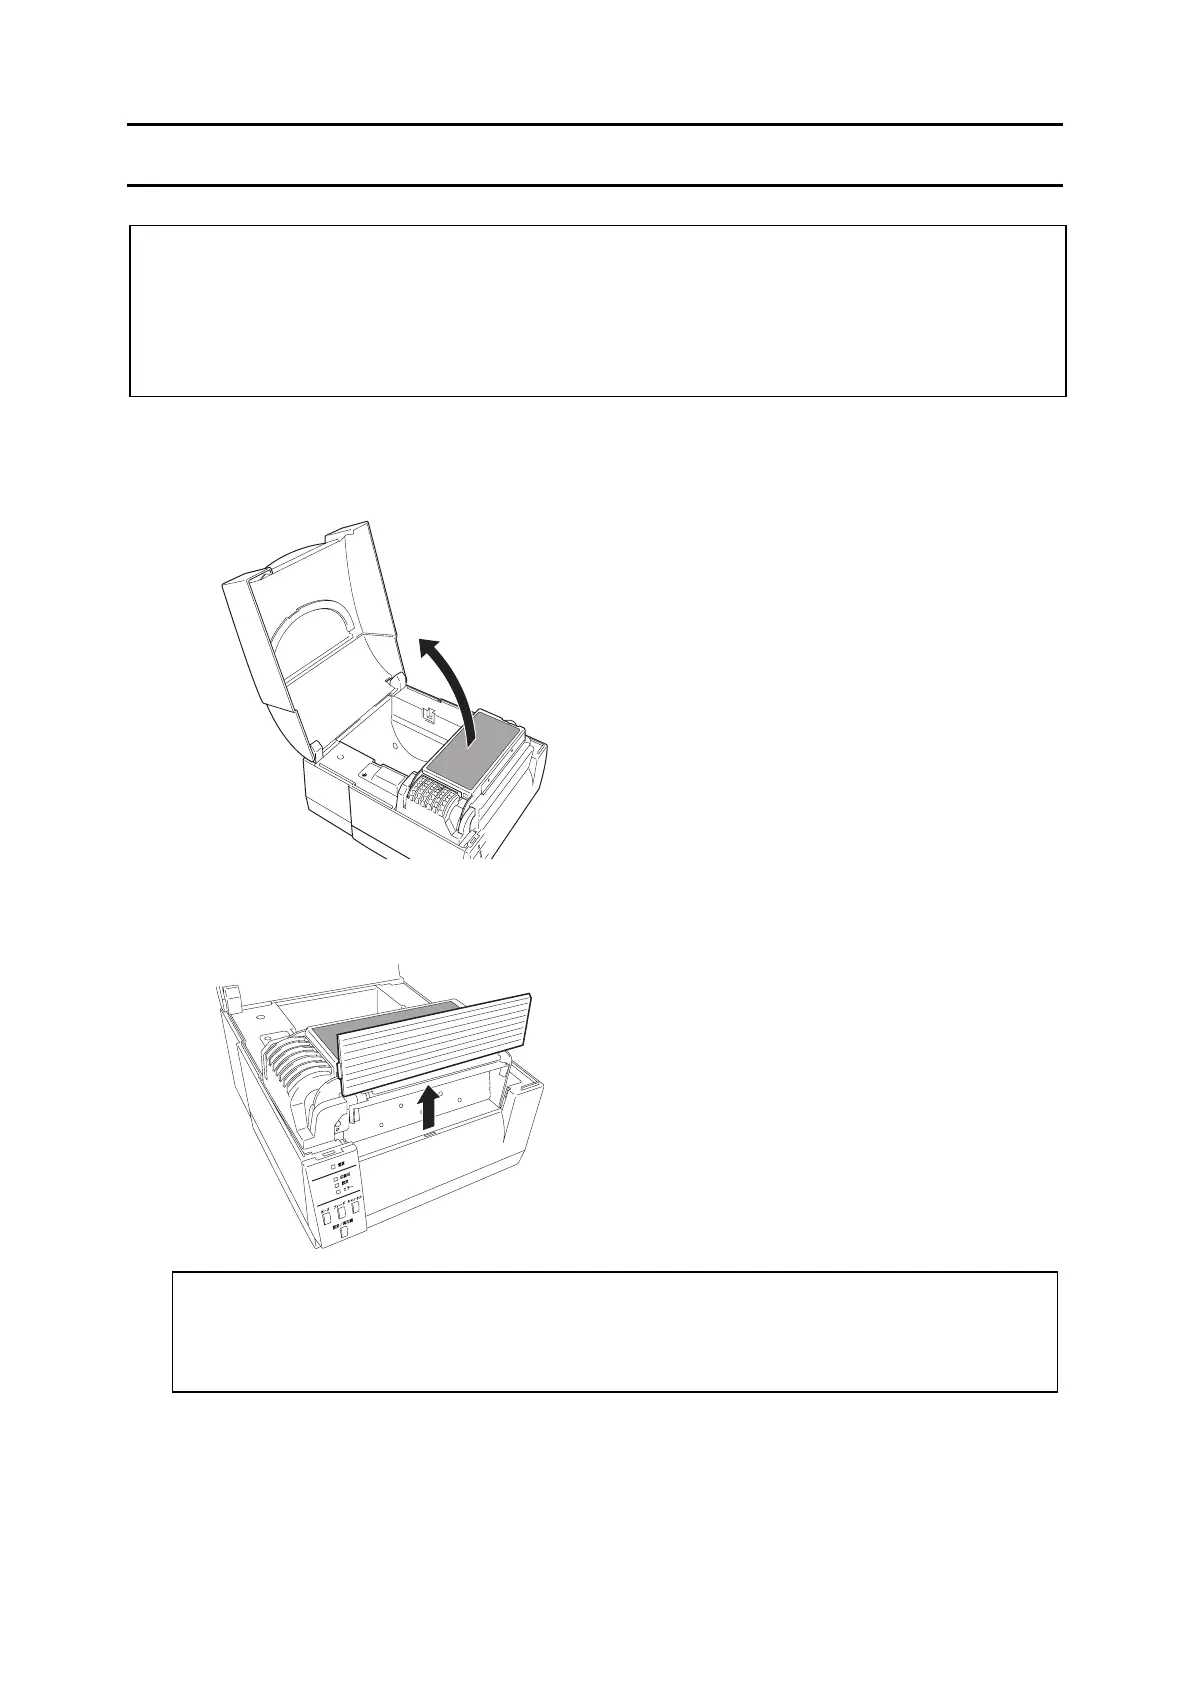
2. Open the Top Cover SA.
3. Lift the Front Cover upward and remove it from the printer.
Note:
Keep the Front Cover as it will be used again when the auto cuter unit is removed from
the printer.

Other manuals for Citizen CLP-521

Questions and Answers:

Question and Answer IconNeed help?

Do you have a question about the Citizen CLP-521 and is the answer not in the manual?

Citizen CLP-521 Specifications

General IconGeneral
Print technologyDirect thermal
USB portNo
RS-232 interfaceYes
Optional connectivityEthernet
USB 1.1 ports quantity1
USB 2.0 ports quantity0
Connectivity technologyWired
Power requirements100 - 240V, 50 / 60Hz
Compatible operating systemsWindows 2000/XP
Flash memory2 MB
CertificationUL, C-UL, FCC: class A, CCC, CE Marking
Internal memory8 MB
Number of fonts2
Built-in barcodesPDF417, UPC-A, UPC-E
Built-in processor32 Bit RISC
Mean cycles between failures (MCBF)1000
Core diameter25.4 mm
Media thickness0.0635 - 0.254 mm
Maximum label width104 mm
Maximum label length812 m
Maximum roll diameter127 mm
Supported paper width19.5 - 118 mm
Weight and Dimensions IconWeight and Dimensions
Depth289 mm
Width231 mm
Height186 mm

Related product manuals