Chapter 2 Installation Procedure
CLP-521, CLP-621 & CLP-631 2-6
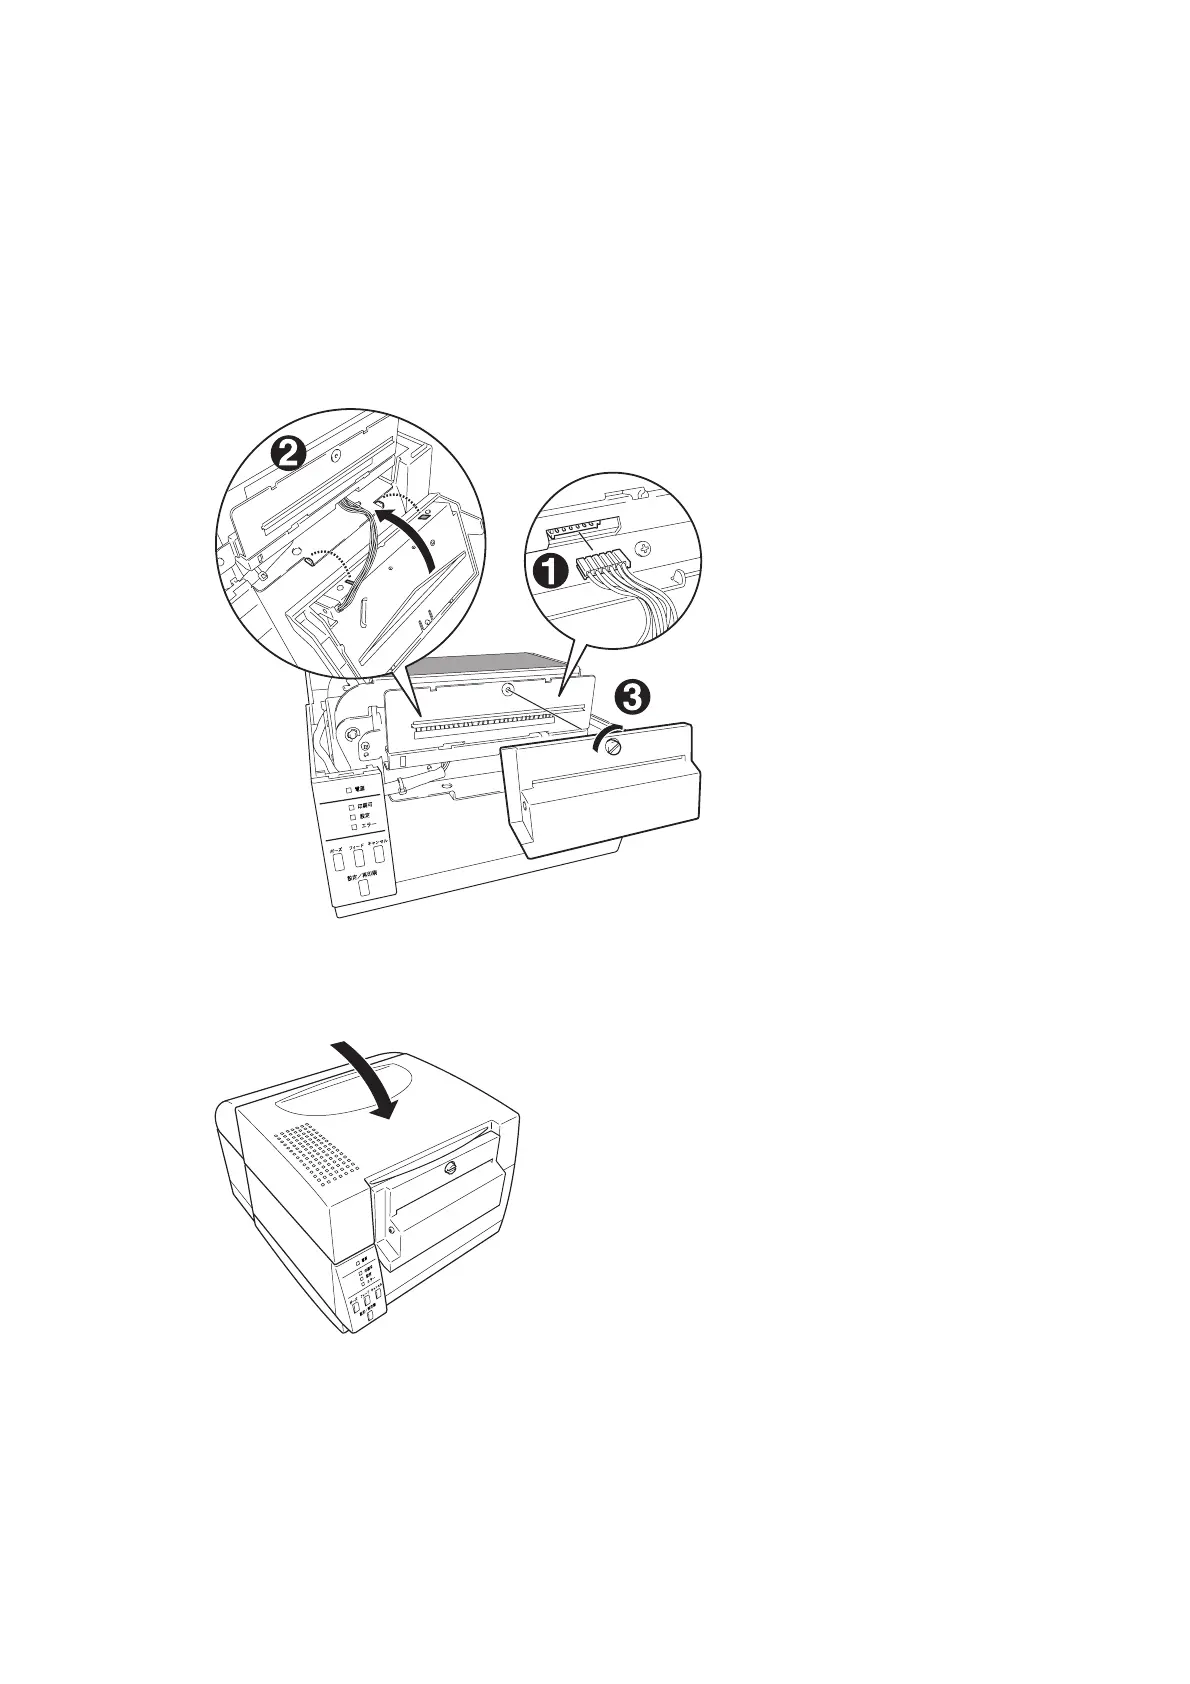
2-3-2. Installing the Cutter Unit
After attaching the Cutter Stand Unit to the printer, install the Cutter Unit as follows:
1. Connect the cable of the Cutter Unit to the connector of the Cutter Stand Unit (
X).
2. While aligning two convexes at the bottom of the Cutter Unit with two projections of the
Cutter Stand Unit (
Y), fasten the screw knob of the Cutter Unit with a flat-bladed
screwdriver to install the Cutter Unit to the Cutter Stand Unit (
Z).
In this case, pay attention so as not to pinch the cable with the Cutter Unit.
3. Install the Motor Cover and Connector Cover on the printer body.
4. Close the Top Cover SA.
5. Connect the power cord and turn on the power switch of the printer.
6. Perform self print function and check for correct cutter operation.
Refer to "3.2 Cutter Operation Check" in Chapter 3 "Adjustments".

 Loading...


