14
S
S
e
e
t
t
t
t
i
i
n
n
g
g
U
U
p
p
t
t
h
h
e
e
P
P
r
r
i
i
n
n
t
t
e
e
r
r
C
C
o
o
n
n
n
n
e
e
c
c
t
t
i
i
n
n
g
g
t
t
h
h
e
e
P
P
o
o
w
w
e
e
r
r
C
C
o
o
r
r
d
d
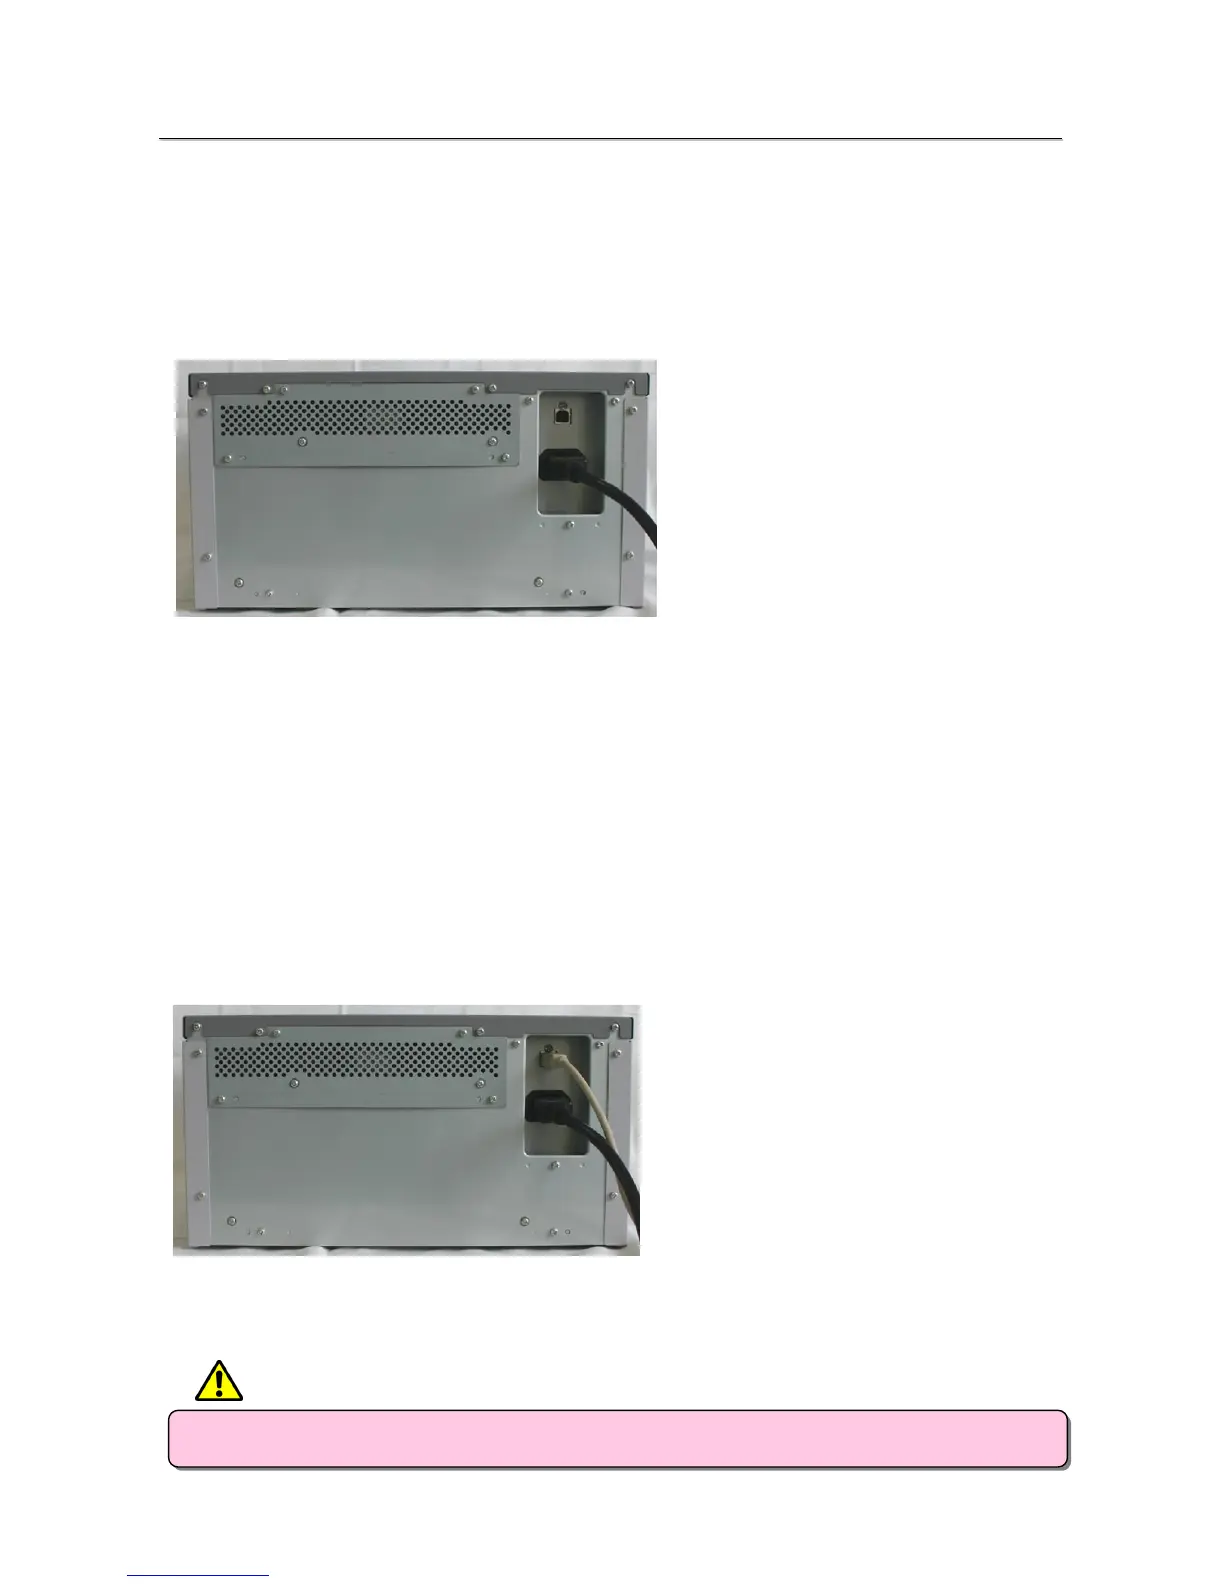
1.
Make sure that the printer’s power switch is set to the OFF position.
2.
Plug the cord connector end into the printer Power Plug Socket.
3.
Plug the cord into the wall outlet.
C
C
o
o
n
n
n
n
e
e
c
c
t
t
i
i
n
n
g
g
t
t
o
o
t
t
h
h
e
e
C
C
o
o
m
m
p
p
u
u
t
t
e
e
r
r
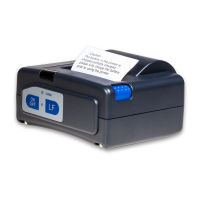
1.
Make sure that both the printer and computer power switches are set to the OFF position.
2.
Connect the USB cable to the printer and the computer.
3.
Turn on the power.
・ Please use the power cable that came with the printer, and be sure to attach the ground wire.
CAUTION