2.1.6
RHB ROLLANT 250 / 250 RC - 298 332.0
Drives
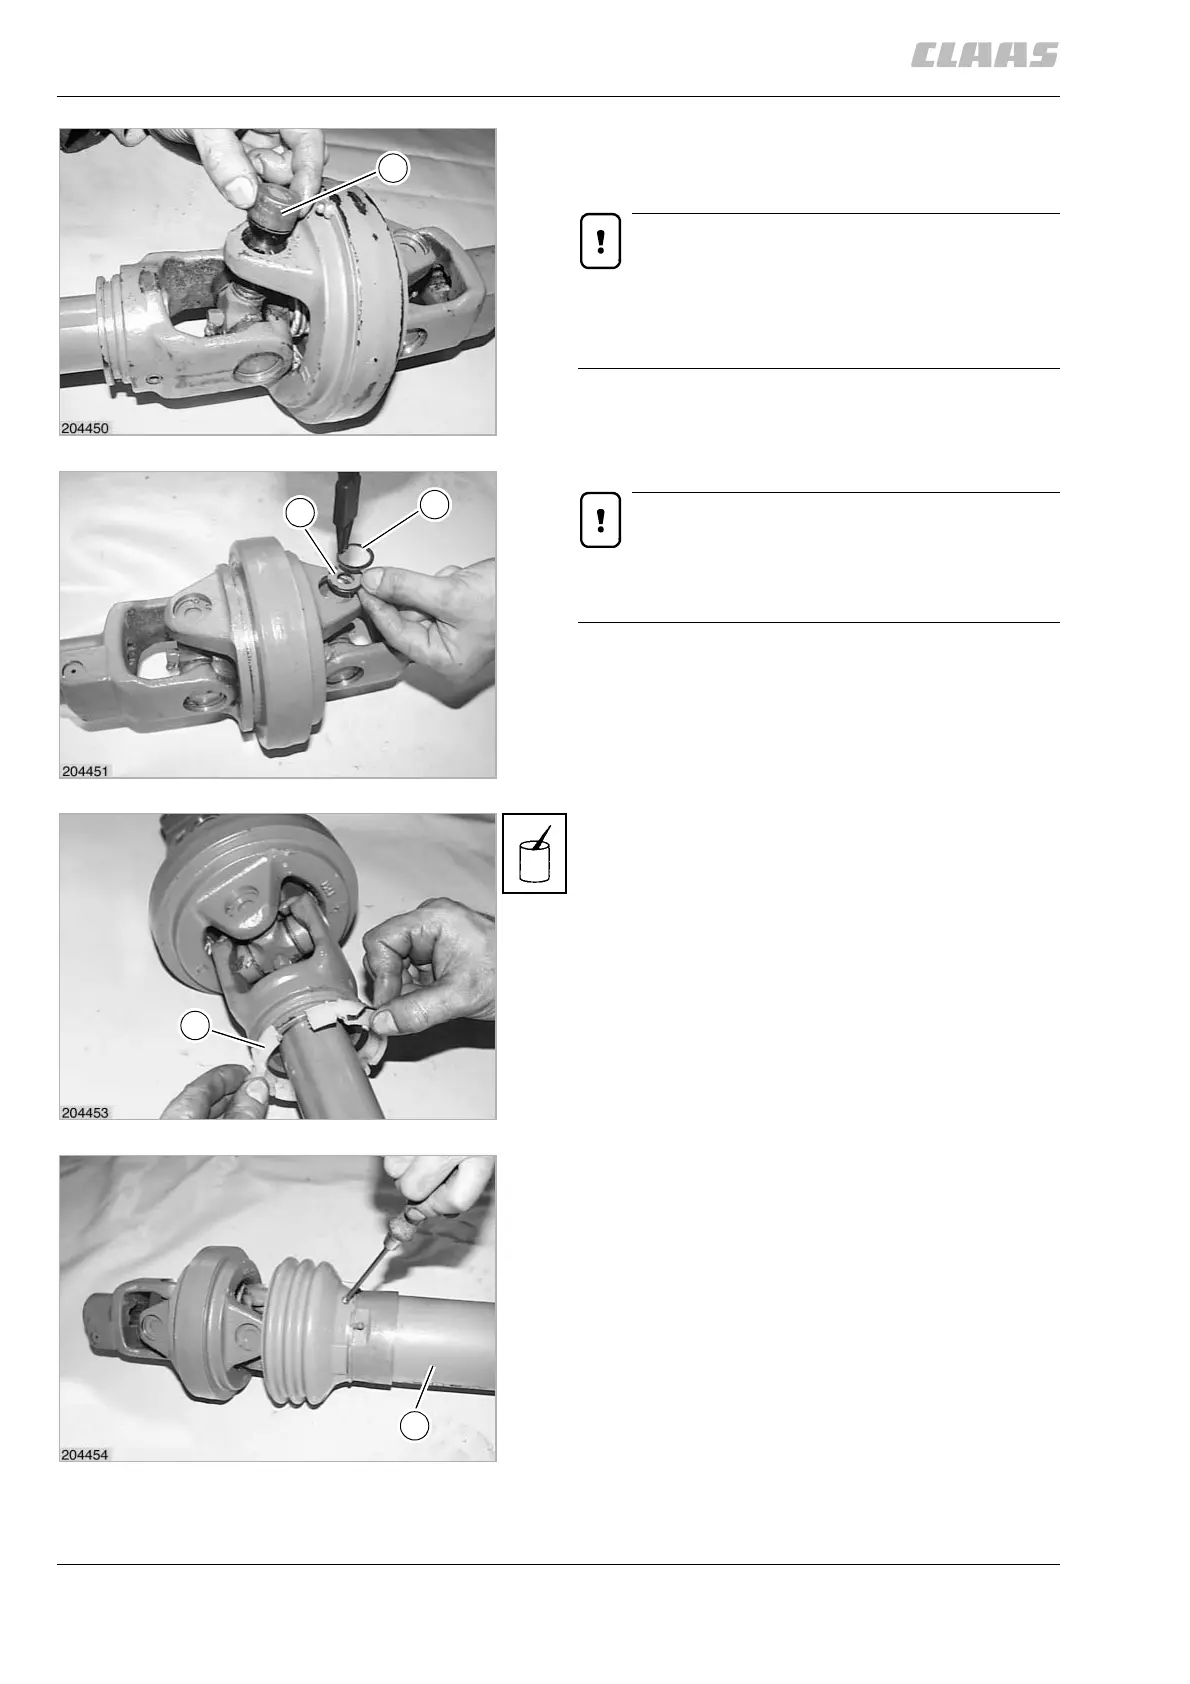
Place bushing (G) in position on one side and push in
far enough until the washer and the circlip can be
installed.
Important!
To prevent the needles from falling out when
pushing the bushing in, lift centre cross assem-
bly into the bushing.
In the same way, push in the bushing on the other
side.
Install washer (I) and circlip (Q).
Important!
The entire circumference of the circlip must be
placed inside the groove.
(Fig. 21, 22)
Grease the groove in the grooved yoke and install
slide ring (C).
(Fig. 23)
Push guard half (D) over the lemon tube, rotate by a
quarter turn and screw cheese-head sheet metal
screw C 4.2 x 9.5 into the slide ring (C).
(Fig. 23, 24)
G
21
I
Q
22
C
23
D
24

 Loading...