CLAGE
EN
14
1. Attach the water connection pipes to the appliance’s water connection.
Use the ½inch seals.
2. Open and close the hot water tap until no more air emerges from the pipe
and all air has been eliminated from the water heater.
1. Thoroughly rinse the water supply pipes before installation to remove soil-
ing from the pipes.
2. Hold the appliance on the wall, and mark the drill lines at top and bot-
tom, right and left, corresponding to the small notches at the edge of
the appliance hood (see fig. D2). The alignment template (located on the
pull-out pages in the middle of this manual) may be used for this purpose
alternatively.
3. Connect the top and bottom marks vertically with each other (A–A).
4. Connect the right and left marks horizontally with each other (B–B).
5. The intersections of these lines are the drill points.
6. Drill the holes using a 6 mm drill. Insert the included dowels and screws.
The screws have to protrude 5 mm.
7. Hang up the appliance into the rear hanging openings until it clicks into
place.
4. Installation
Installation site
Mounting the appliance
Installing the appliance
• Appliance must only be installed in frost-free rooms. Never expose appli-
ance to frost.
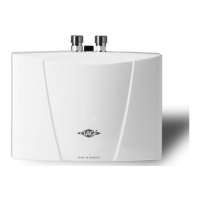
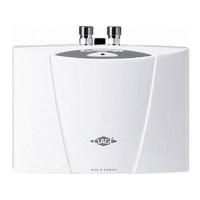
• The CEX 9-U is designed for undersink installation and has to be installed
with water connectors upward. The connection can be either pressure-
tight (fig. C2) or pressureless (fig. C3).
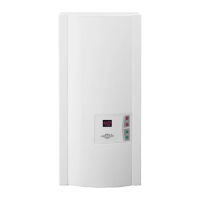
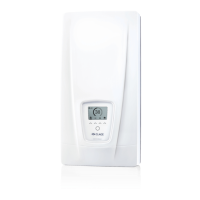
• The CEX 9 is intended for wall mounting and must be installed vertically
with water connections at the bottom. The connection can be made via a
wall fitting (fig. C4) or directly surface-mounted to the mains (fig. C5 &
C6).
• The CEX 9-U corresponds to protection class IP 24, the CEX 9 corre-
sponds to protection class IP25.
• In order to avoid thermal losses, the distance between the instantaneous
water heater and the tapping point should be as small as possible.
• For maintenance work, a shut-off valve should be installed in the supply
line. The appliance must be accessible for maintenance work.
• Copper or steel connecting pipes may be used. Plastic pipes may only be
used if they conform to DIN 16893, Series 2. The hot water pipes must be
thermally insulated.
• The water pipes must not exert any mechanical force on the water con-
nections of the instantaneous water heater during installation and opera-
tion. If this cannot be guaranteed due to the installation conditions, we
recommend the use of flexible connections.
• The specific resistance of the water must be at least 1100 cm at 15 °C.
The specific resistance can be asked for with your water distribution
company.
The following regulations must be observed:
• e.g. VDE 0100
• EN 806
• Installation must comply with all statutory regulations, as well as those of
the local electricity and water supply companies.
• The rating plate and technical specifications
• Only intact and appropriate tools must be used
 Loading...