35
6. The map appears with the selected point in the middle. Tap
(Simple
mode) or
(Advanced mode) from the Cursor menu. The route is then
automatically calculated, and you can start navigating.
3.2 Creating a multi-point route
This feature is available in Advanced mode only.
1. Multi-point routes are extended from simple routes, so a route must be active first.
2. Select a new location as you did in the previous sections. This will be the additional destination
in the route.
3. The map appears with the selected point in the middle, and the Cursor menu opens
automatically.
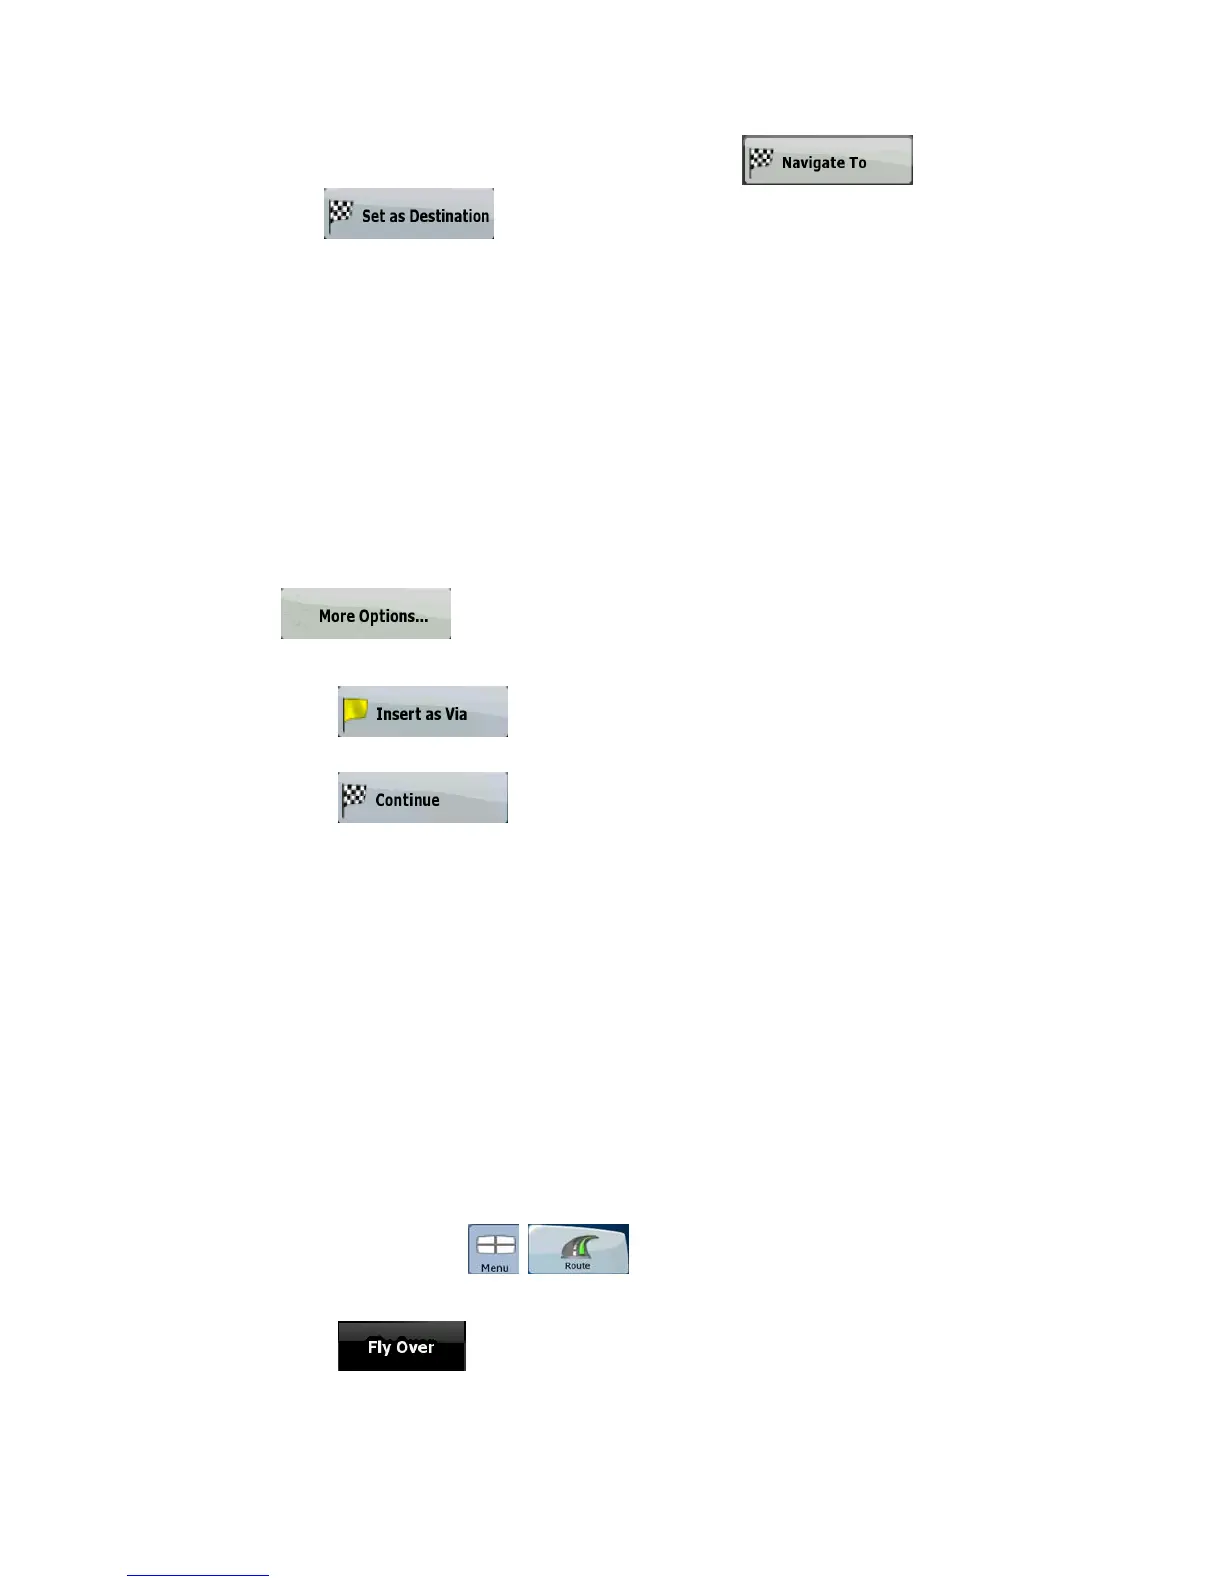
4. Tap
to open the full Cursor menu with the additional functions.
5. Now add the new point to the existing route:
• Tap
to add the point as an intermediate destination preceding the
final destination of the route.
• Tap
to add the point as a new final destination demoting the
previous one to the last intermediate destination.
6. [optional] To add more points to the route, repeat the above steps as many times as you like.
If you insert a via point in a route that is already a multi-point route, you will automatically be taken to
the Route Edit screen where you can determine the position of the intermediate route point. When
you enter the screen, the new via point is placed as the last via point before the final destination.
Every time a new point is added, the route is recalculated automatically, and you can start navigating
right away.
3.3 Watching the simulation of a route
This feature is available in Advanced mode only.
The procedure is explained starting from the Map screen.
1. Tap the following buttons:
, .
2. The Route menu appears. There are two ways of running the route simulation:
• Tap
to run the simulation at high speed to give you a quick overview of
the route.
 Loading...